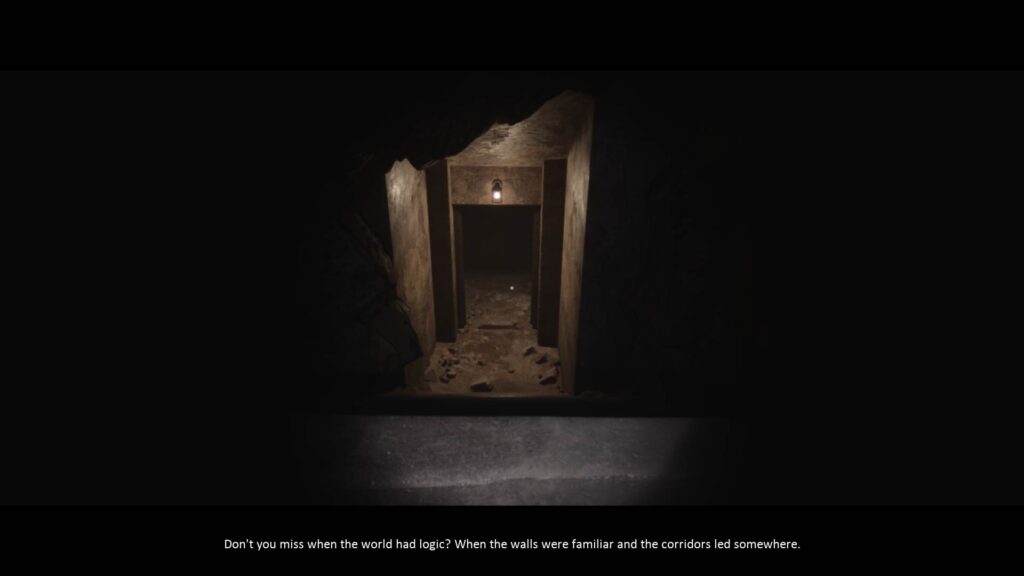
Welcome to our walkthrough for chapter 5 of Luto. This walkthrough starts from the dark tunnel that you went into, after picking up the Gold Coin in chapter 4. Compared to the rest of the chapters, this one is pretty short.
But it sets the stage for what’s about to come next.
If you want to know more about Luto, check out their official website here.
Through the Dark Tunnel
Continue walking through the dark passage and head down the stairs.
Once you reach the bottom, go right and keep moving forward. The narrator will break the silence with his eerie voice.
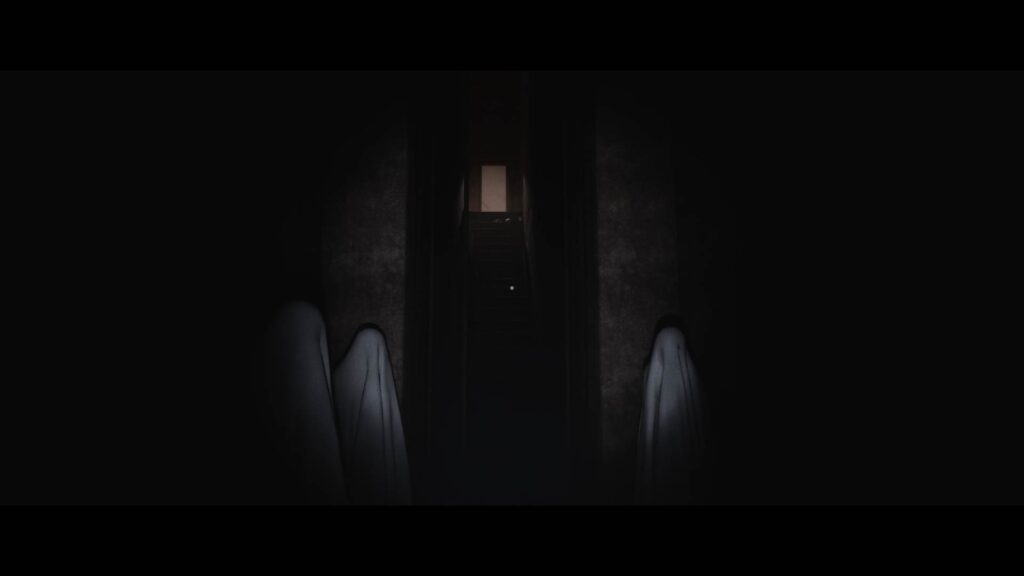
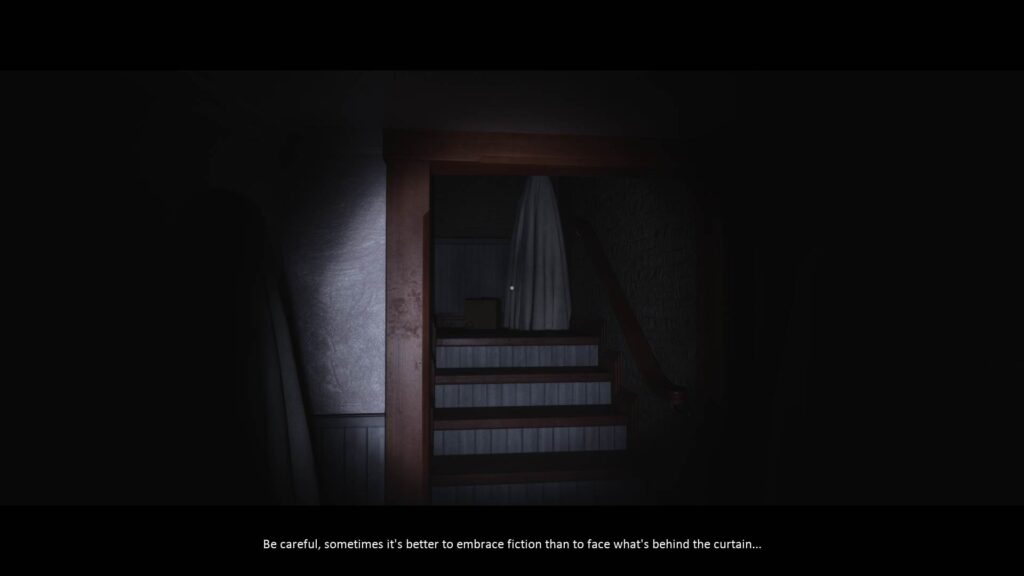
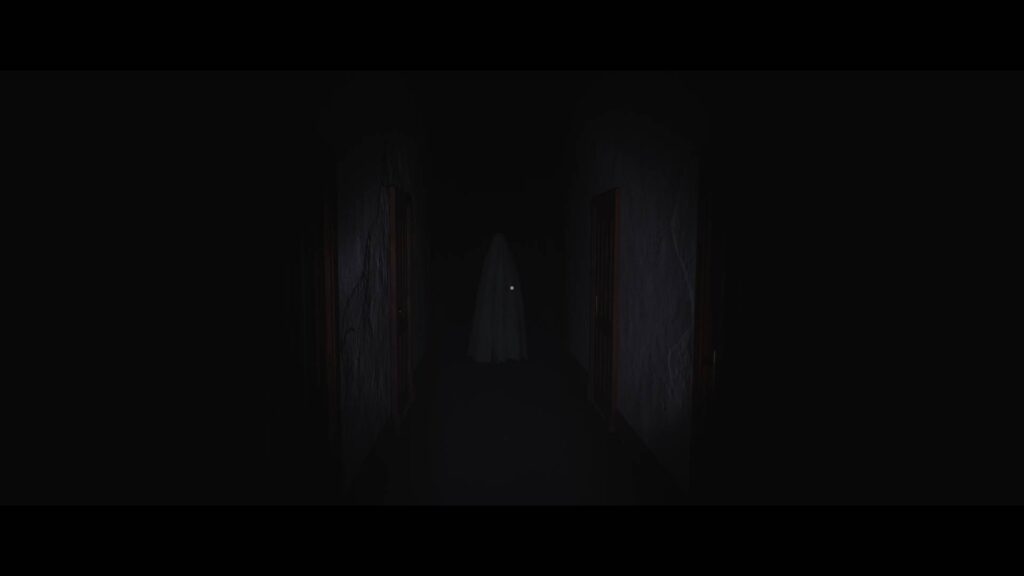
Keep moving and you’ll reach an area with ghost figures around you. The way forward leads up a set of stairs.
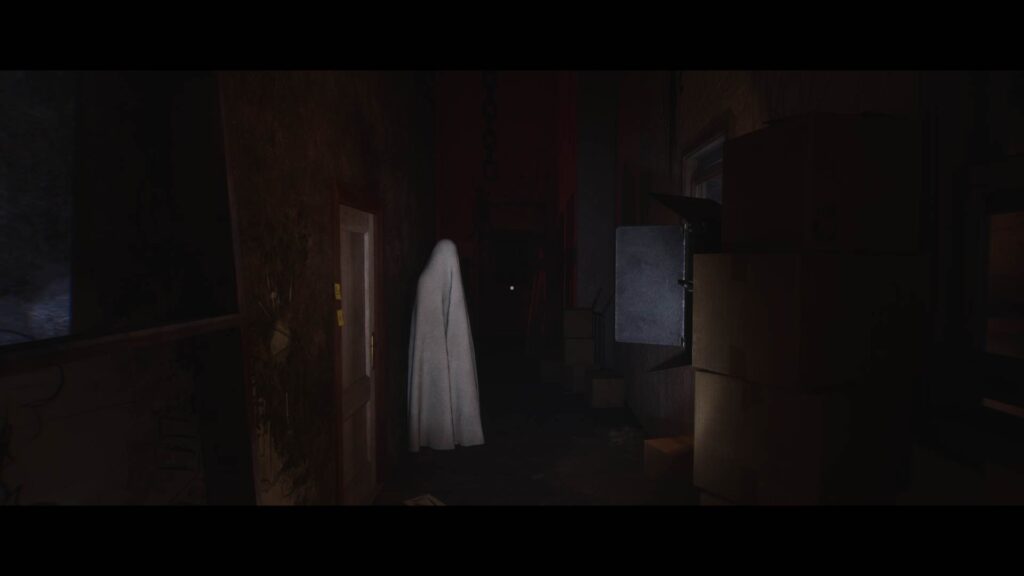
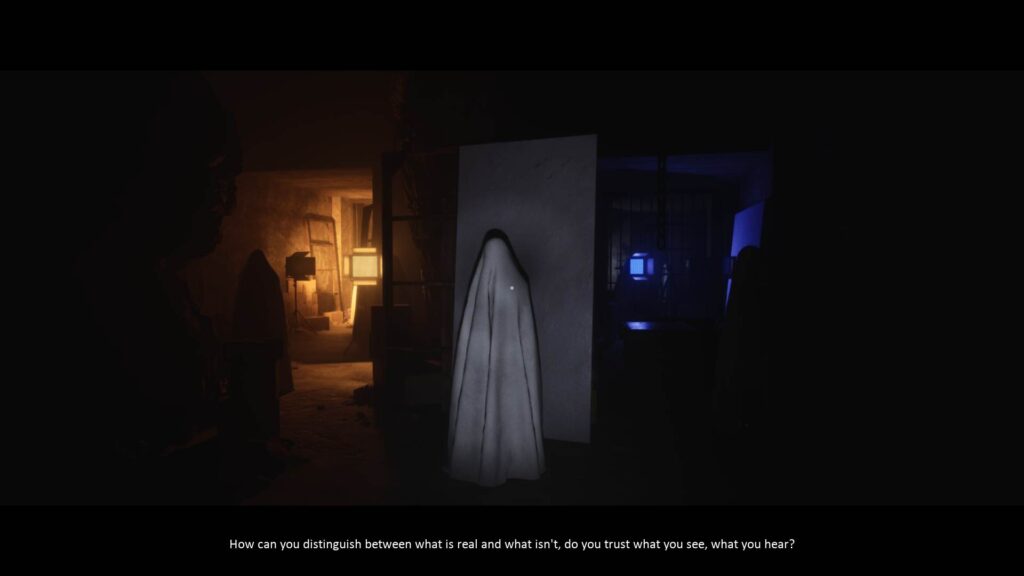
Turn right and you’ll see that the doorway is blocked by a ghost figure
Take the path up the stairs. There’s a word card on the ground. Pick it up.
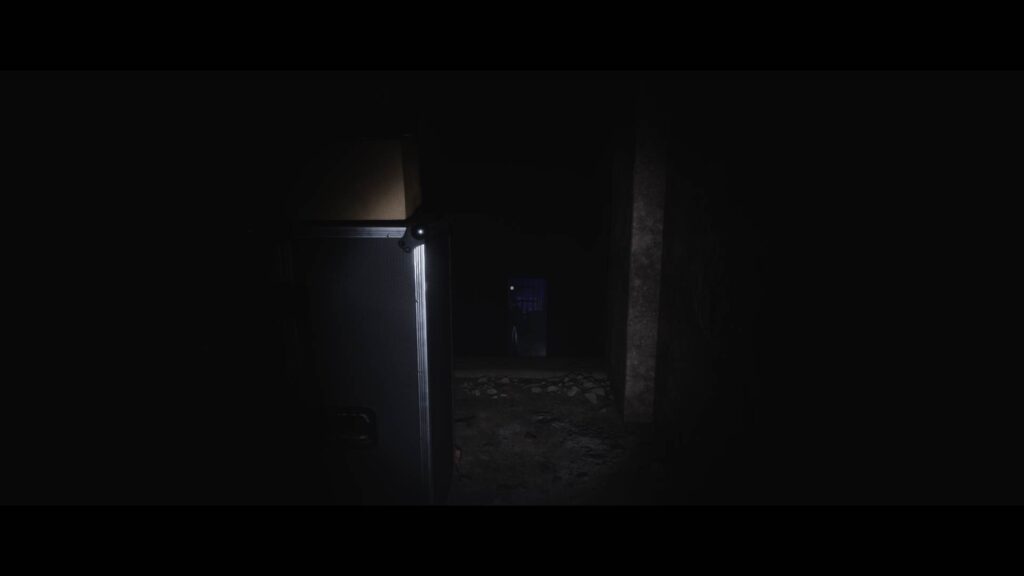
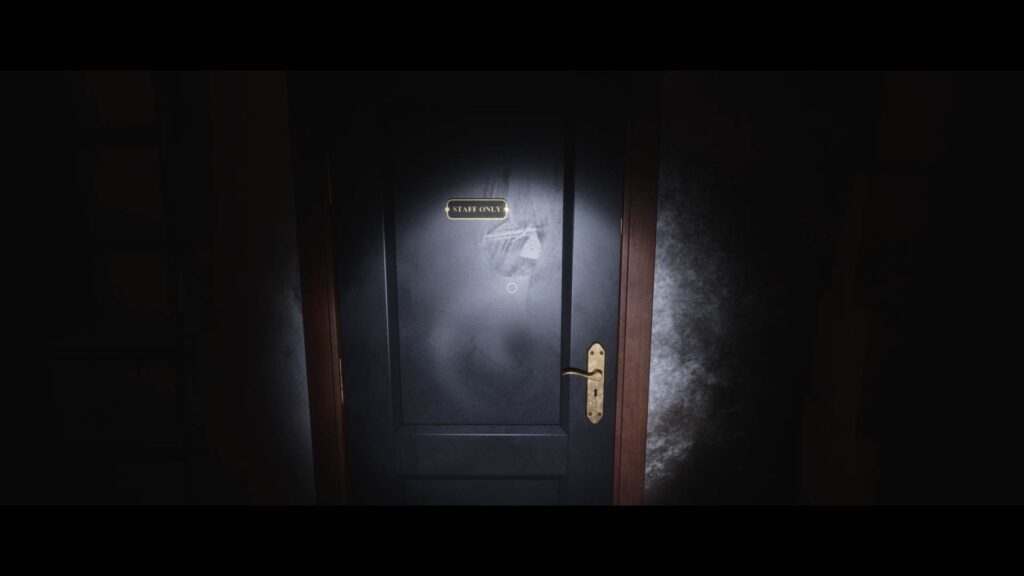
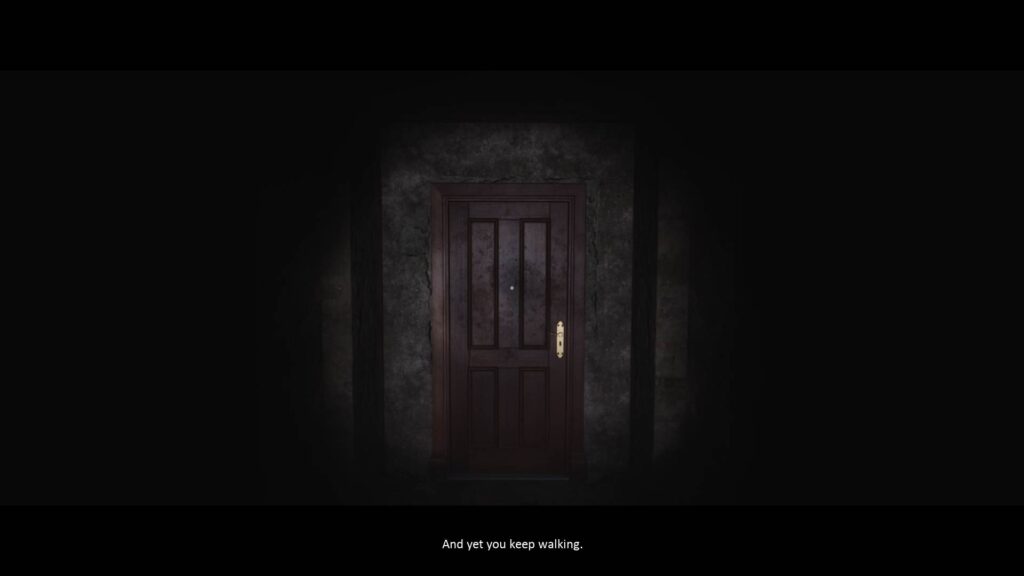
The path splits off into two directions. To your right, there’s a black door with a Staff Only sign. It’s locked for now.
Turn around and take the other path.
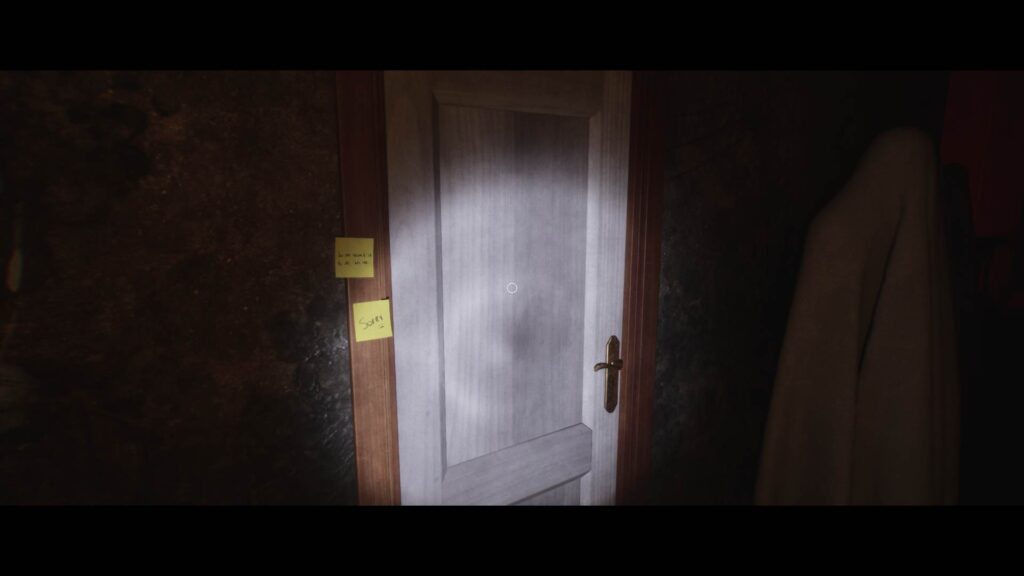
You’ll see a white door on the left that is also locked. There are a couple of sticky notes you can read on the door frame.
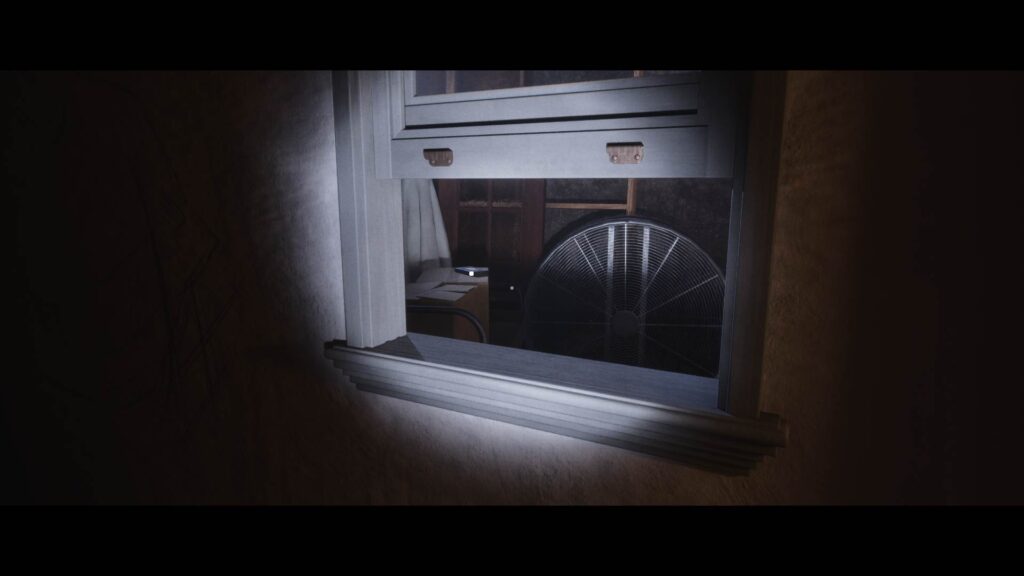
On the other side of the door, through a half-open window, you can spot a videotape sitting on a cardboard box.
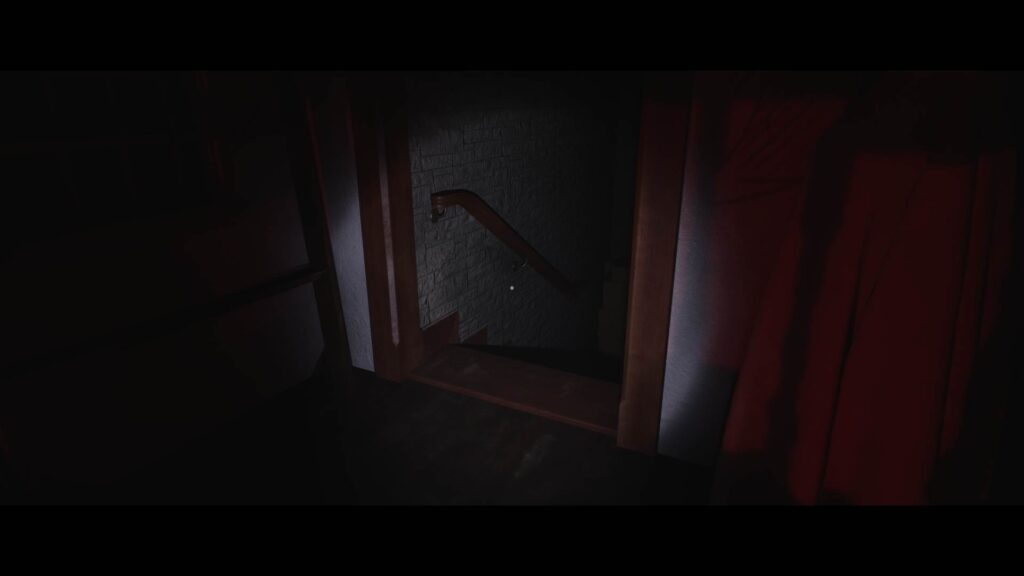
Keep moving forward past the white door until you reach a set of stairs on the right.
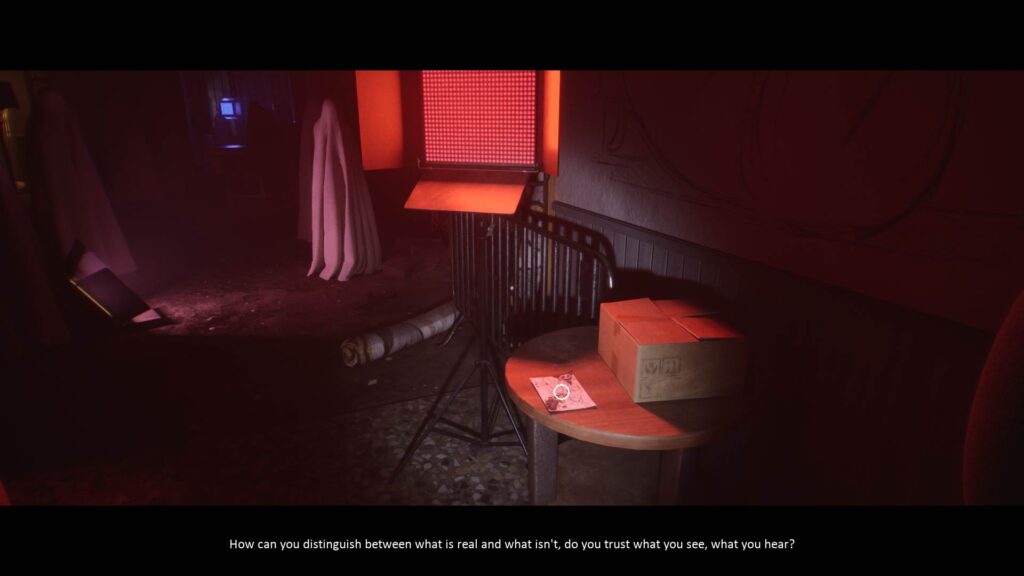
Head down to the lower level. Just ahead, near a red light, you’ll find a Sketchbook Sheet on a table to your right.
The narrator will start talking at this point about distinguishing between reality and dream. As soon as he finishes his dialogue, the lights around you will go out. Use your flashlight to keep moving.
Up ahead, you’ll find another fork.
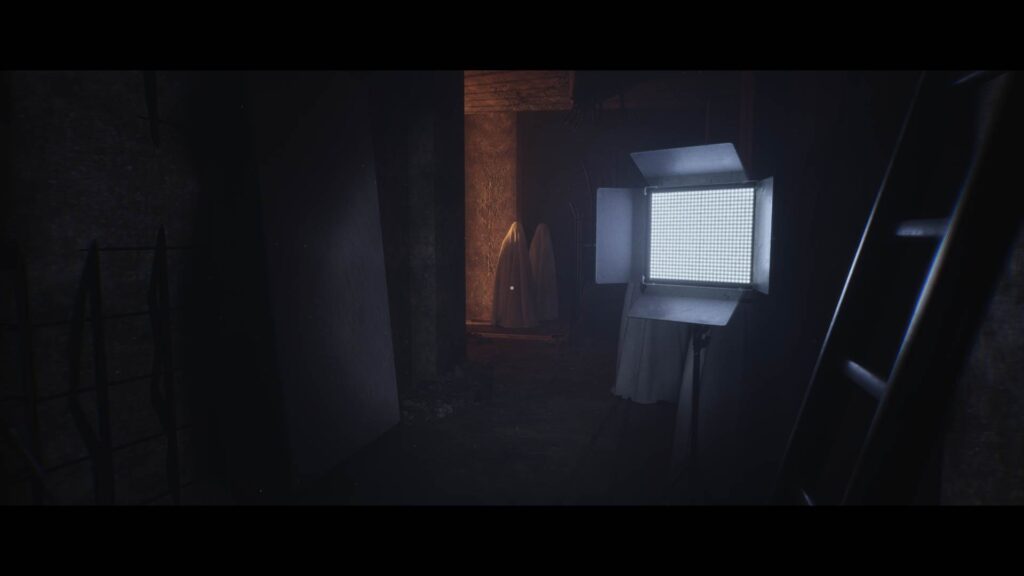
The path on the right (towards the blue light) leads to a stack of paintings where you can find a Word Card.
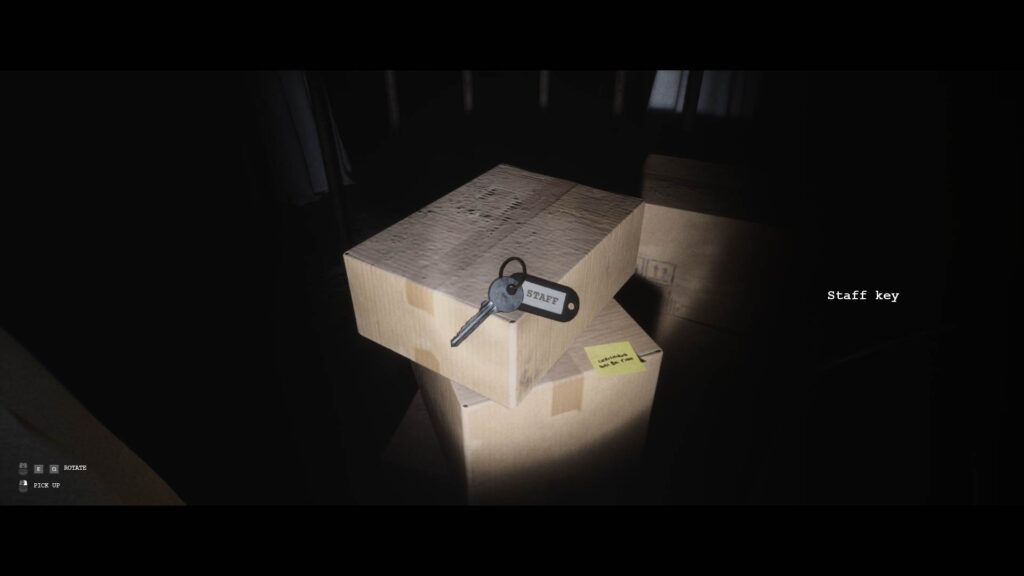
The path on the left (towards the yellow light), on the other hand, will get you to a stack of boxes with the Staff Key on top of it.
After collecting both items, start going back the way you came. The narrator will start speaking again once you reach the stairs. Make your way to the black door marked Staff Room from earlier and go inside.
The Staff Room
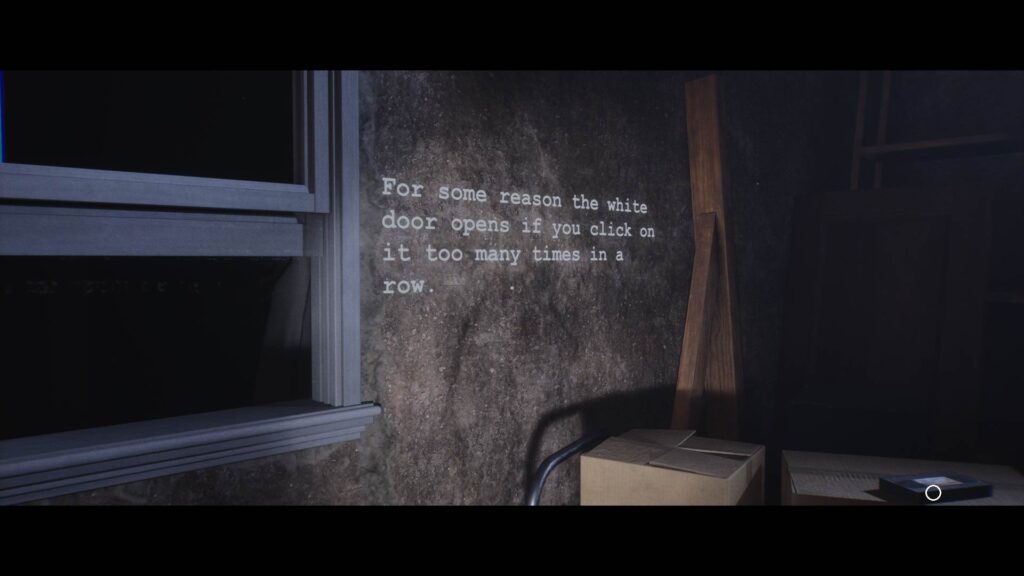
There’s not a lot to actually do in the Staff Room. Keep moving forward and you’ll find yourself on the other side of the half-open window. Check the strange writing on the wall. It refers to the white door you saw earlier, across from the window.
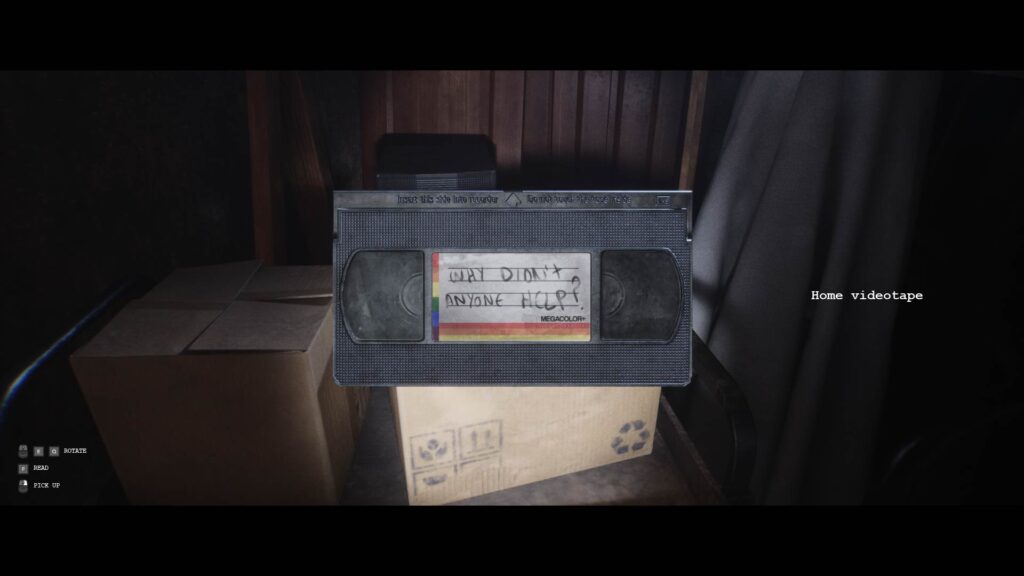
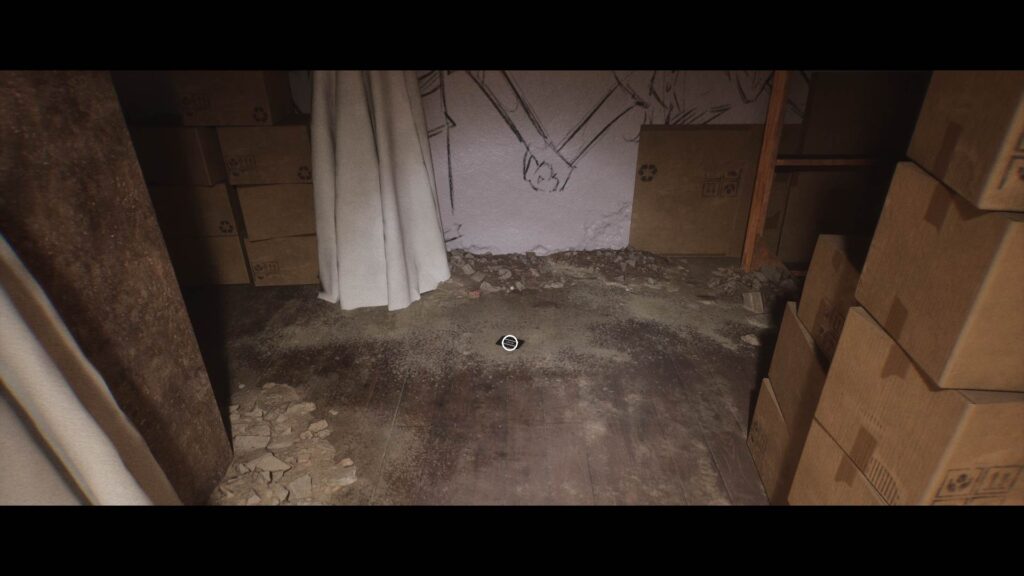
Pick up the Home Videotape from the stack of boxes before you.
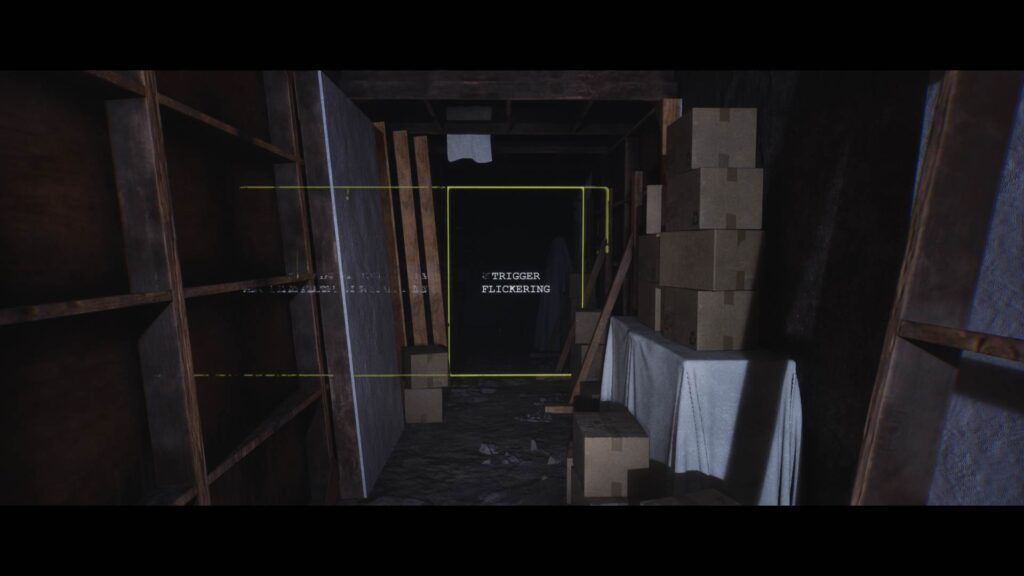
Turn around and you’ll see a yellow outline with the words Trigger Flickering. Ignore it and head back out of the room.
The Hangman Puzzle Solution
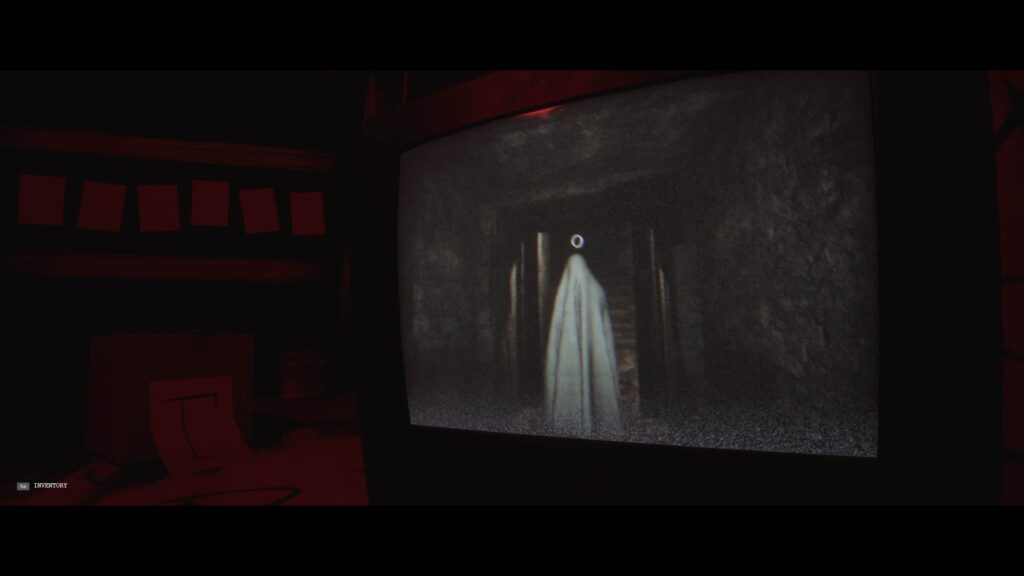
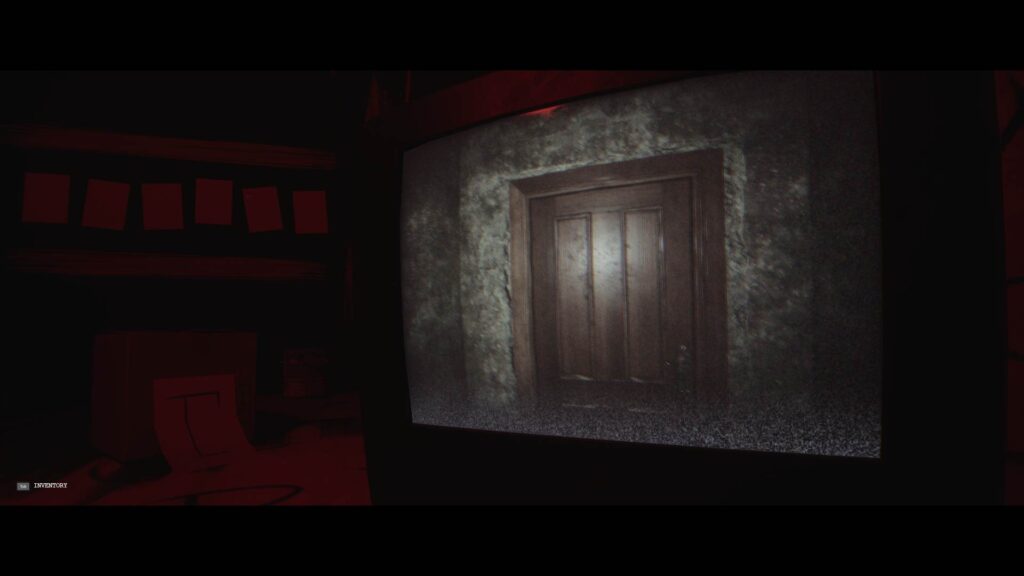
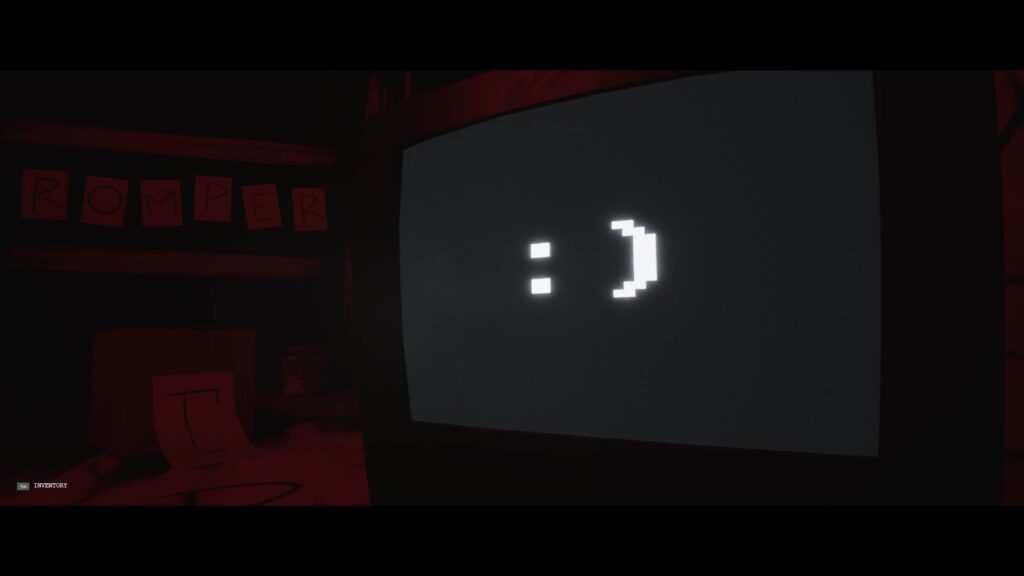
Go to the white door up ahead, interact with it a few times, and it’ll open. Inside the room, you’ll see a small TV on the ground. Interact with it.
Like the segment in the previous chapter, you’ll be in control of the character inside the TV.
Turn around from the door and walk towards the ghost with the letter O above its head. Interact with it and it’ll disappear.
You’ll also notice the second white paper among the six on the left side will have letter O on it.
As you move forward, you’ll see a lot of ghost figures around you, each with a letter above them. You’ll have to bump into ghosts with the right letters to make up the correct word to solve this puzzle.
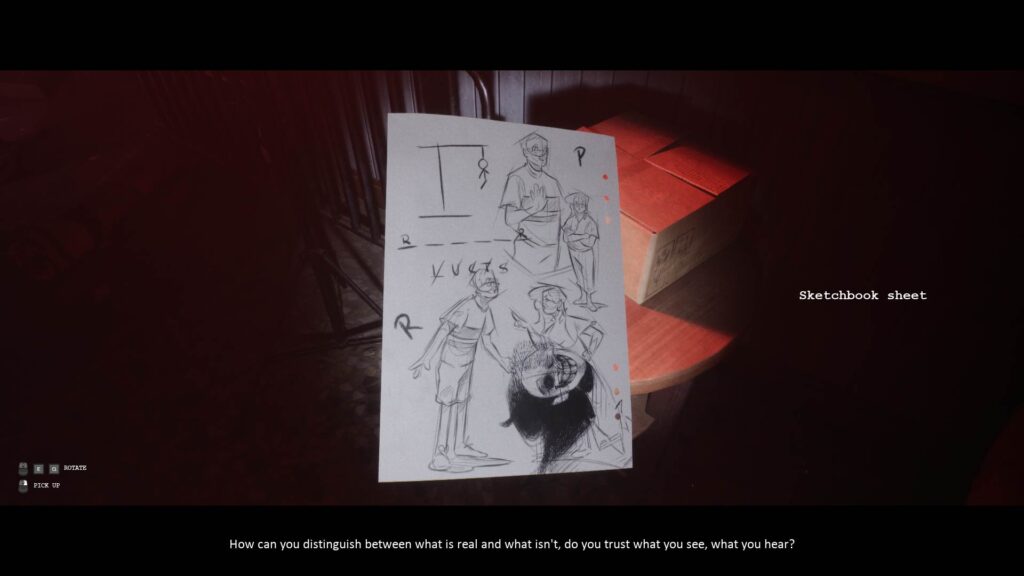
If you check the Sketchbook Sheet you picked up earlier, you’ll notice that the first and last letter for the puzzle is R. You’ll also see a couple of scratched off letters in the sheet to point you in the right direction. The rest comes down to trial and error.
Beware though if you bump into ghosts with the wrong letter enough times to complete the hangman, you will fail.
As you keep collecting words, you’ll suddenly notice a figure appear on the left side of the room. Ignore it and find the correct word to complete the puzzle.
NOTE: For those having trouble, the correct word for the puzzle is ROMPER.
The Chase
Once you solve the hangman puzzle, exit the room. Start walking back to the beginning area of the chapter. As you walk down a dark flight of stairs, the narrator will start talking again.
Turn Left at the bottom of the stairs and you’ll see a lit path. There was a ghost figure blocking your way earlier. With it gone now, you can follow this path down another staircase toward a door.
Go through the door to find yourself back in the long, narrow corridor with doors on either side.
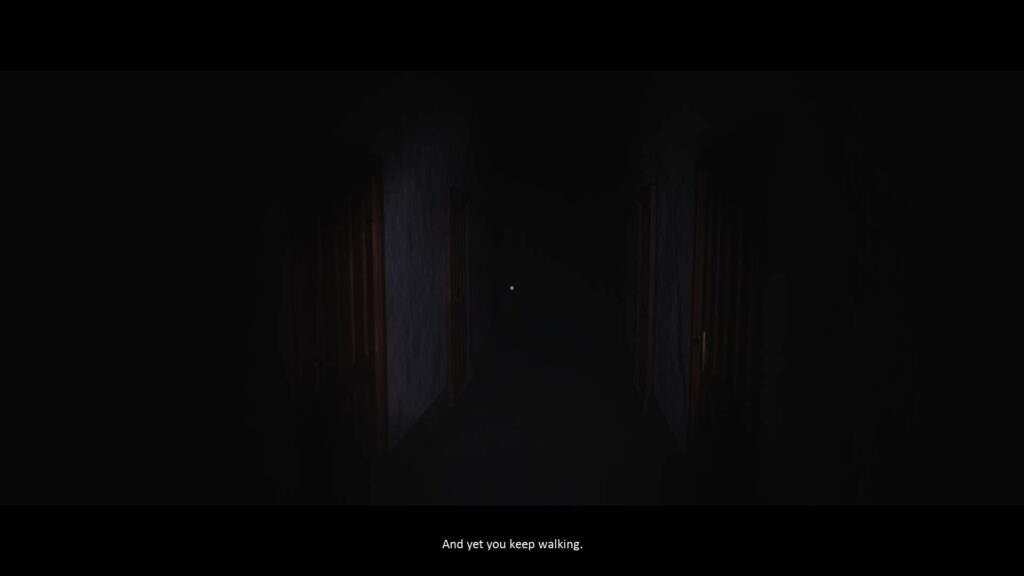
Turn right and continue walking down the corridor.
If you turn around, you’ll see a ghost following you, but it won’t charge up to you right now.

Continue moving along the path and you’ll see another yellow outline, this time with the phrase “Start Chase”.
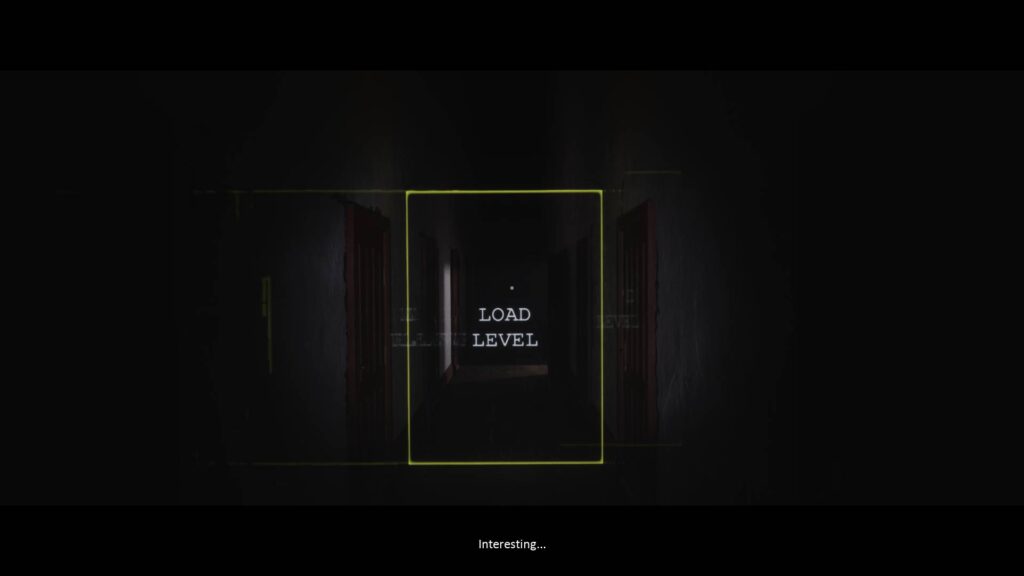
Continue sprinting along the corridor and you’ll see one final yellow outline with the words “Load Level”. You’ll see another ghost on the other end that’ll run towards you. Ignore it and continue pushing forward.

Once you cross the yellow outline, you’ll see the message “Loading: 22_A_MOUTH_FULL_OF_SAND_CAN’T_SCREAM” and everything will go black.
This concludes chapter 5 of Luto. For walkthroughs of the other chapters, be sure to check out our walkthrough hub for the game.
If you’re interested in more indie titles, check out the articles below.