Welcome to Part 5 of our walkthrough for Fretless – The Wrath of Riffson. Having been stranded in Tunedra, Rob is yet to find a way to get to the Festival Grounds to take part in Battle of the Bands.
But his luck is about to change as he finds a settlement full of helpful people at the base of the frozen mountain
For more information about Fretless – The Wrath of Riffson beyond this guide, check out the official website here.
Arriving at Bass Camp
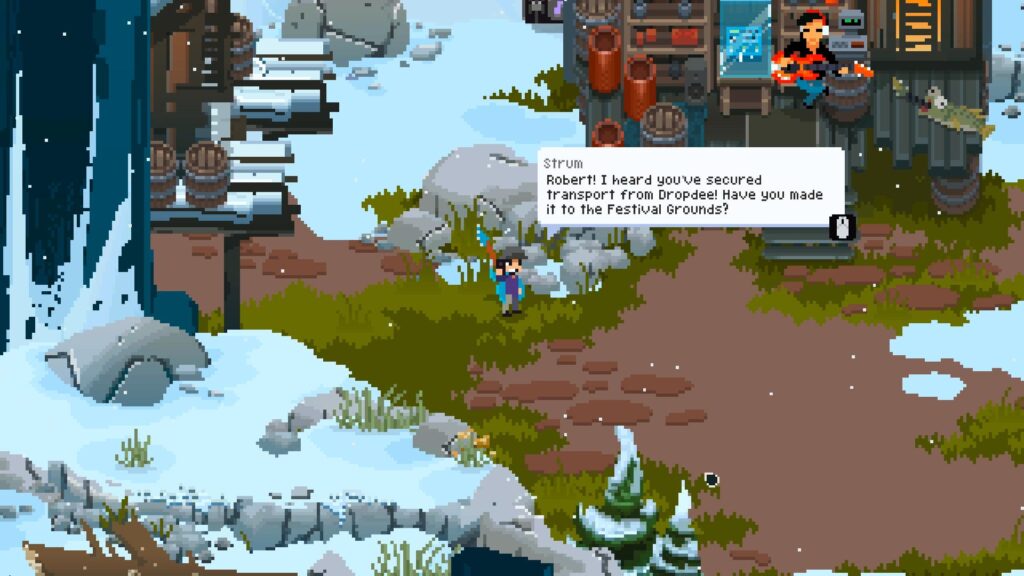
As soon as you enter the Bass Camp, you’ll get a call from Doctor Strum. He’ll tell you about a nearby SMR Communications Relay that could help secure a transport to the Festival Grounds.
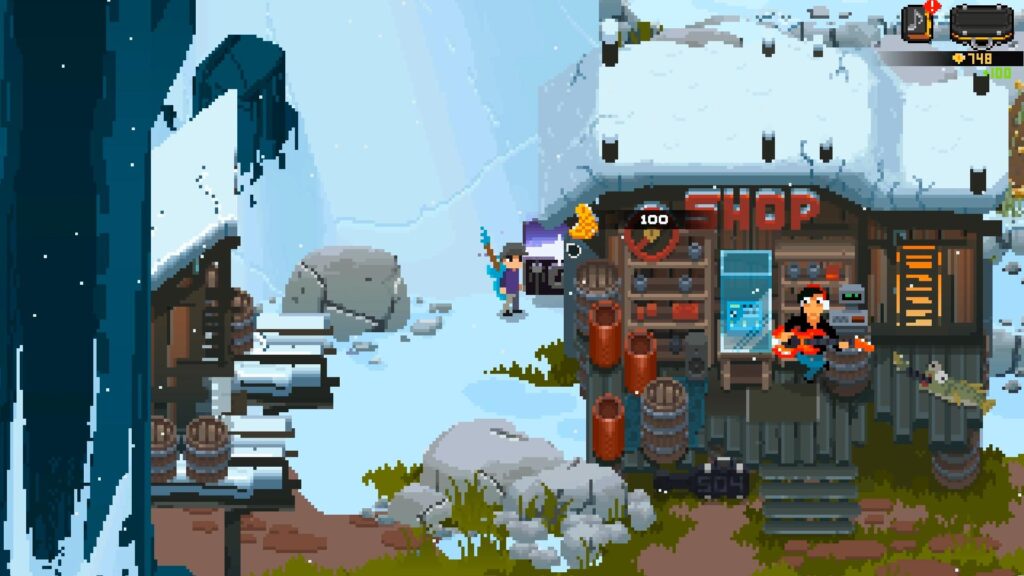
Loot the Supply Chest to the north for 100 Gold Picks.
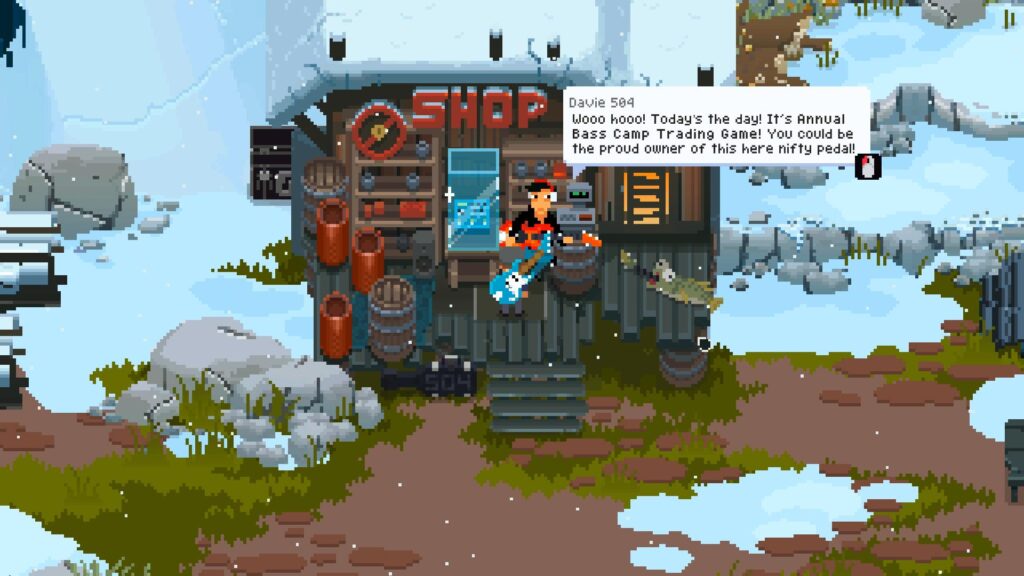
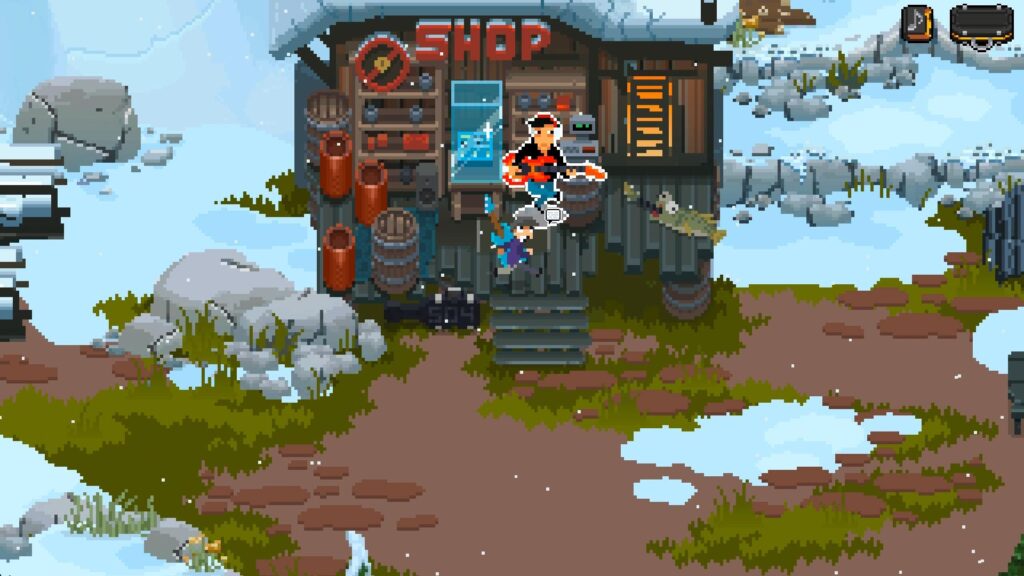
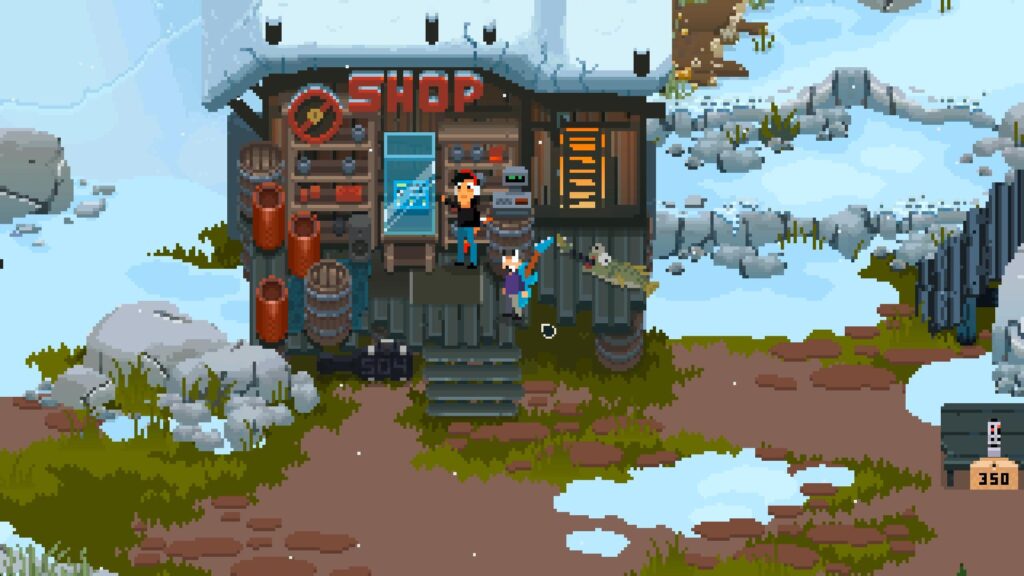
Talk to the NPC sitting at the Shop. This is Davie 504. He’ll mention the Annual Bass Camp Trading Game, a fun little side quest you can tackle a bit later.

Up ahead, you’ll find a Mod Shop with new Mods for your Instruments. Behind it, there’s a set of stairs leading to an upper section.
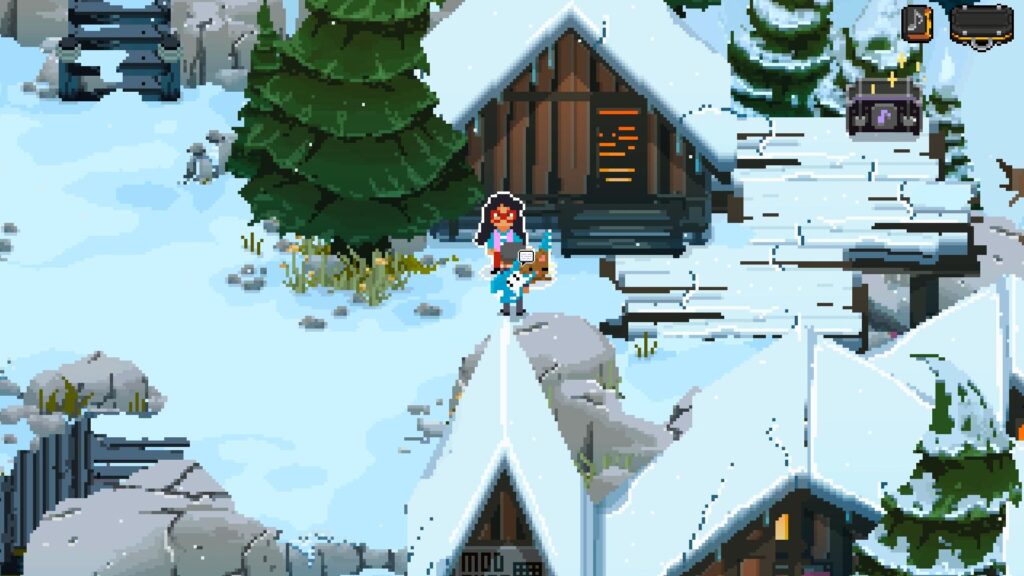
Talk to Miss Bakins and her dog outside the house. Next to her, you’ll find a Supply Chest containing 200 Gold Picks.

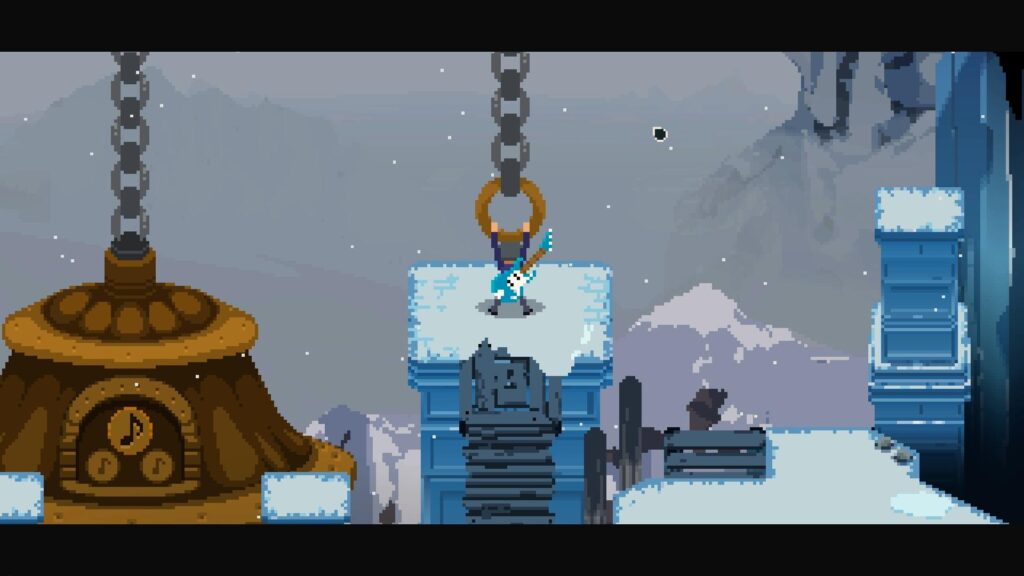
Keep heading north to reach the SMR Communications Relay. A cutscene will trigger, and the tower will explode, cracking open a new path just north of Bass Camp.
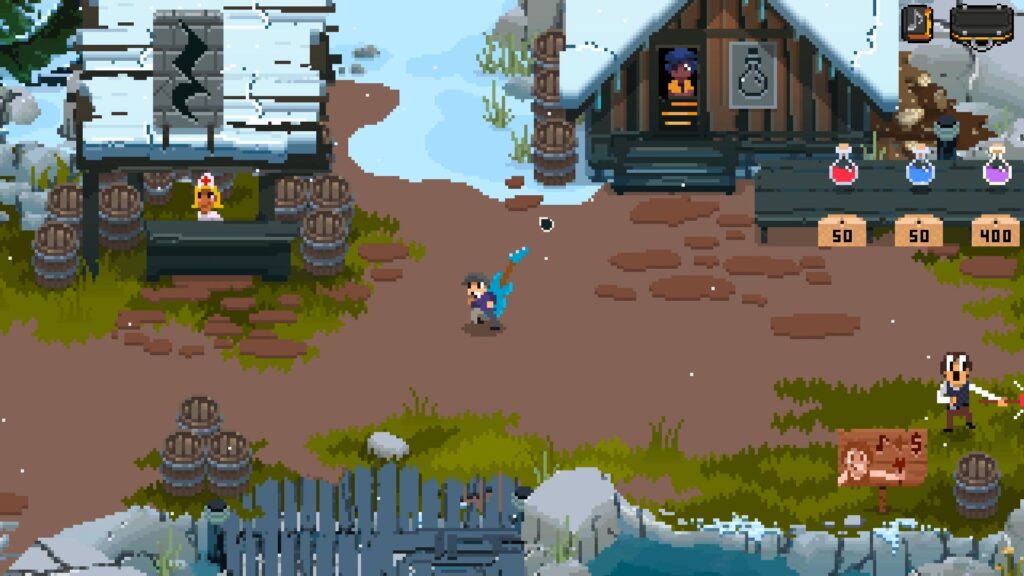
Before you head out, return to the lower level and spend some time exploring. There’s a nurse’s station, a potion shop, and Dewey’s Riff Shop, along with a few more NPCs you can chat with.

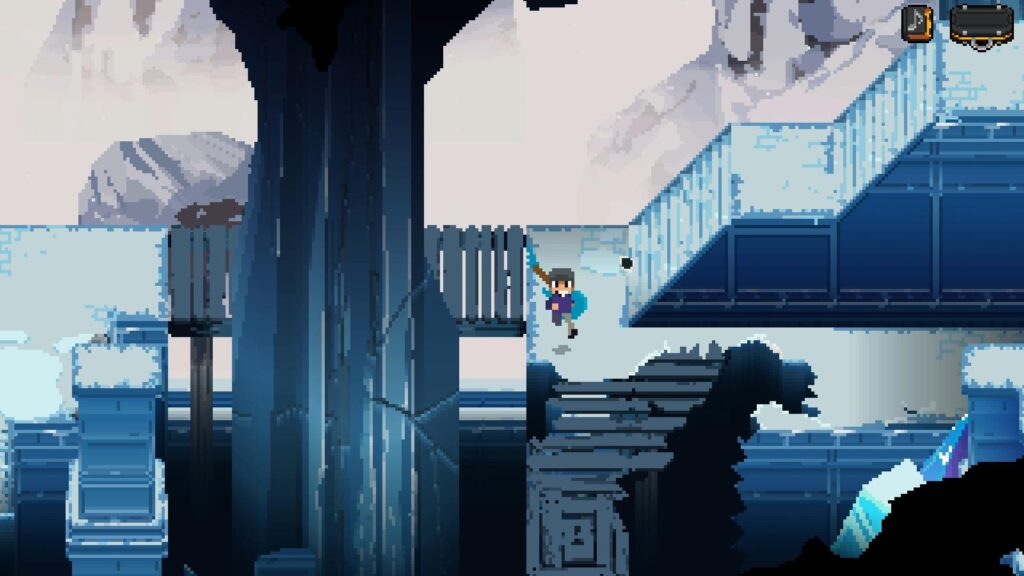
When you’re ready, take the northern road between the nurse’s station and the potion shop. Head up the icy stairs to reach the Carillon Caverns.
Venturing Into Carillon Caverns

Head north to find an Essence of Djent just before the stairs on the left.
There’s a lift here, but it’s inactive for now. Head east to the next room and watch the short cutscene.

Once it ends, move straight into the next section. There’s a Mod Bench as you enter.
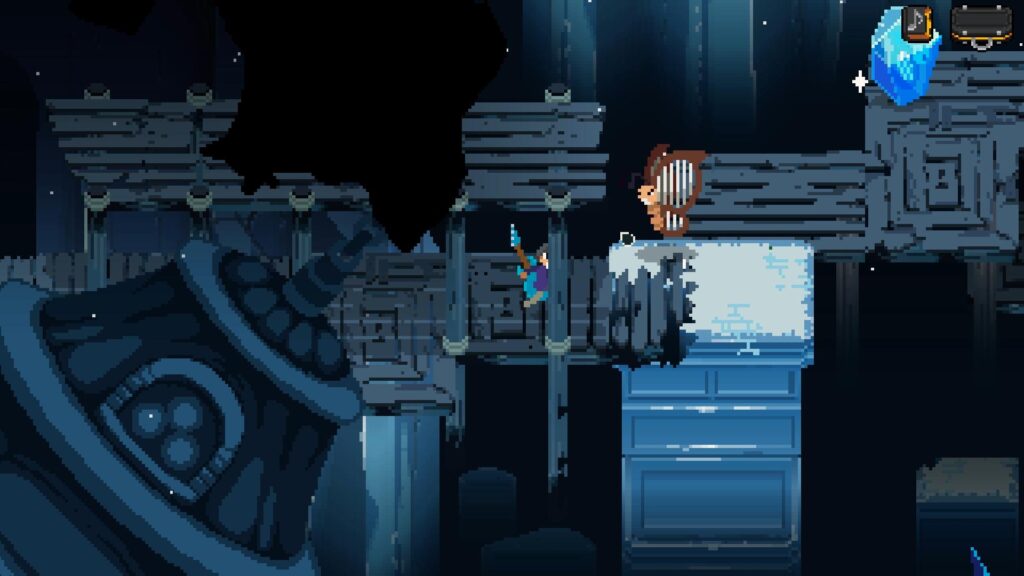
Move forward to find two Harperflies inside cocoons. Defeat them and keep going until the path splits.
Take the northern route first to find a Supply Chest with the Coil-Tap Knob Mod for the Eight Strings.
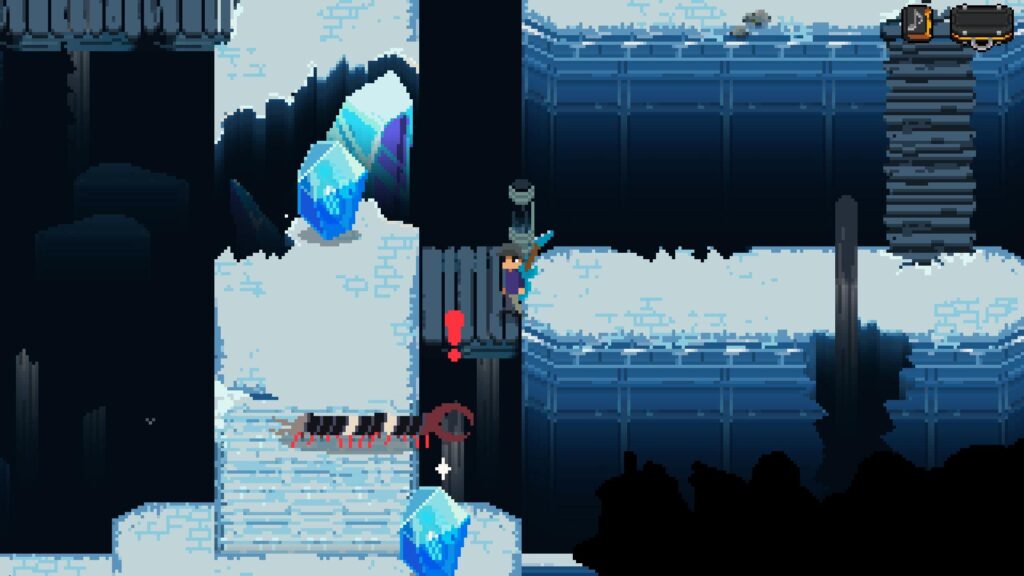
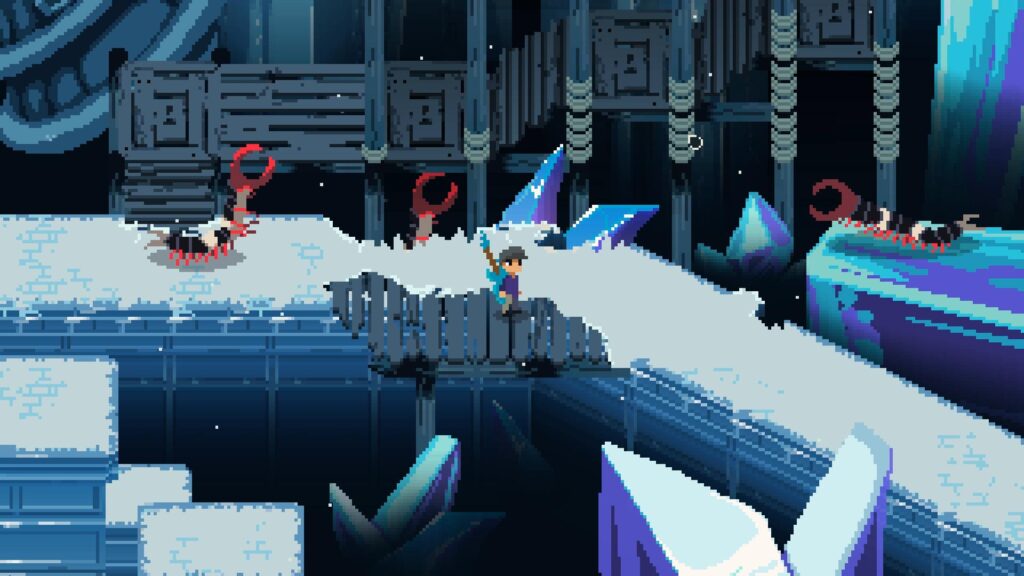
Backtrack to the fork and go east. You’ll run into your first Pianopede. These enemies can burrow and become invulnerable for a turn, but they’re manageable. You’ll also have to deal with another Harperfly Cocoon here.
After the fight, loot the Stray Volt nearby and go north.
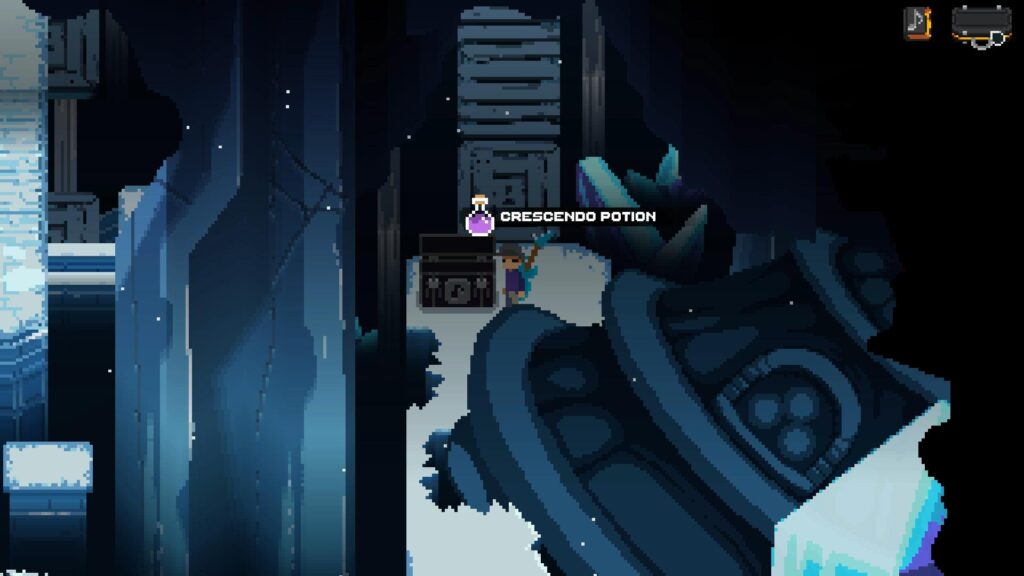
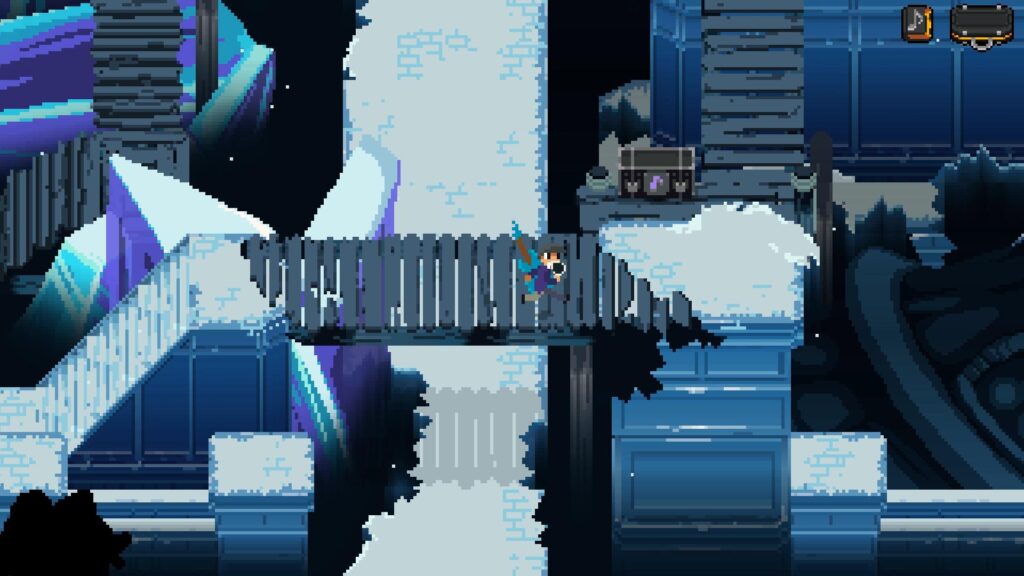
From here, head right past the wooden platform. Instead of taking the stairs, head south into the next room for a Supply Chest with the Pick Guard Mod and a Crescendo Potion.
Return to the stairs and head up. Watch the short cutscene and keep going forward to fight three more Harperflies.
In the next room, you’ll find another Mod Bench. Use it to adjust your setup before moving on.
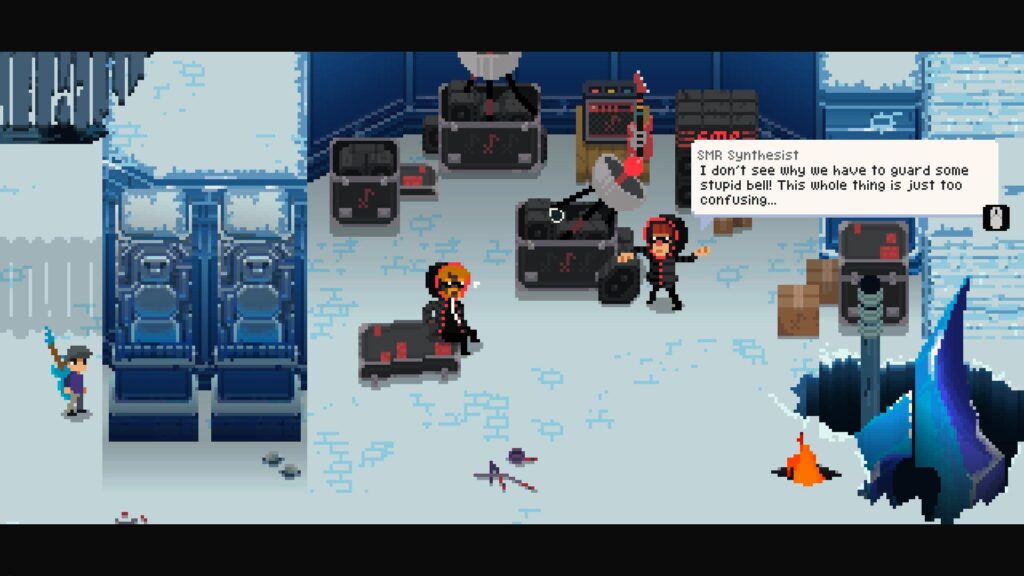
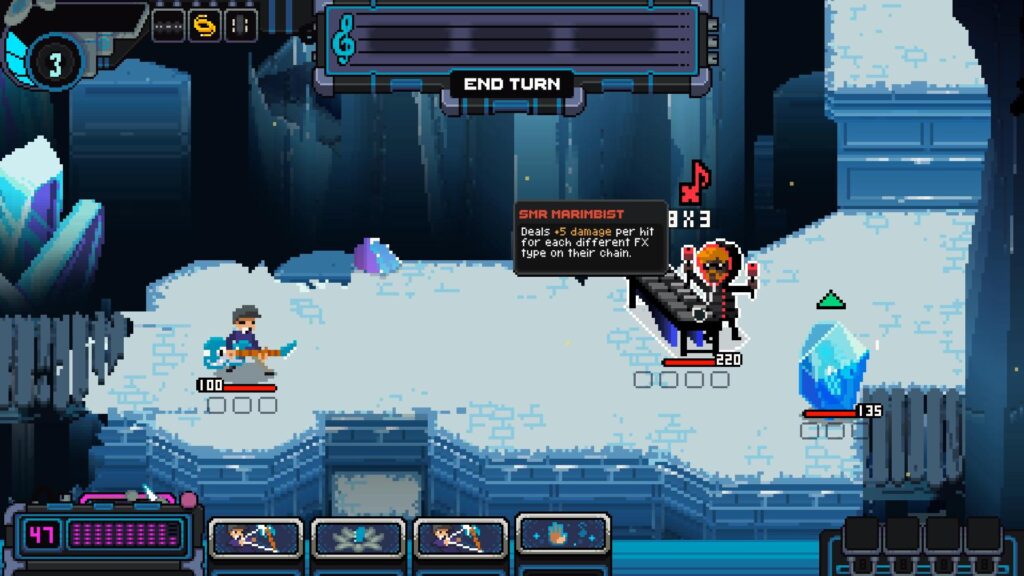
You’ll soon overhear a conversation between the SMR Marimbist and SMR Synthesist. After that, you’ll fight both of them.
Loot the Essence of Djent nearby. Then, backtrack slightly and take the northern passage to find a Supply Chest with 200 Gold Picks.
On the eastern side of the room, you’ll find another Supply Chest containing a Shield Potion and the Granulator Mod.
Go up the stairs to the north, where the path splits east and west. The western path is locked for now and needs the Cavern Door Key.
Head east. Doctor Strum will call and ask you to ring the Core Bell. After the call, continue east into the next room.
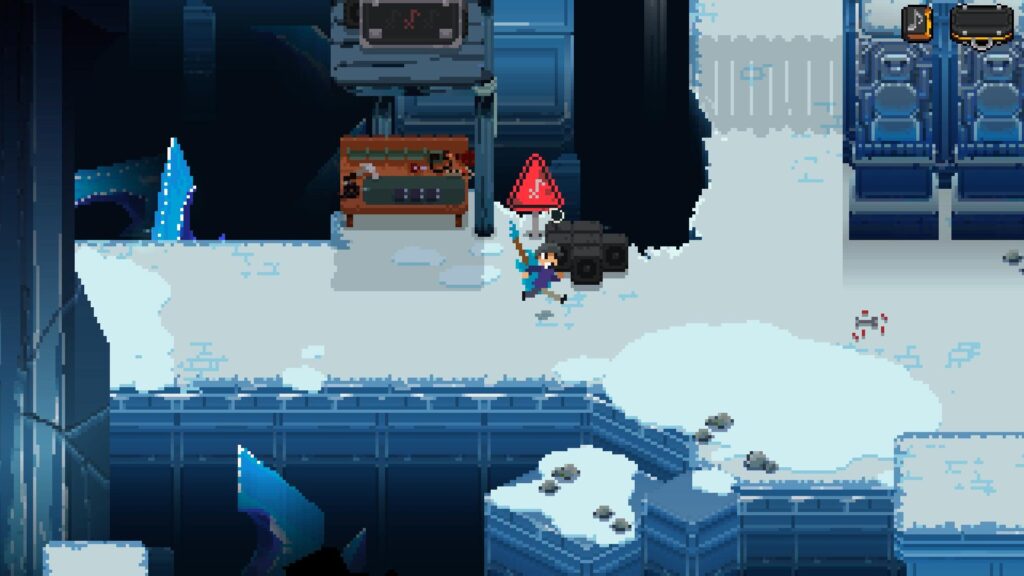
Deeper into the Caverns
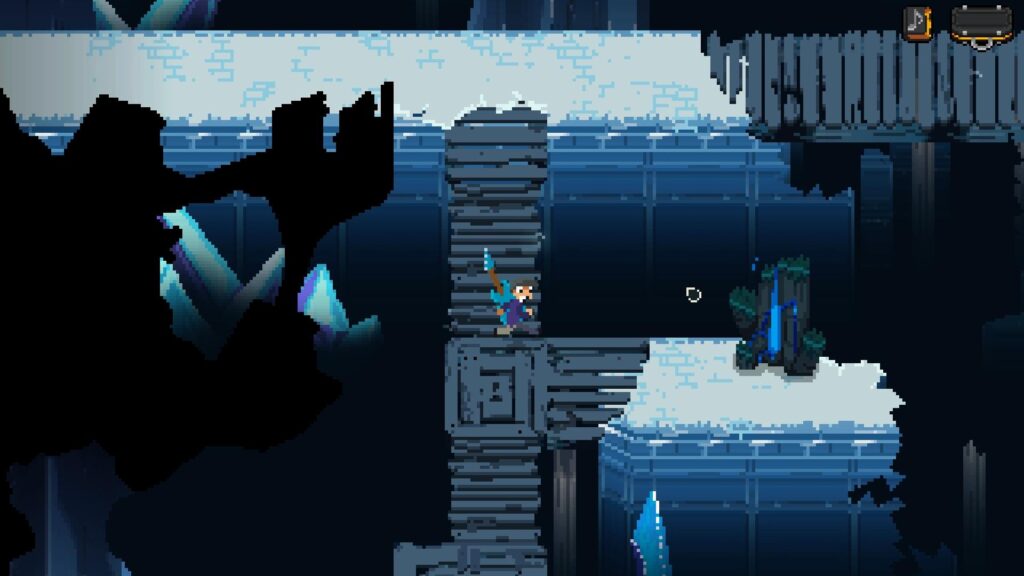
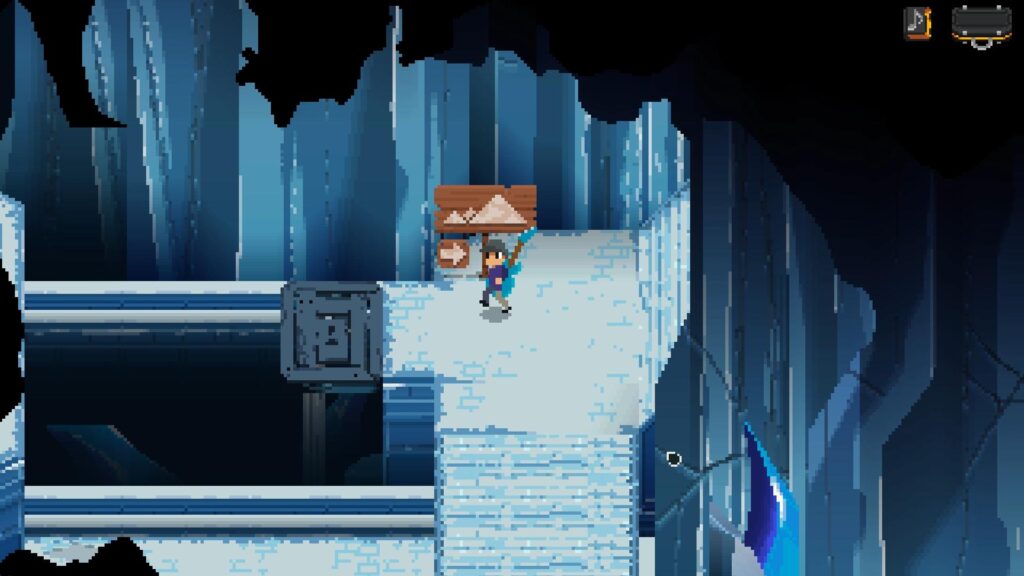
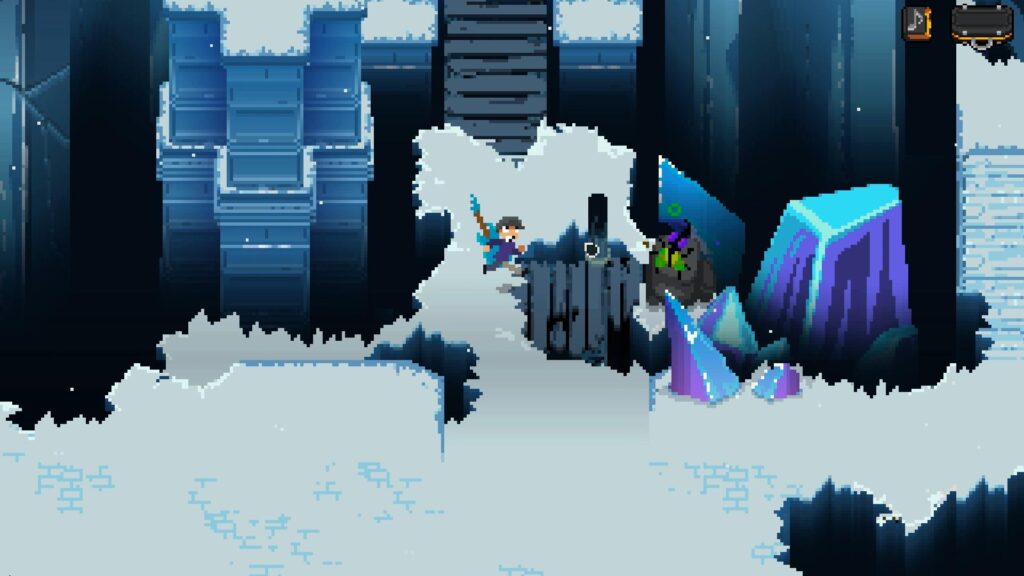
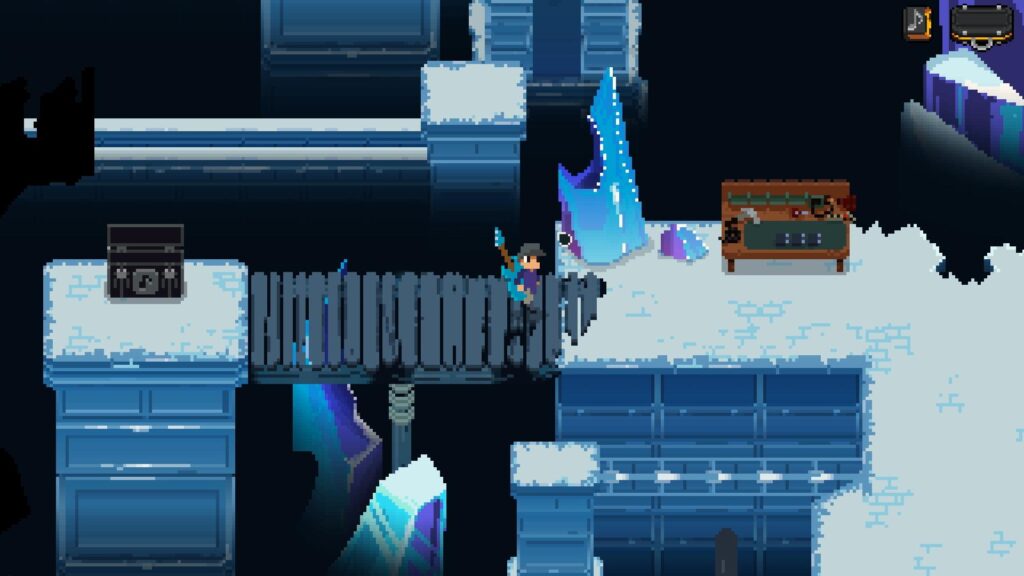
In this area, take the southern path down the wooden platform. Grab the Slap Stone on your right and head into the next room.
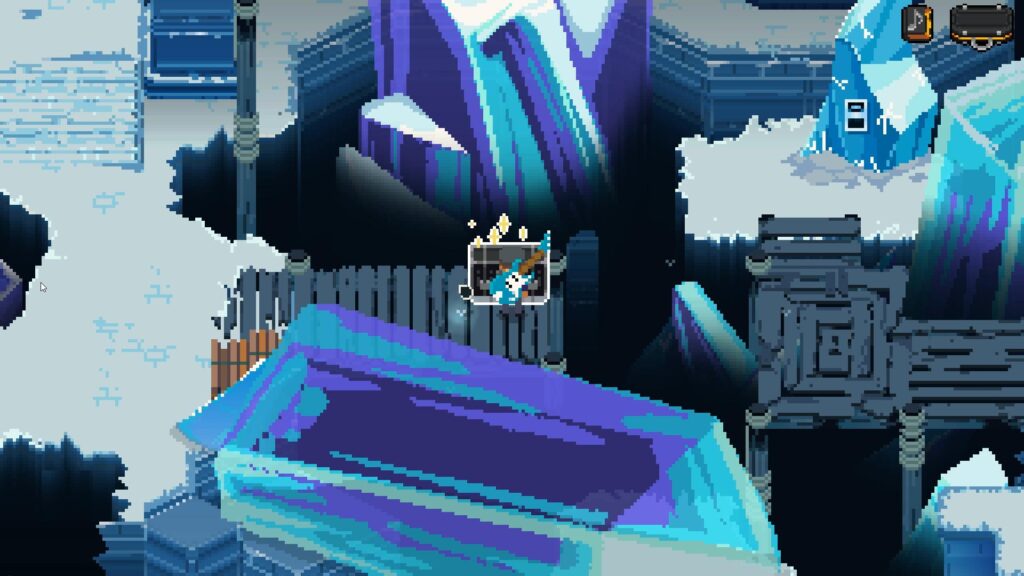
On the wooden platform ahead, you’ll spot a Pedal frozen inside an ice crystal. Interact with it to unlock the Tuner Pedal.
Return to the main path and head east. At the fork, continue east and defeat two Harperflies and a Pianopede.
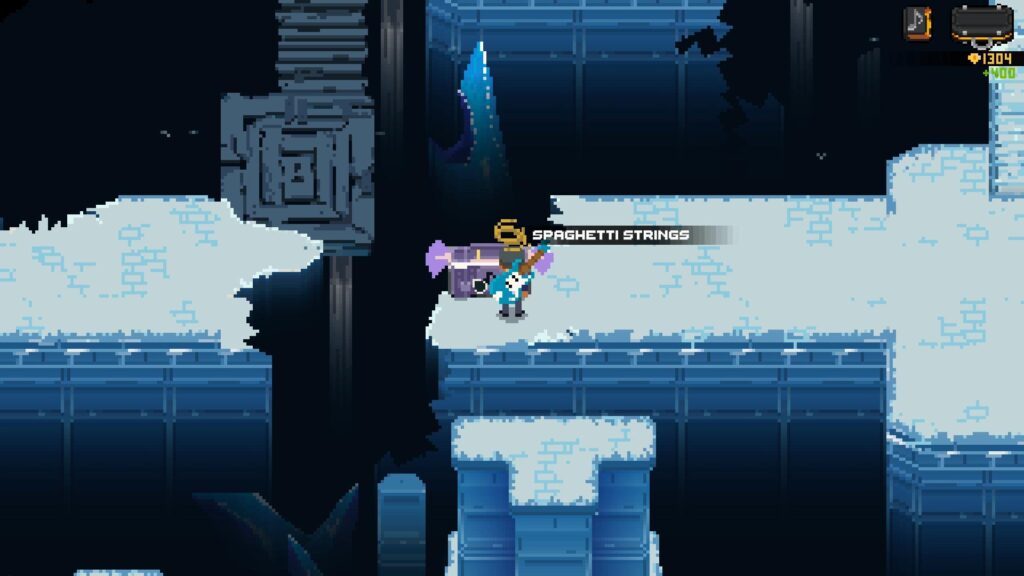
After the fight, loot the Supply Chest for the Spaghetti Strings Mod and 400 Gold Picks.
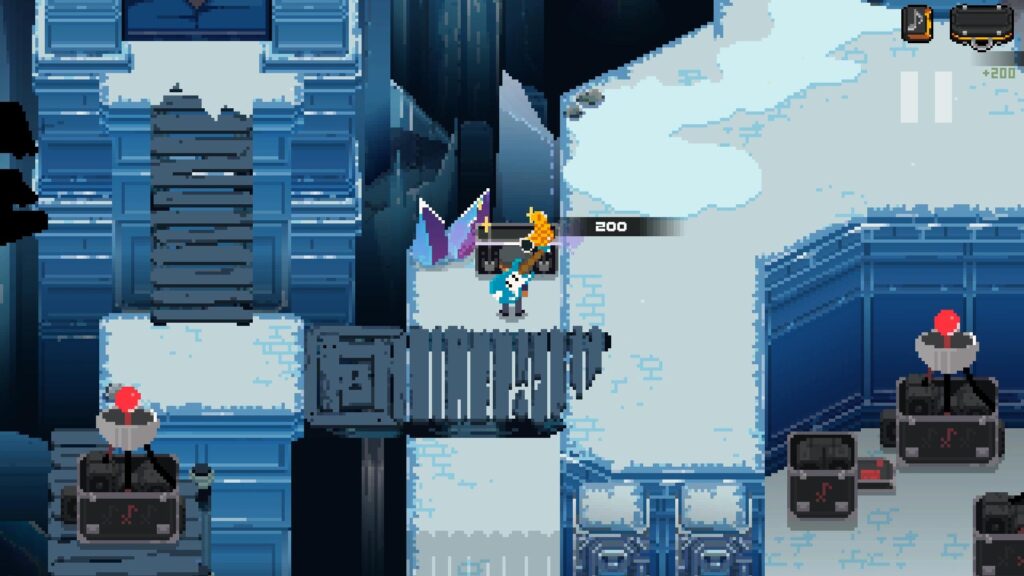
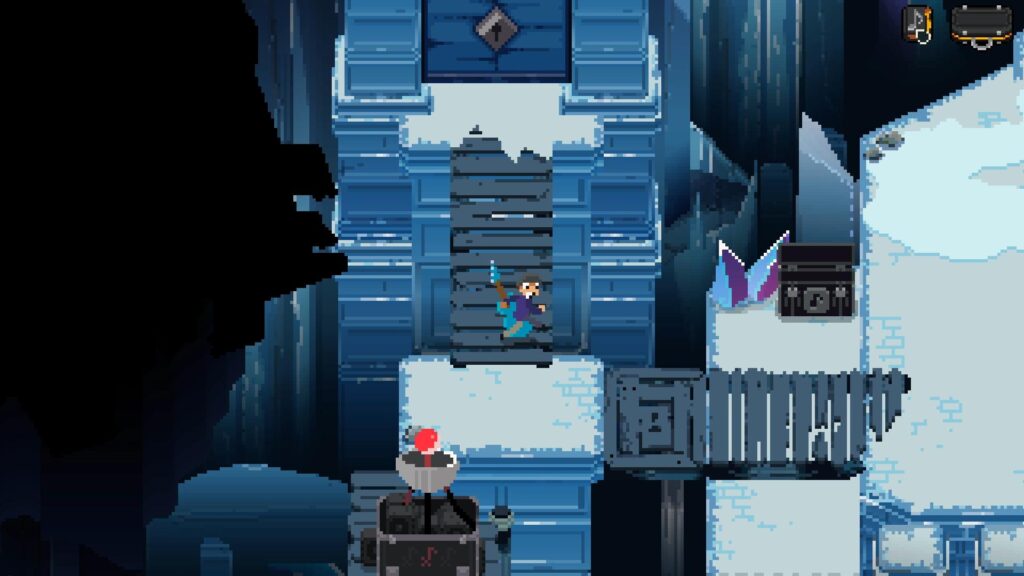
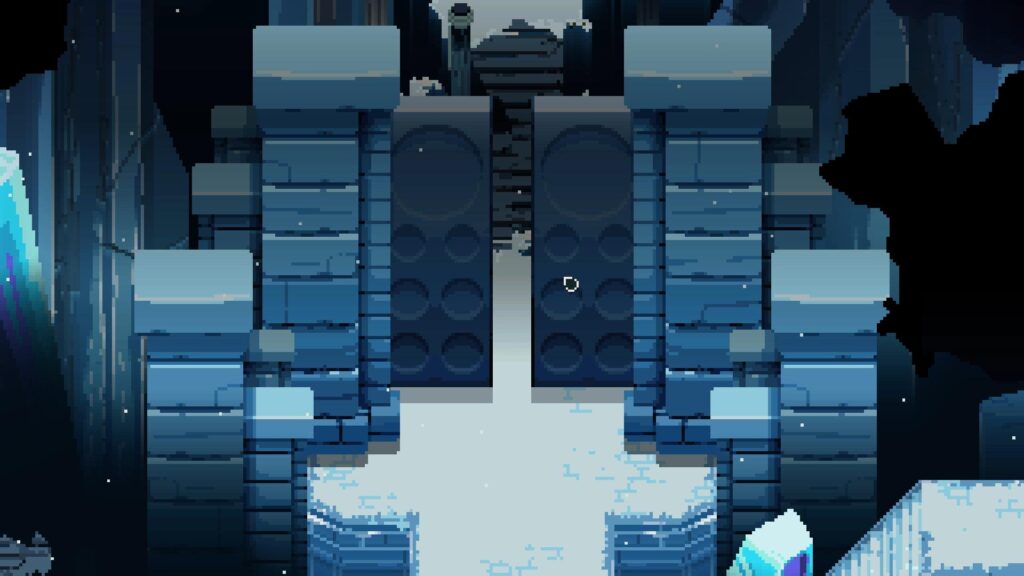
Return to the fork and head north. You’ll reach a large sealed door with paths leading left and right. Take the left path first. Defeat the SMR Synthesist and Harperfly.
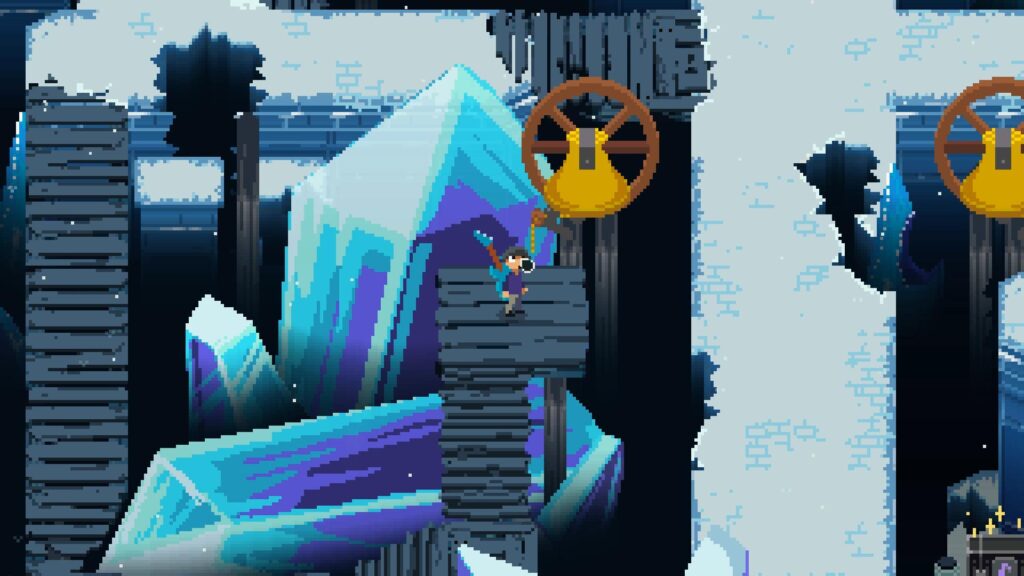
Continue forward and climb the wooden stairs to ring the bell. This will light up the left side of the sealed door.
Head down the icy stairs to find a Supply Chest with a Shield Potion and 200 Gold Picks.
Next, you’ll fight an SMR Marimbist and a Harperfly. Defeat them and ring the second bell to fully unlock the large door.
Go through the door into the next section of the Caverns.
Saving Henry
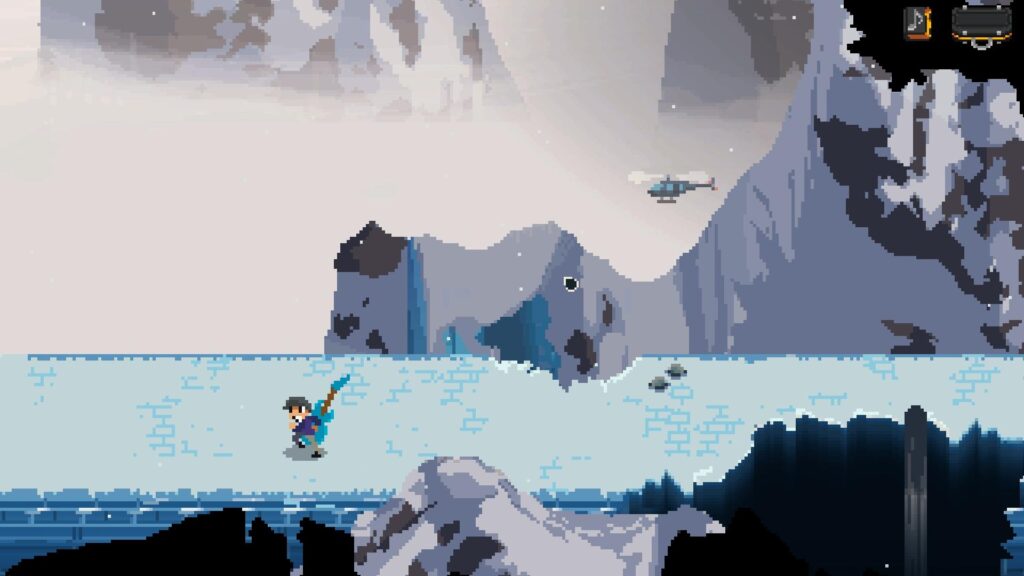
As you follow the path, you’ll spot a chopper flying in the distance.
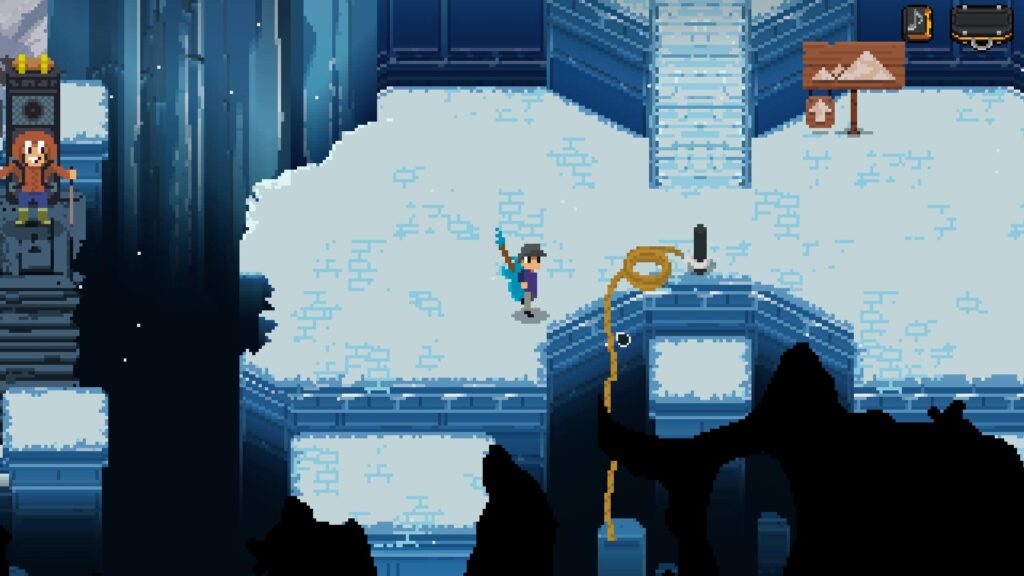
You’ll reach a set of stairs leading north. Instead, head west and talk to Henry, an NPC trapped behind a rockslide. He’ll throw you the Cavern Door Key so you can clear the way for him. Use the rope nearby to rappel down to the previous area where you fought the SMR Marimbist and SMR Synthesist.
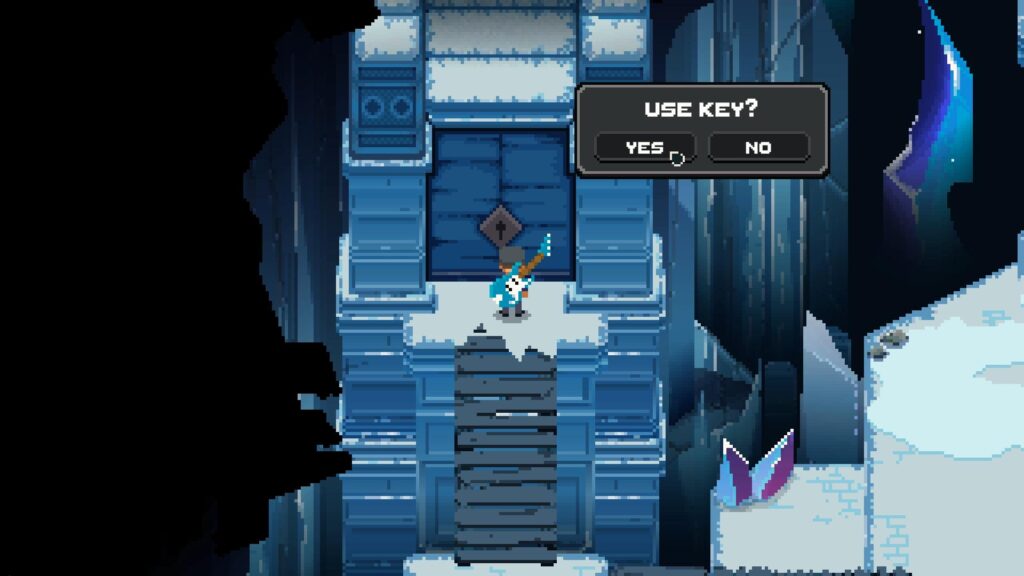
Go west and unlock the door using the Cavern Door Key.
You’ll find a Mod Bench ahead. On the left side, take the wooden platform to a Supply Chest with the Rabid Pickup and 350 Gold Picks.
Then take the eastern path from the Mod Bench. You’ll eventually get ambushed by three Pianopedes.
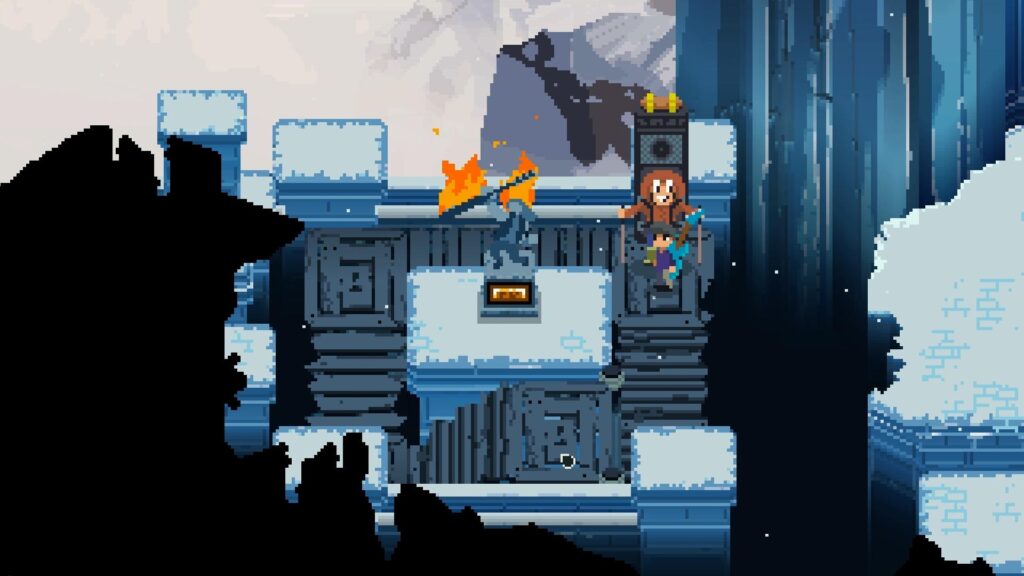
After defeating them, head up the wooden staircase to find Henry. As a reward, you can collect the Riff Statue to unlock new Riffs for your Eight Strings.
Bass Camp Trading Game
After helping Henry, it’s a good time to return to the Bass Camp to wrap up a few more side activities. Fast travel back to Bass Camp and talk to Davie 504 to start the Trading Game.
For this quest, you have to trade items with different NPCs until you find the Major Key. Once you accept the quest, Davie 504 hands you the Tootpick.
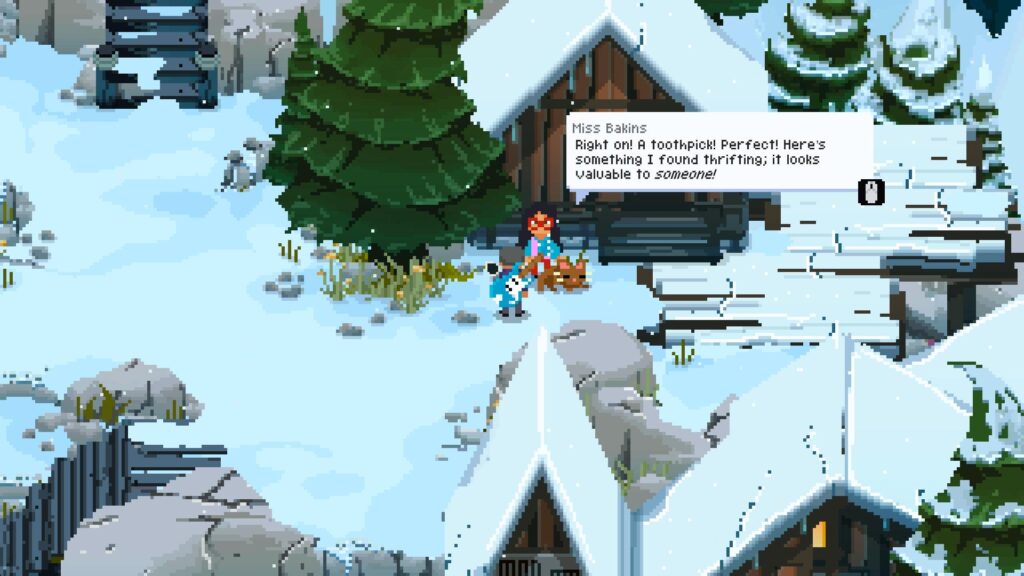
Head right and go up the wooden stairs to the north. Talk to the NPC with the dog. She’ll accept the Toothpick and give you a Game Disc.
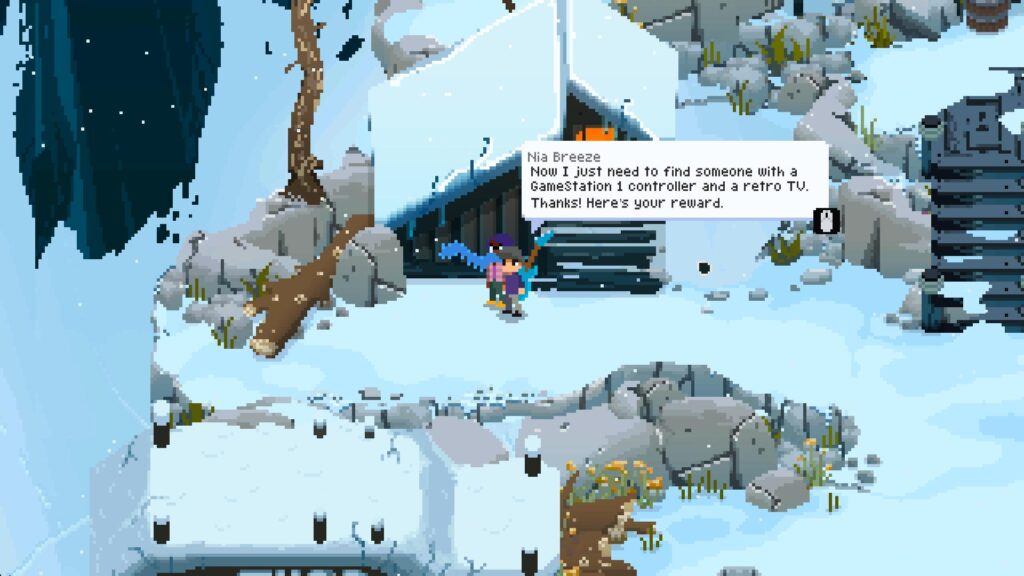
Take it to the house just west, and you’ll find Nia Breeze, who loves playing video games. She’ll accept the Game Disc and give you an Eye Makeup.
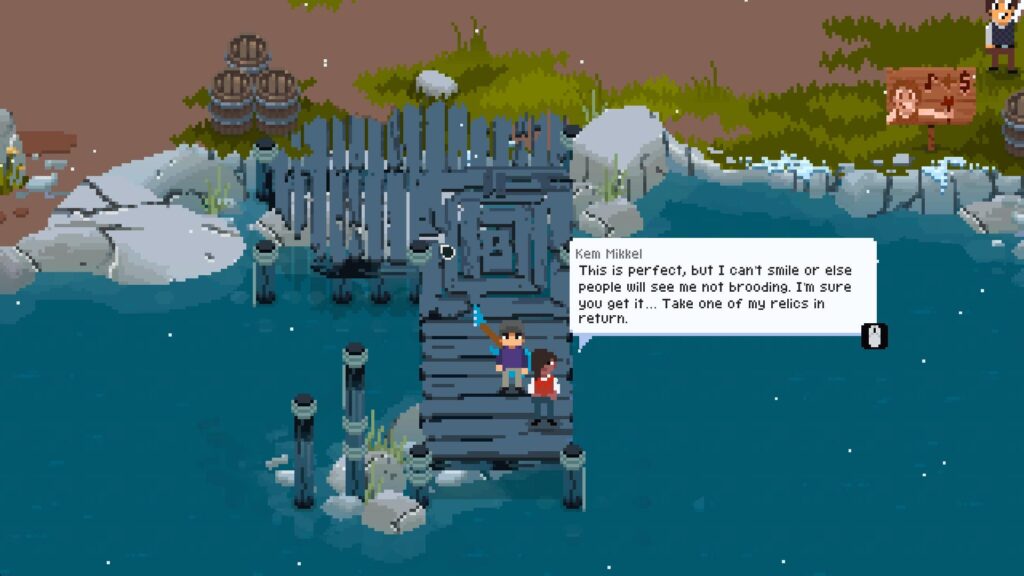
Head to the pier south of the Potion Shop and give the Eye Makeup to Kem Mikkel. She’ll give you the Aosin Tabasi Poster.

Give the poster to Dee Jent, standing between the Mod Shop and the Mod Bench. He’ll give you the Aggro Roller Blades as a trade.

Take the stairs on the right side of the Potion Shop, give the roller Blades to Dee Sharp, the NPC wearing the red jumpsuit. He’ll give you the Summit Scaler.
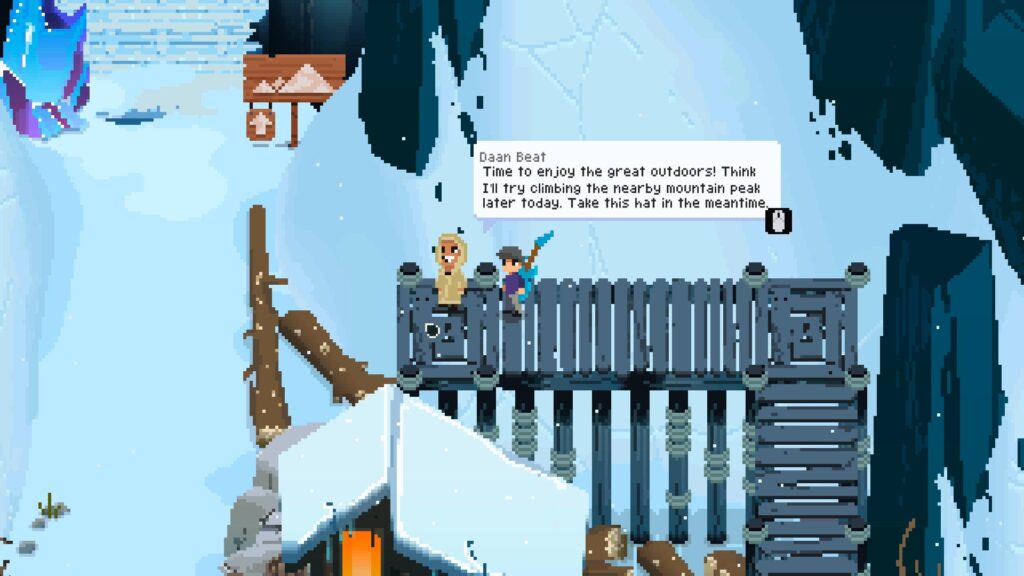
Continue following the path up the stairs across the wooden bridge to find Dann Beat. He’ll take the Summit Scaler and give you the Crusty Beanie in exchange.
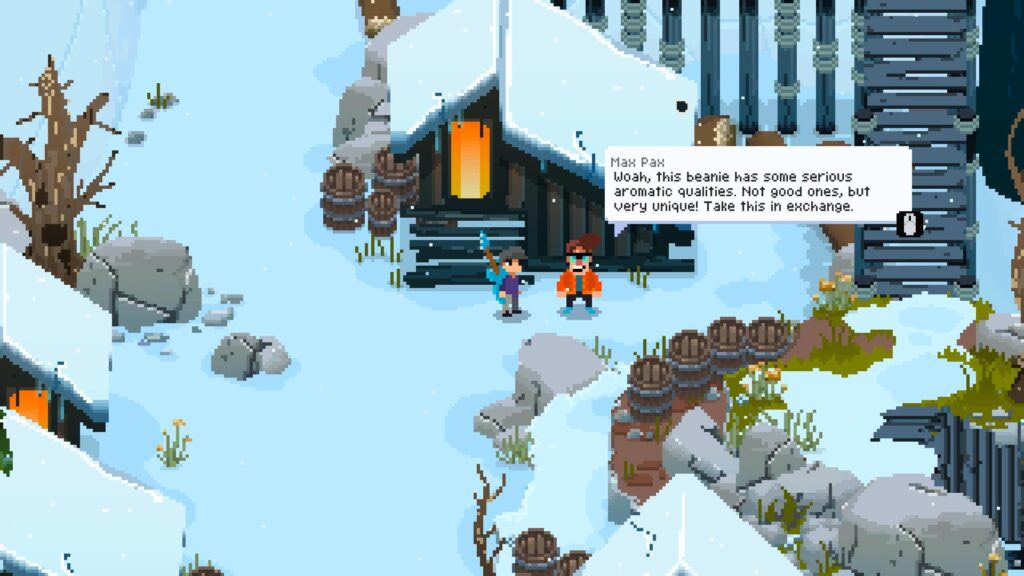
Take this to Max Pax. You’ll find him near the first house on the northern road between the Potion Shop and Nurse’s Station. He will then give you The Major Key.
Go back to Davie 504 and give him The Major Key, and he’ll unlock the Sapphire Skies Pedal for you.
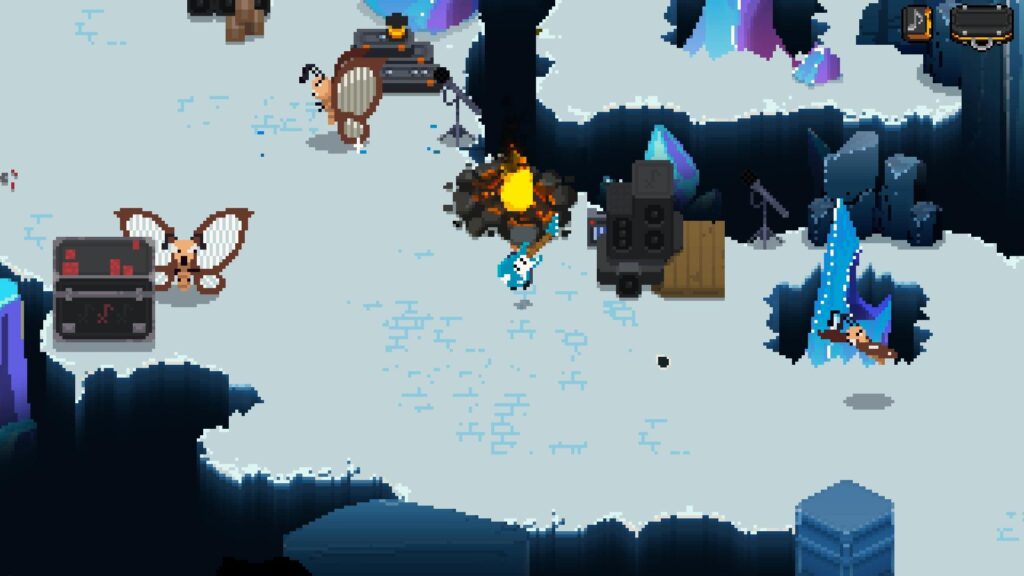
Harperbeast Boss Fight
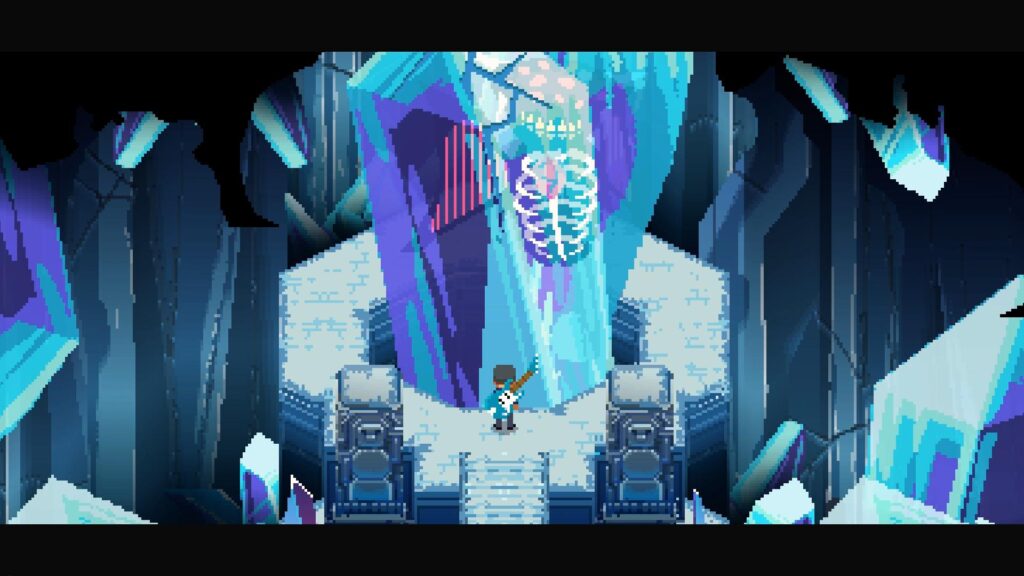
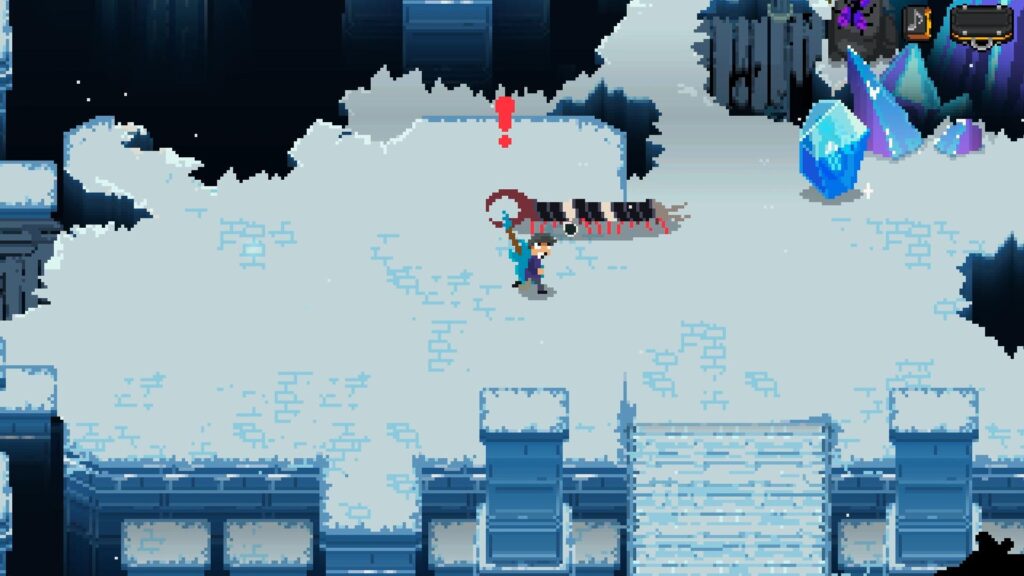
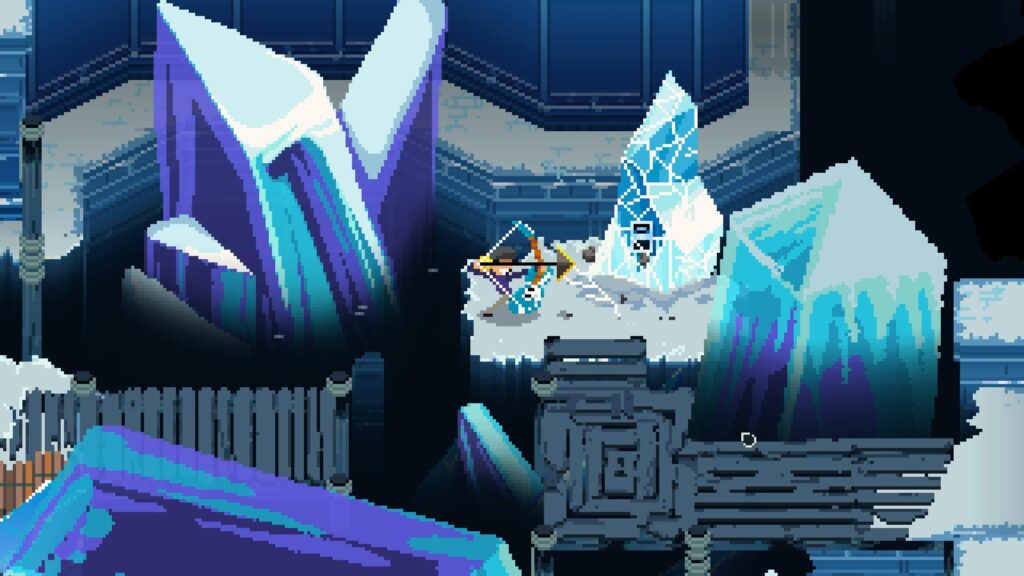
From Davie 504’s house, head left to get into Harperbeast Cave.
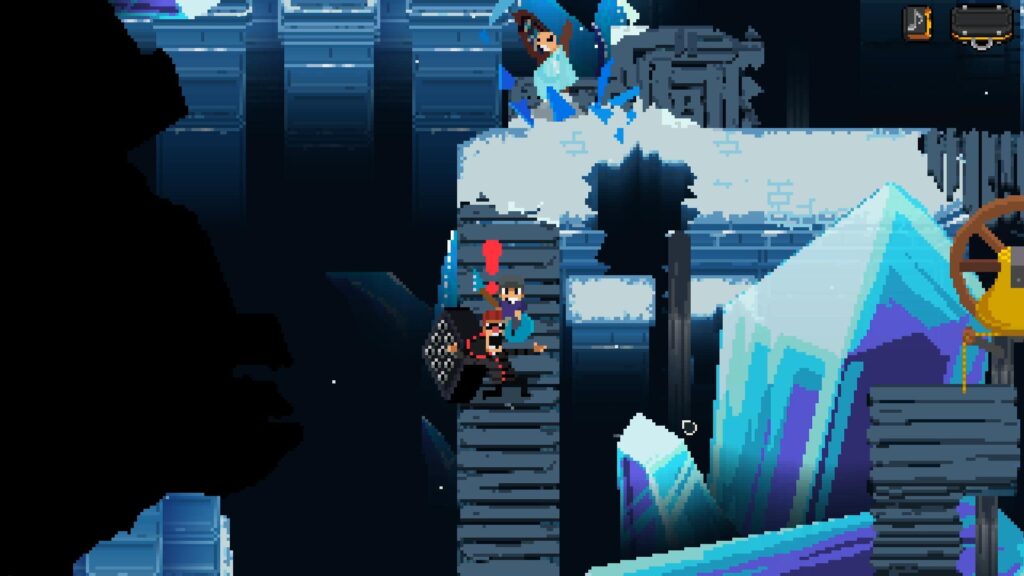
Go forward and up towards the Ice Crystal you saw in the previous chapter. The large ice crystal will break, and the Harperbeast will emerge from it, starting the boss battle.
NOTE: This is an optional boss and is not required to progress through the story.
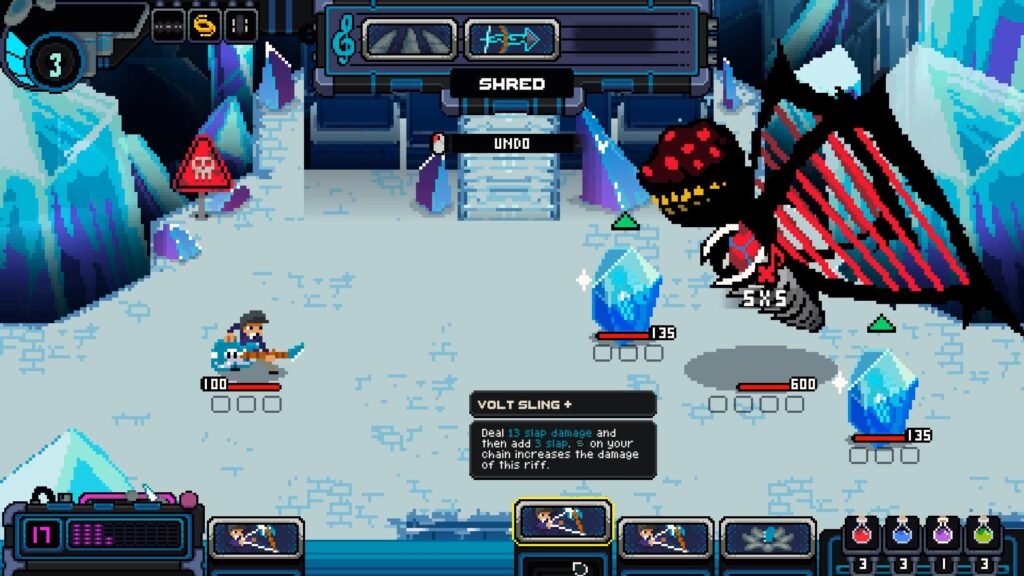
The Harperbeast starts the battle with two Cocoons by its side. They’ll each hatch into a Harperfly after a turn.
The boss’s basic attack is a 5 hit combo that doesn’t deal a lot of damage, but can slowly whittle down your health.
It also has a high damage attack that hits only once, but also applies Compression to increase the amount of damage you take.
Other than that, it also has the ability to apply a Filter on itself and its allies during the fight.

Thankfully, it doesn’t have any Crescendo abilities like the other major bosses. So take your time and time your QTE inputs to negate damage, and it’ll go down in no time.
Defeating the boss gives you the Little Devil Pedal.
SMR Assassin Boss Fight
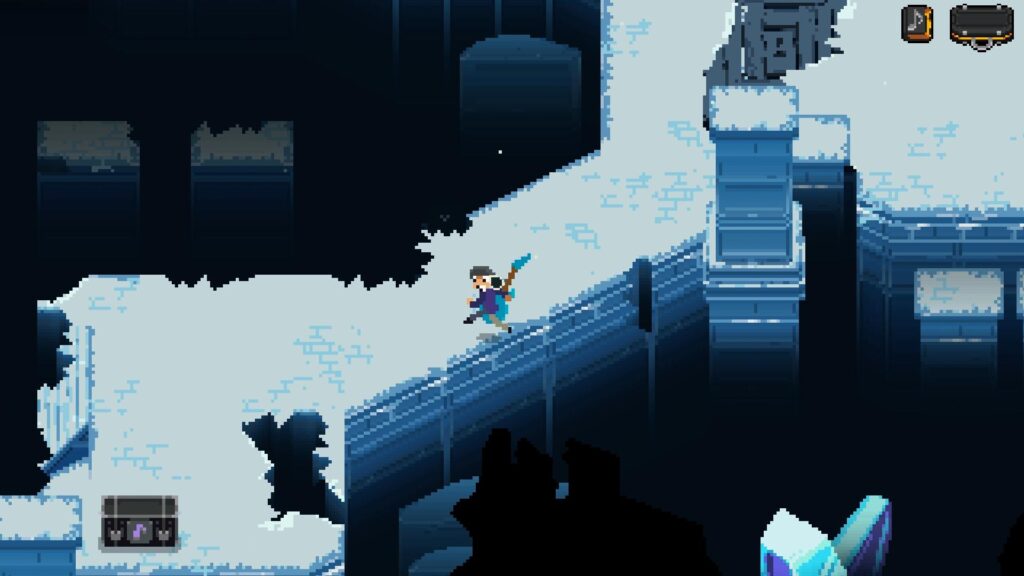
With that, you’re pretty much done with everything to do in Bass Camp and Carillon Caverns. Now return to the area where you first met Henry and take the icy stairs up to head into Driftnote Summit.
Watch the cutscene, and after that, the boss fight against SMR Assassin begins.
SMR Assassin is the main boss of this level with a passive that gives her allies a bonus shield and damage when they enter combat. Since her chopper periodically summons SMR goons to join the battle, it can be problematic.
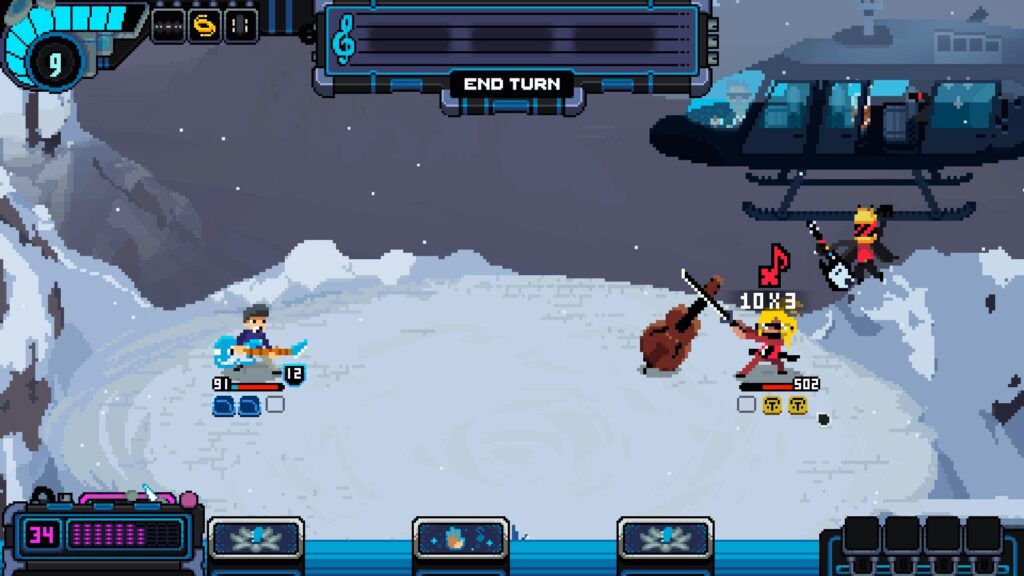
She has three main attacks. The first one is a six-hit combo that strikes in quick succession. Then there’s a three-hit attack that starts with a dash and goes into a leap and another dash. Finally, she has a high-damage single hit attack that can eat a big chunk of your HP if you’re not careful.
She can also apply gain on herself and her allies, boosting their damage output.
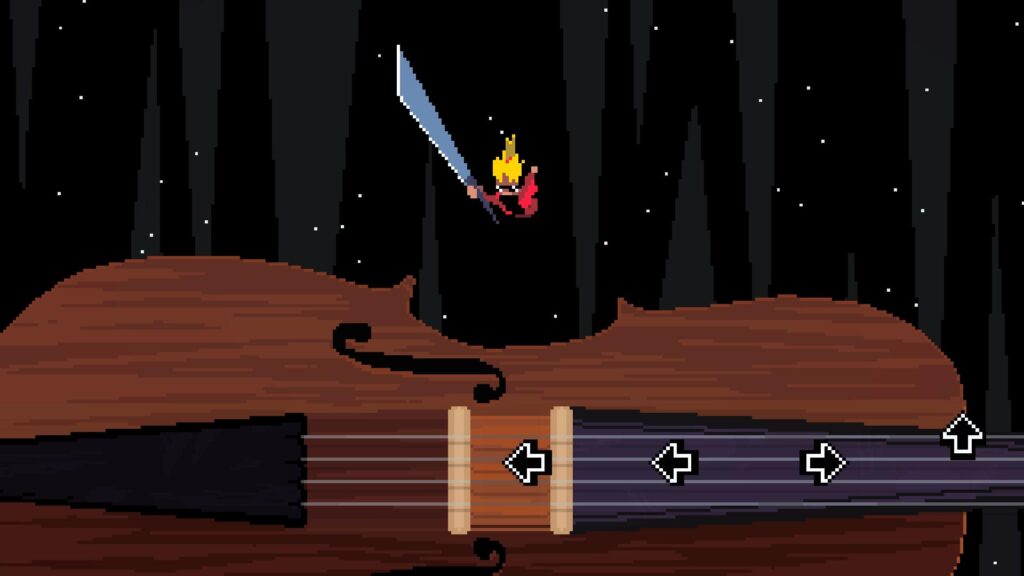
Like any other major boss, SMR Assassin also has a Crescendo attack that can deal massive damage if you fail your QTE inputs.
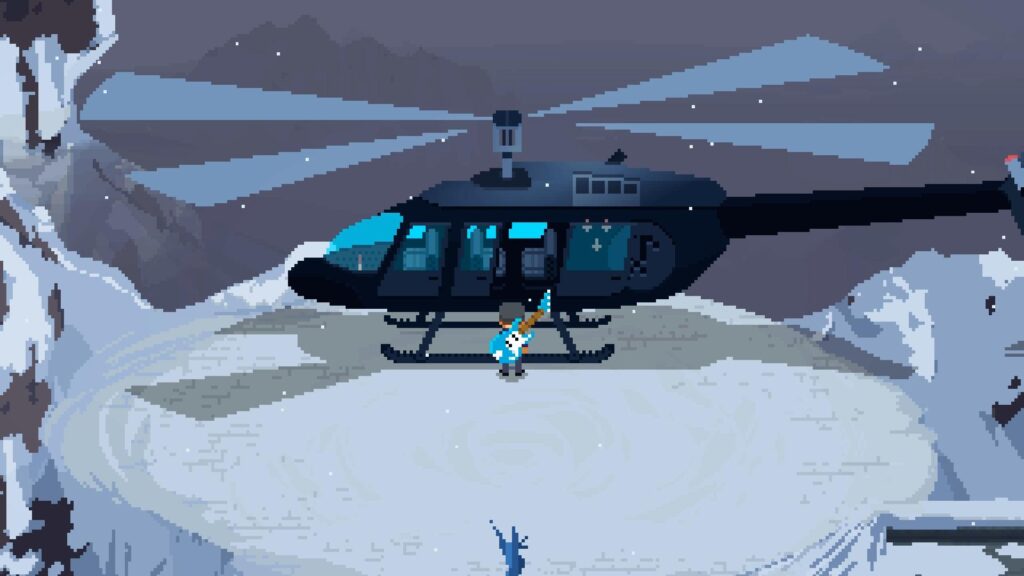
Once you defeat the boss, Doctor Strum calls again, and you take the chopper to be on your way to the Battle of the Bands.
This concludes part 5 of our walkthrough for Fretless – The Wrath of Riffson. You can find the walkthrough for part 4 along with the other parts in our walkthrough hub for the game.
For other interesting articles related to indie games, check out the links below.