Welcome to our walkthrough for Chapter 22 of Luto. It is here that everything starts to fall into pieces for Sam. As we jump from Chapter 5 to 22 and watch the game crumble around us, we are slowly heading towards the end.
But what exactly does it mean to reach the end? That’s what you’ll find out here.
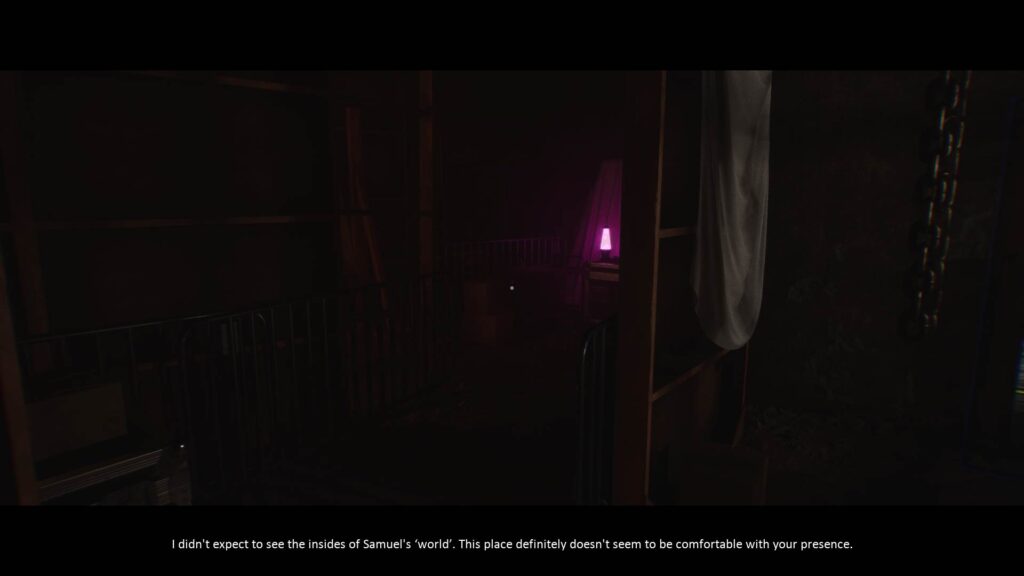
If you want to know more about Luto, check out their official website here.
Trapped In a Loop Again

You wake up to a bright light.
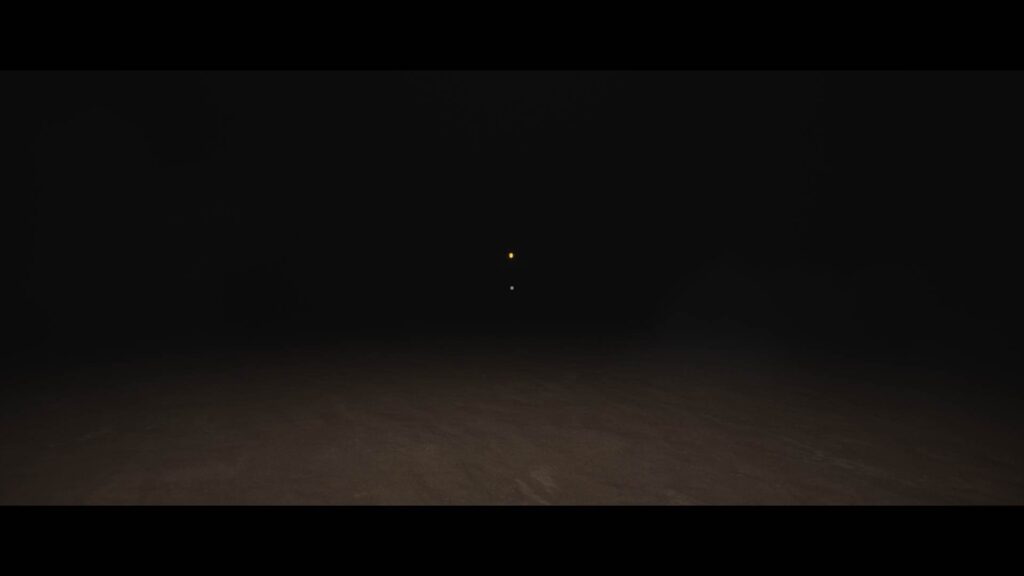
Look down and you’ll see yourself standing in a sandy area. Everything around you is pitch black. You’ll see something shining in the distance. Start walking up to it.

As you get close, you’ll realize it’s a Gold Coin.
After collecting the Gold Coin, head back towards the area with the light shining from above. As soon as you get close, things will turn dark.
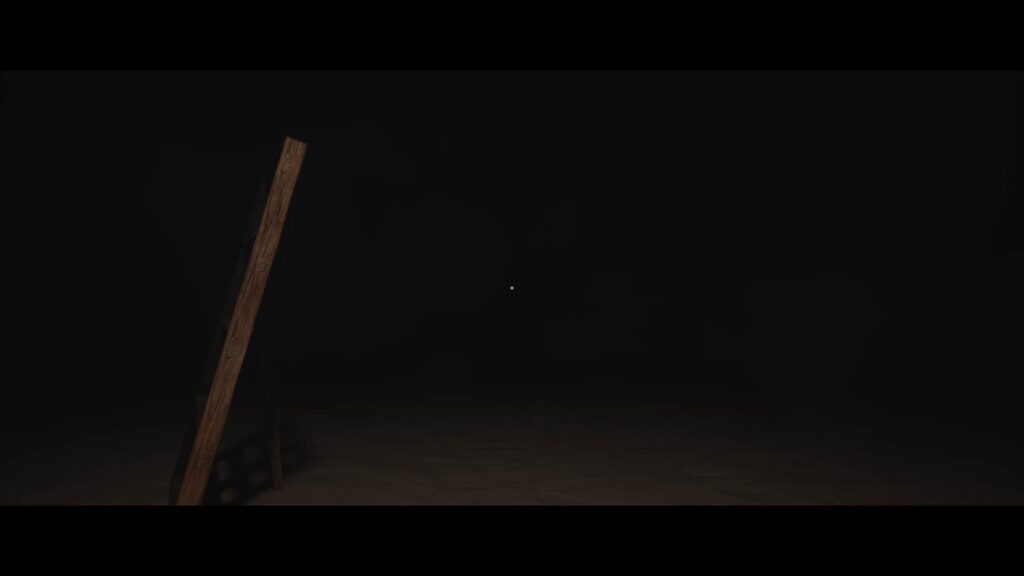
You wake up once again, in the same area. But this time, you can hear an odd static noise. Follow the sound and you’ll start to see some objects.
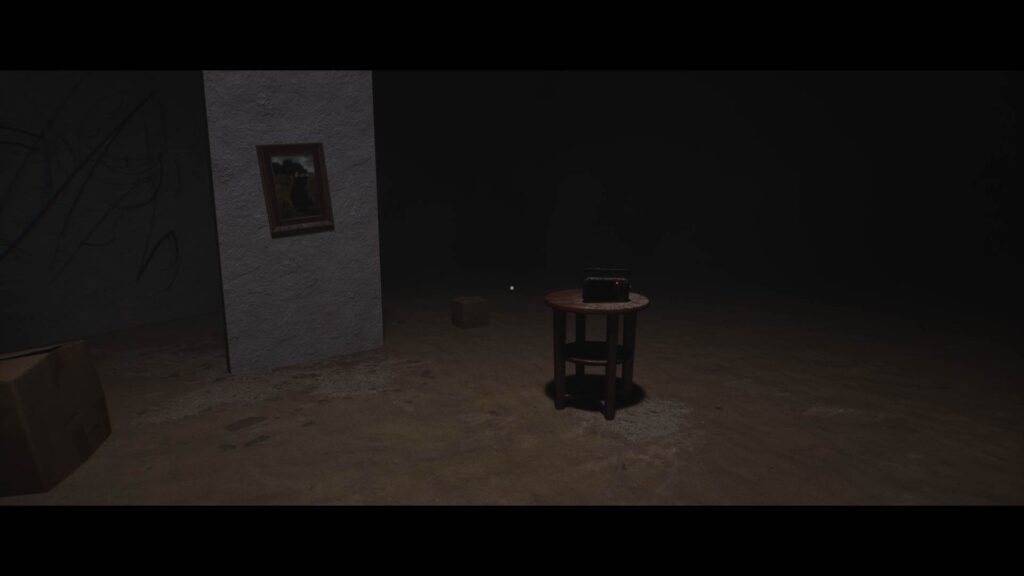
You’ll finally be able to trace the sound to its source. It’s a small radio. Interact with it. The radio will disappear, and the narrator will start talking at this point.
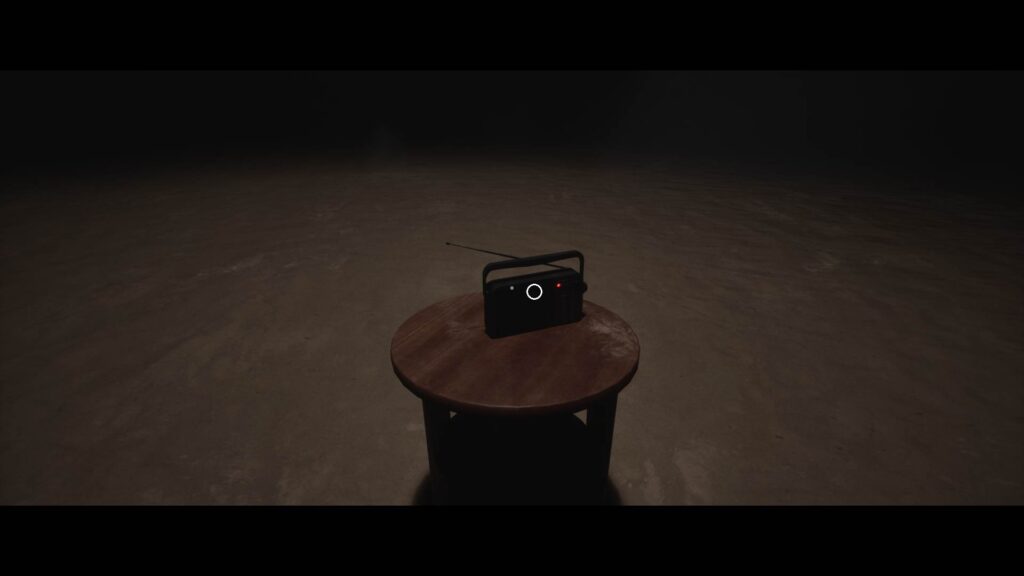
You’ll hear the same static noise once again. Follow the sound through the darkness and you’ll arrive at another small radio.
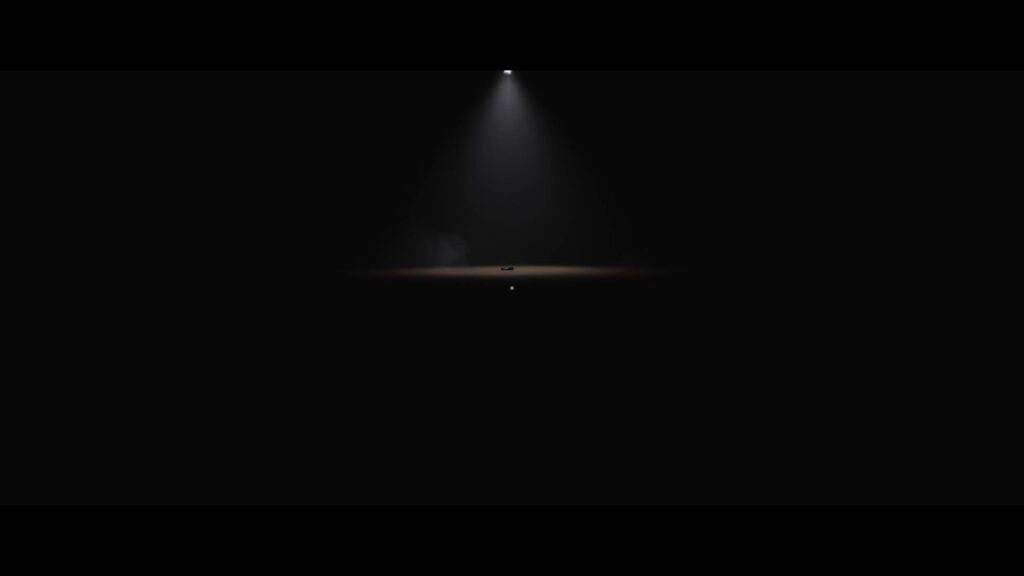
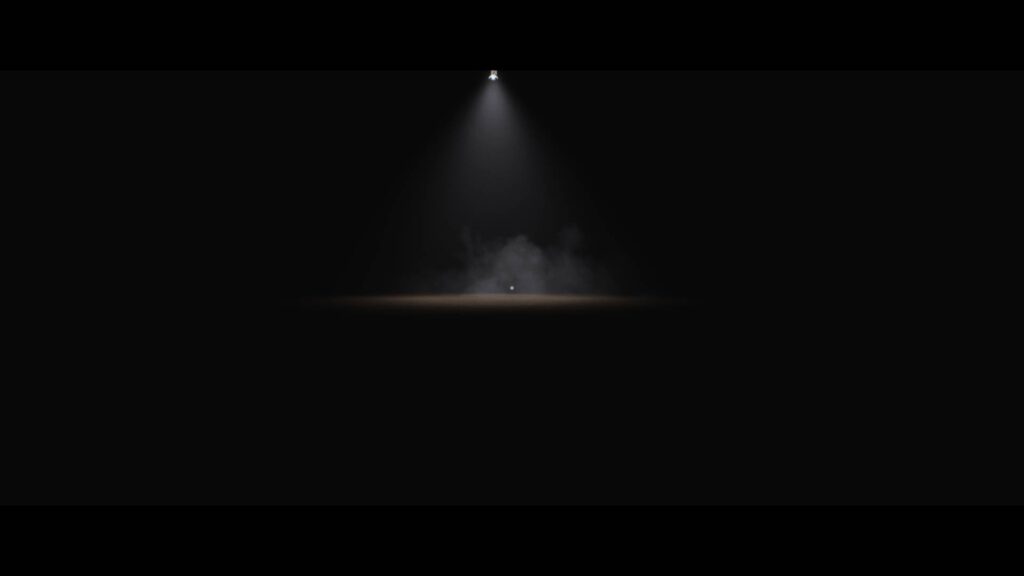
After a brief moment in darkness, you’ll see a light shining down on an area with something on the ground. Head towards it.
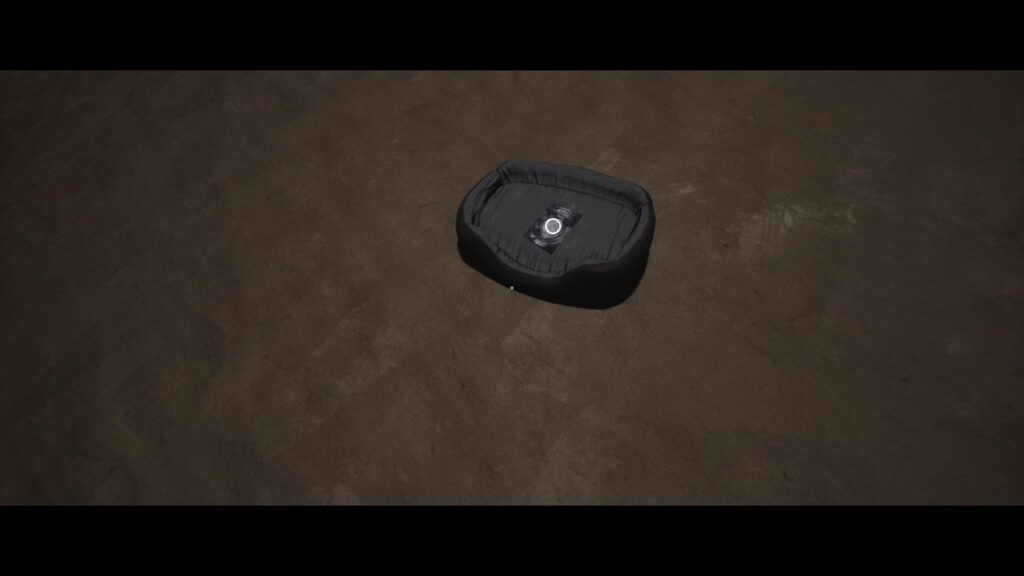
You’ll find a dog bed on the ground and a Sketchbook Sheet on it. Pick it up.
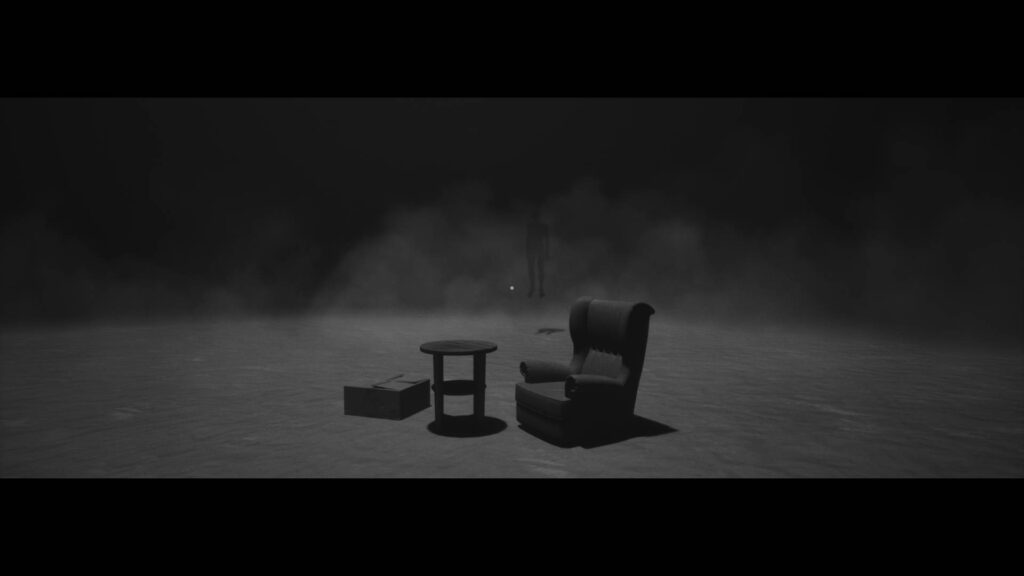
The screen will start to shrink. Start tapping the resist button and follow the sound of the static noise through the darkness to reach another radio. This one is on a table beside an armchair. As you get close, the radio will glitch out and you’ll see a shadowy figure floating in front of you.
As always, keep resisting the screen shrinking and walk towards it. Interact with it once you get close enough. Watch the short cutscene.
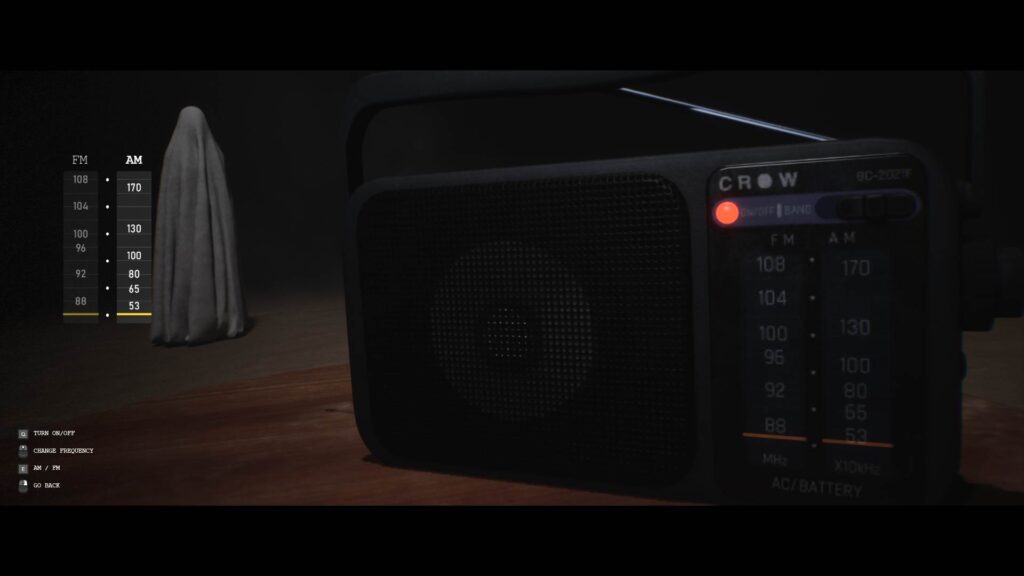
You’ll hear the static noise again. This time the sound is clearer. Find the radio and interact with it. This time it won’t disappear. You can change the frequency to shuffle through the channels.
Drop the slider just below 53 AM to hear a familiar classical song. It’s the same music that you heard inside the clock puzzle room.
A ghost will start creeping up on you as you set the frequency and disappear suddenly.
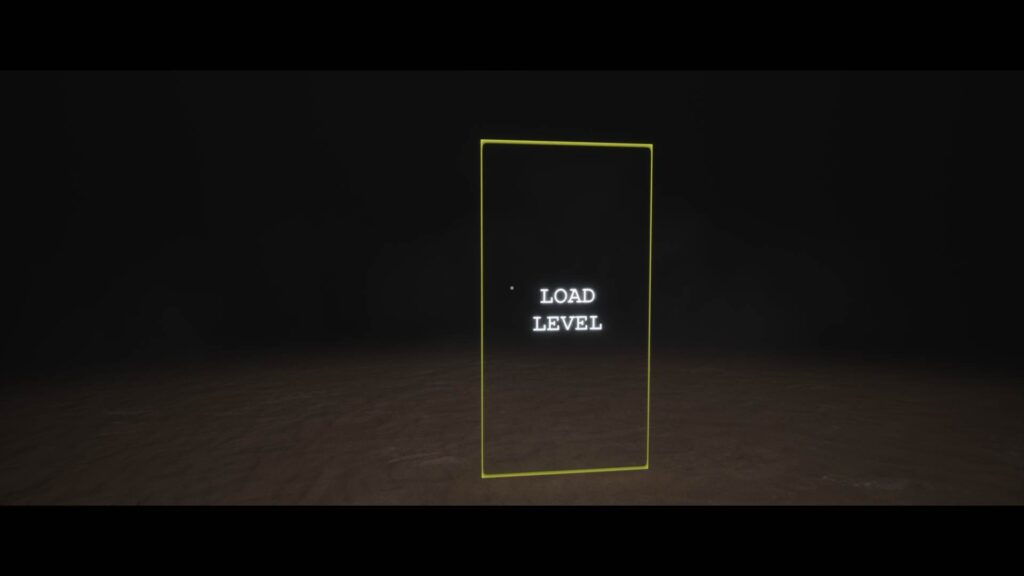
You’ll see a Load Level box in front of you, the same type you saw in Chapter 5. Go through it to see the message “Loading: 02_Beyond_The_Noise”.
Beyond The Noise Corridor
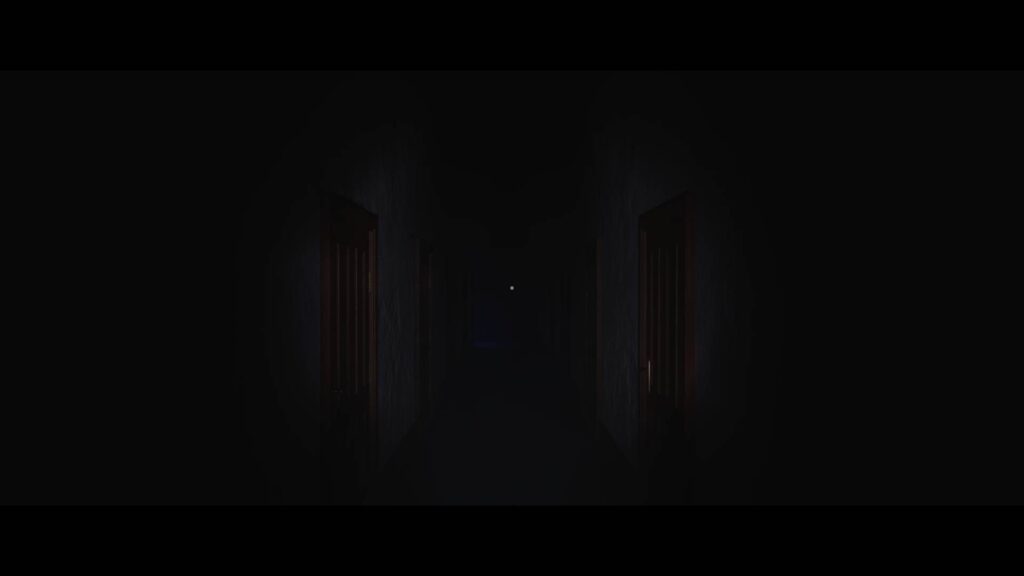
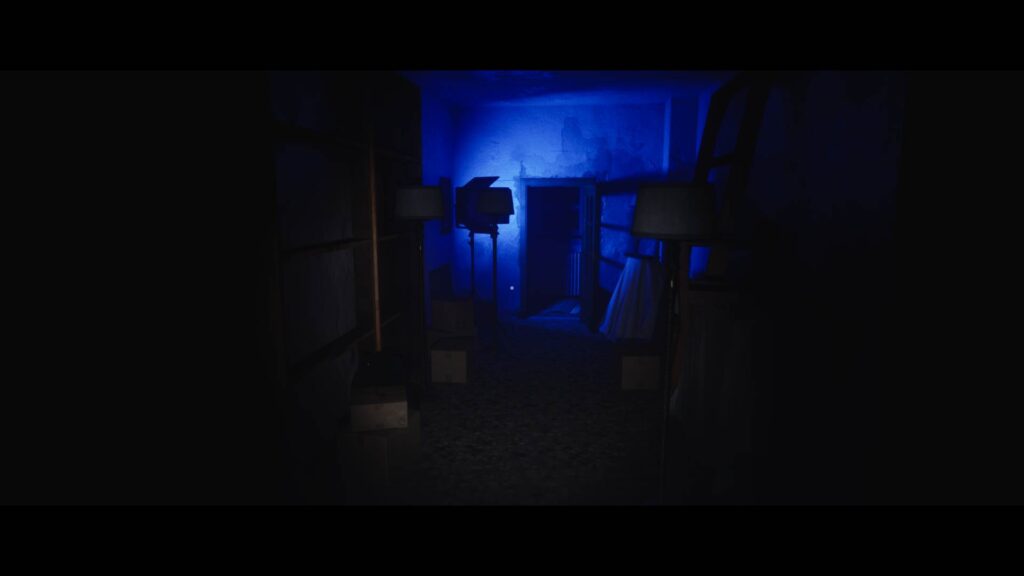
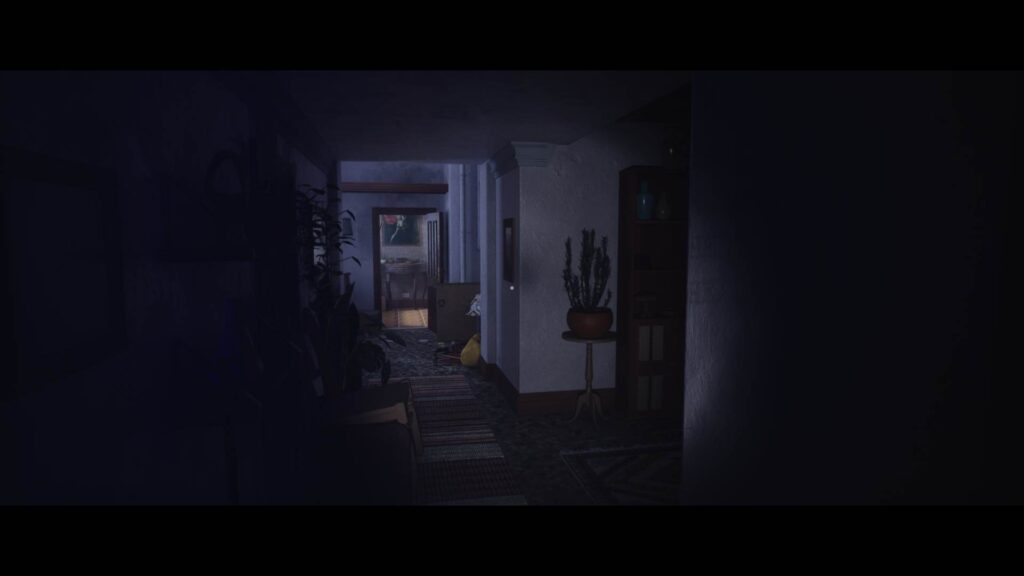
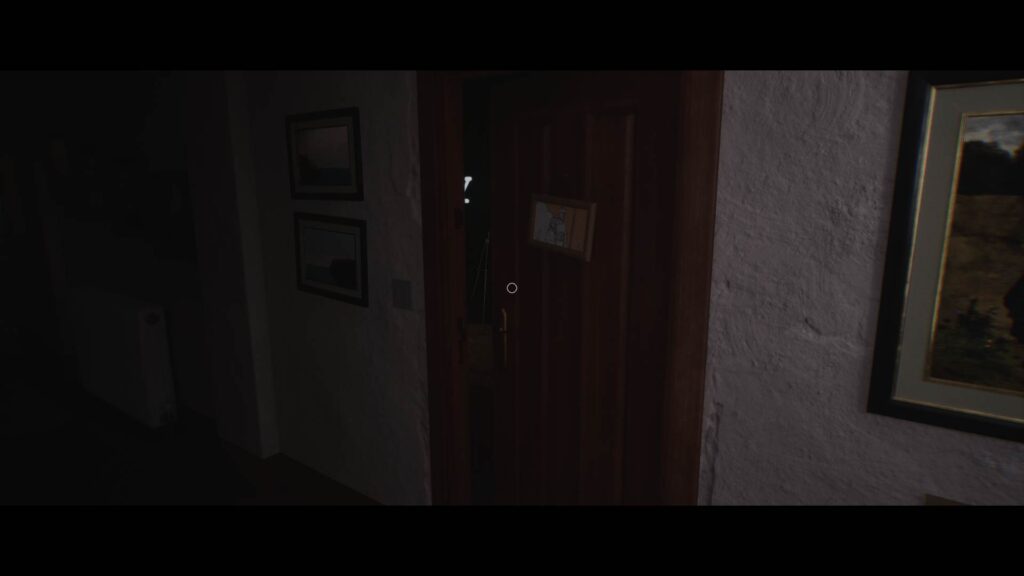
After passing through the box, you’ll find yourself back in the narrow dark corridor with doors on both sides.
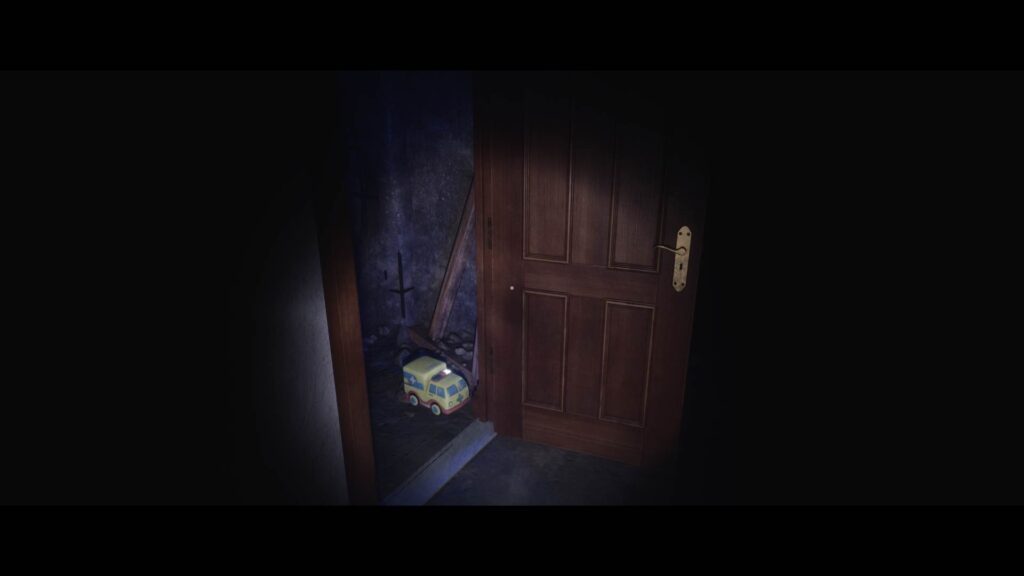
Continue moving until you see an open door on your left. There’s a yellow toy ambulance near the door.
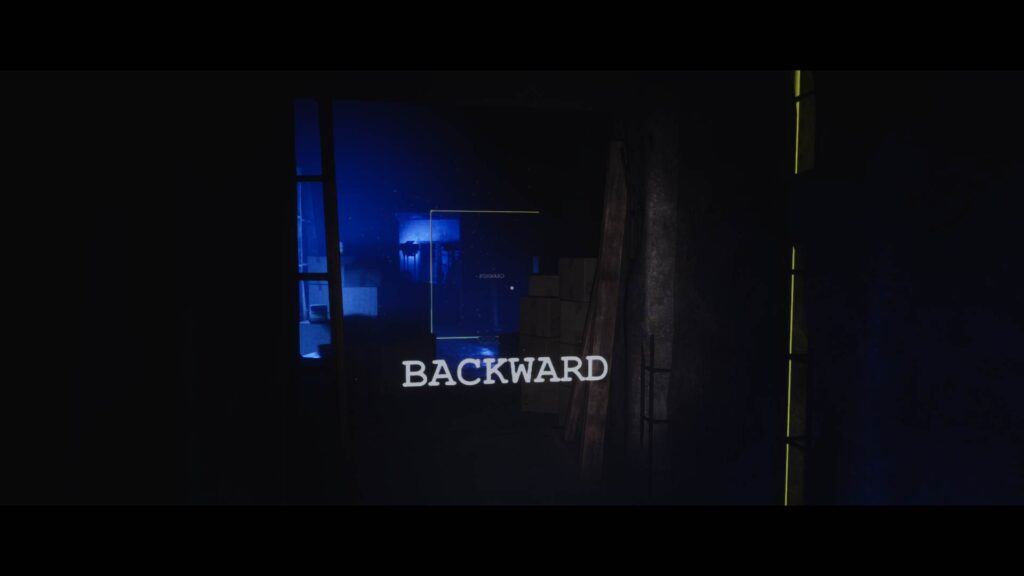
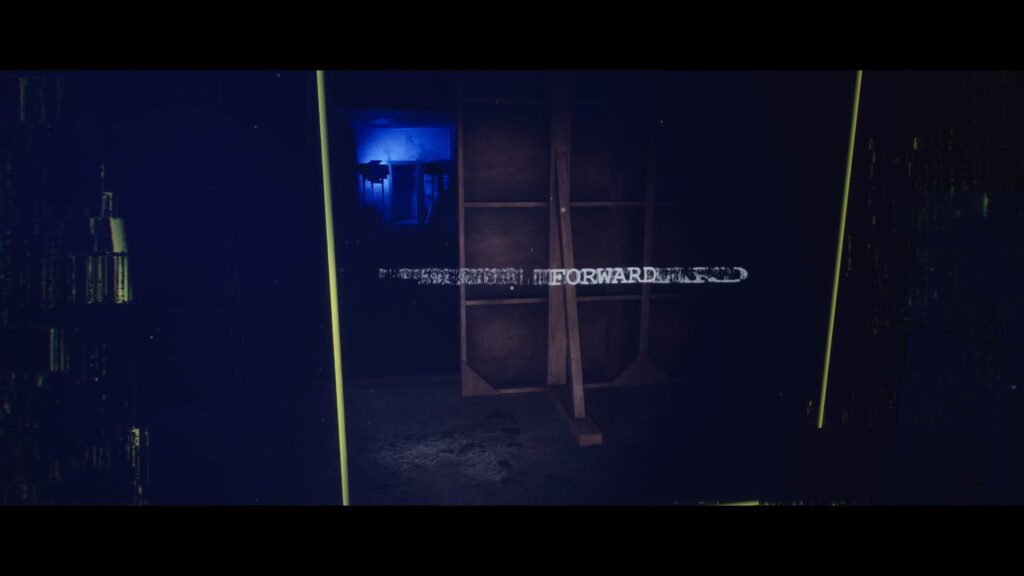
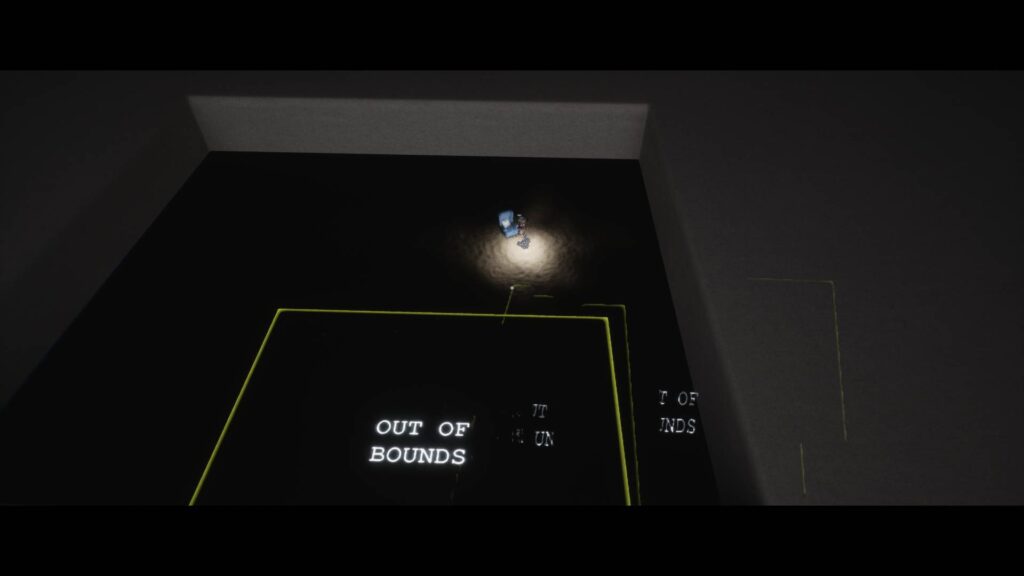
Inside the room you’ll see a yellow box marked Backward. Further ahead, there’s another yellow box marked Forward.
You can see a door with an exit sign at the far end of the room. Try to walk straight for the exit. But as you take a couple of steps past the Forward box, you’ll be teleported back to the entrance of the room.
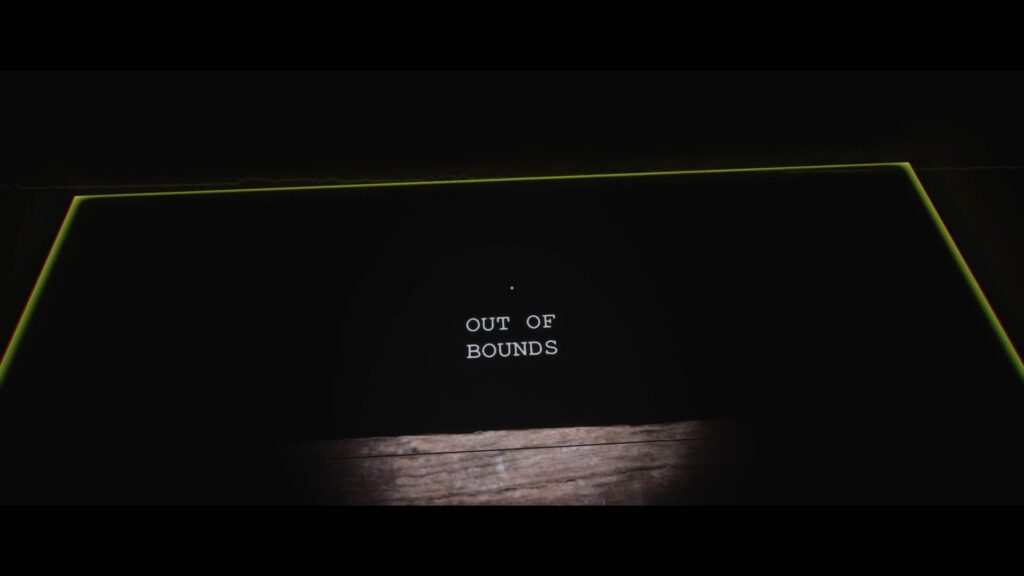
On closer inspection, you’ll notice that the dark area after the Forward box has an Out of Bounds box on the floor. To pass through, you’ll have to solve a puzzle.
How to Solve the Forward Backward Puzzle
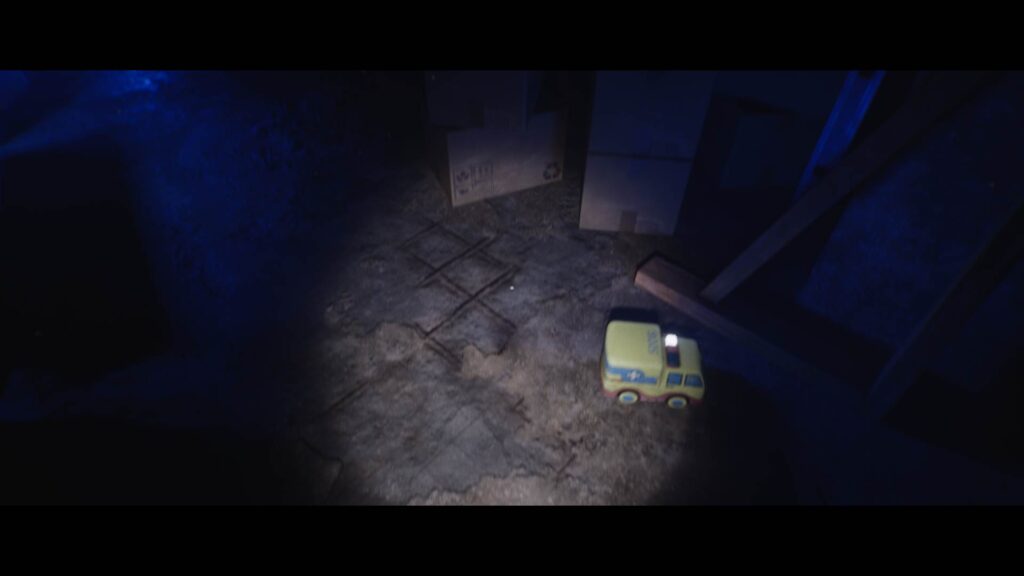
The trick to solving this puzzle is to use the Toy Ambulance. Walking through the Forward or Backward boxes causes the toy ambulances in the room to start moving. When you go through the Backward box, the toy will move backwards. When going through the Forward box, the toys start moving forward.
Head back to the entrance of the room and walk through the Backward box.
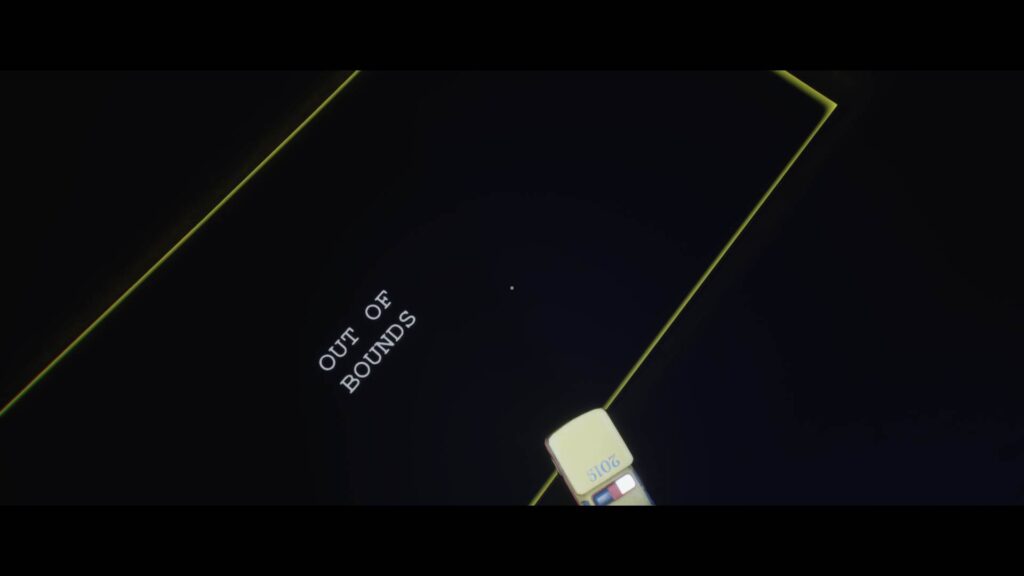
You’ll see a toy ambulance near the door start to move backwards. Start following it and as it reaches the Forward box, cut around it. Get on top of the toy ambulance before it gets to the dark part and it’ll carry your across safely to the other side.
NOTE: If the toy ambulance is already on the other side of the room when you start the puzzle, just go through the Forward box and wait for it to come over to your side.
As you reach the other side of the room, you’ll hear a phone start to ring. Exit the room and you’ll find yourself in a familiar place. This is the same house as the one in Chapter 2.
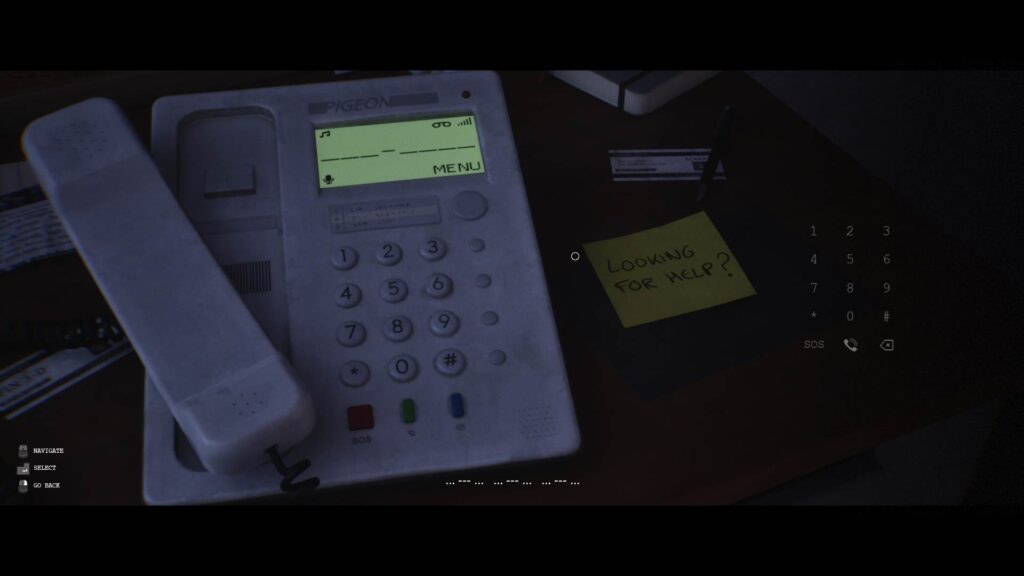
Turn left and start walking towards the phone. Note the weird writing floating above the phone and answer the call.
After a few lines, the voice will break up. Hang up the phone.
Things Start to Break
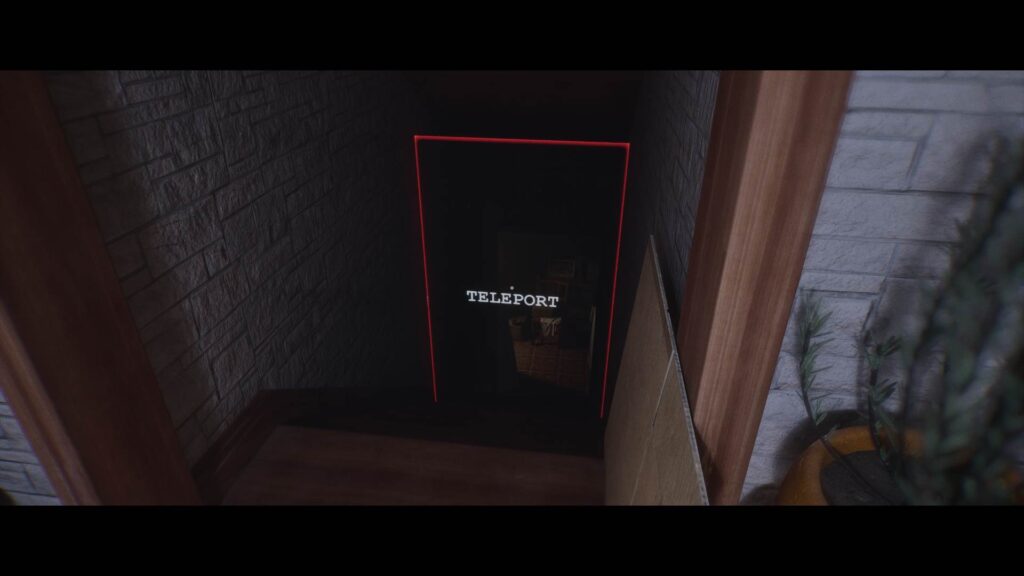
After hanging up the phone, walk forward. On the stairs on your left, you’ll see a red outline with the word Teleport inside it. If you keep following this path, you’ll see an Out of Bounds box in the next room.
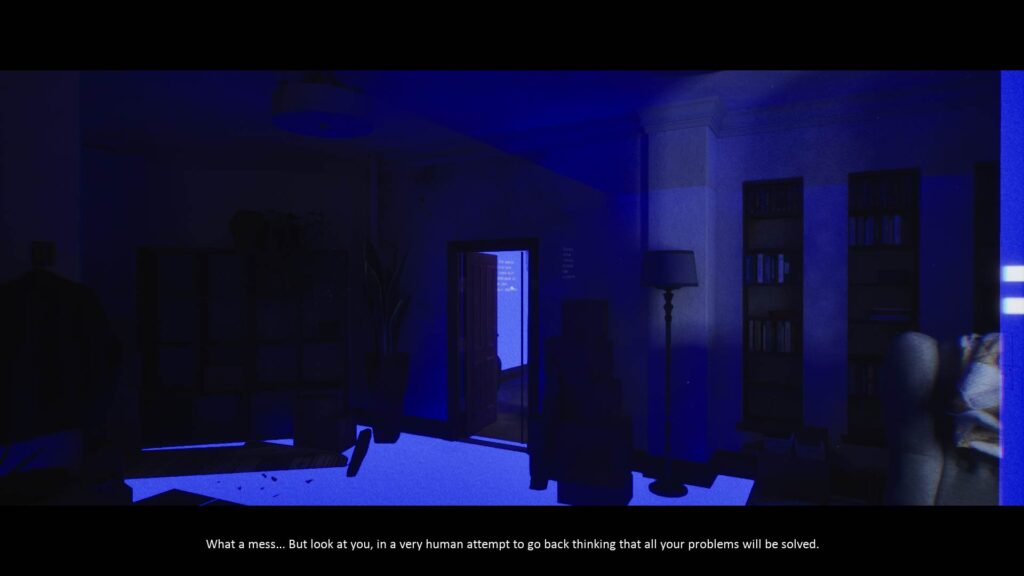
So turn around, head up the stairs in the left room, and go into the living room. You’ll start seeing weird visual glitches on your screen. It almost seems like the game is crashing.

From the living room, turn left and go through the door down the corridor. There’s a yellow box marked “Play Music” up ahead. It’s the same corridor that you used in Chapter 2 to reach this place.
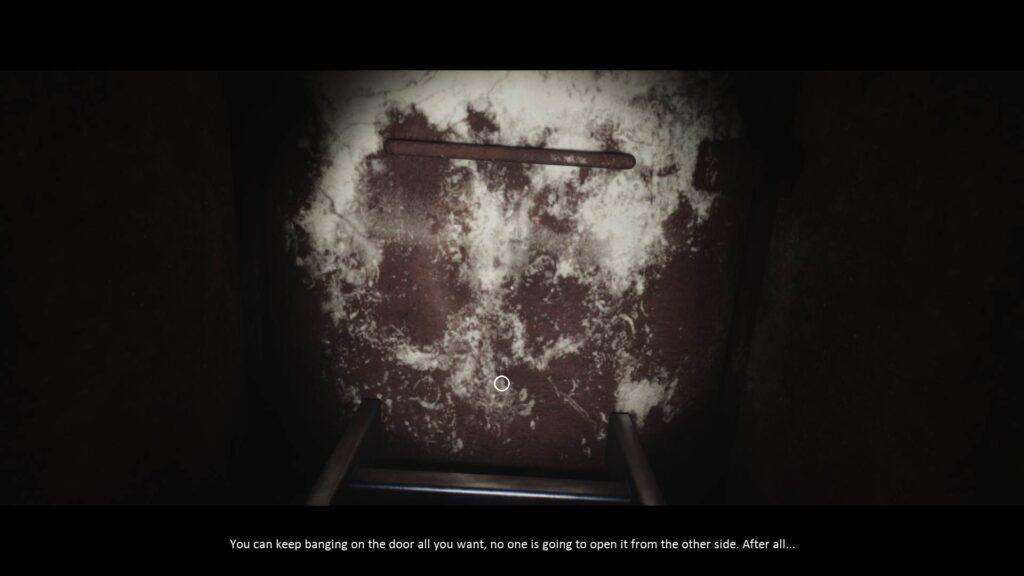
Go to the end of the corridor and get on the ladder. Interact with the trapdoor at the top to bang on it a few times.
Kicked Out Again
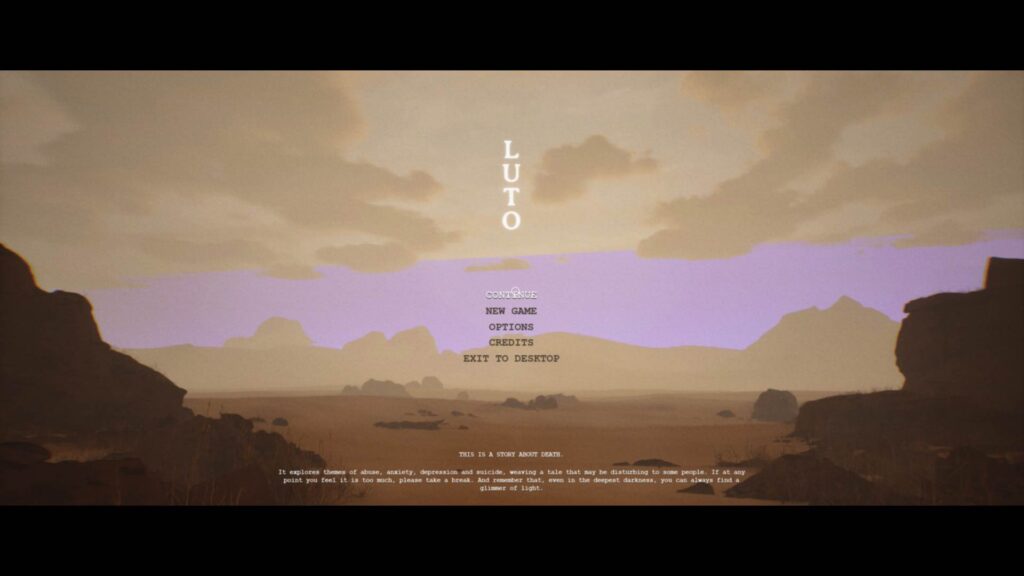
You’ll see an error screen and suddenly get kicked out to the game’s main menu. Click Continue a couple of times. Weird visual glitches will appear. Ignore it and keep pressing Continue and soon enough, a cutscene will start.

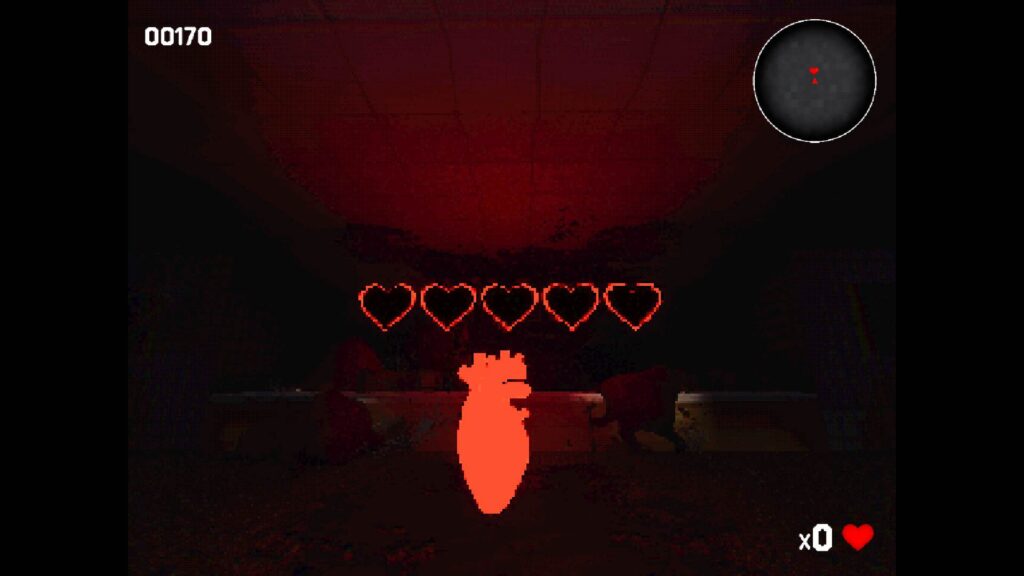
Once the creepy cutscene ends, you’ll find yourself in a mini-game called 30/03. Your goal is simple: navigate through the maze collecting coins while avoiding the spiders. As you keep moving, you can find Hearts on the map that you can deposit. If the spider gets you, you’ll get the option to retry. There’s an achievement or trophy tied to the game, so try to beat it if you want.
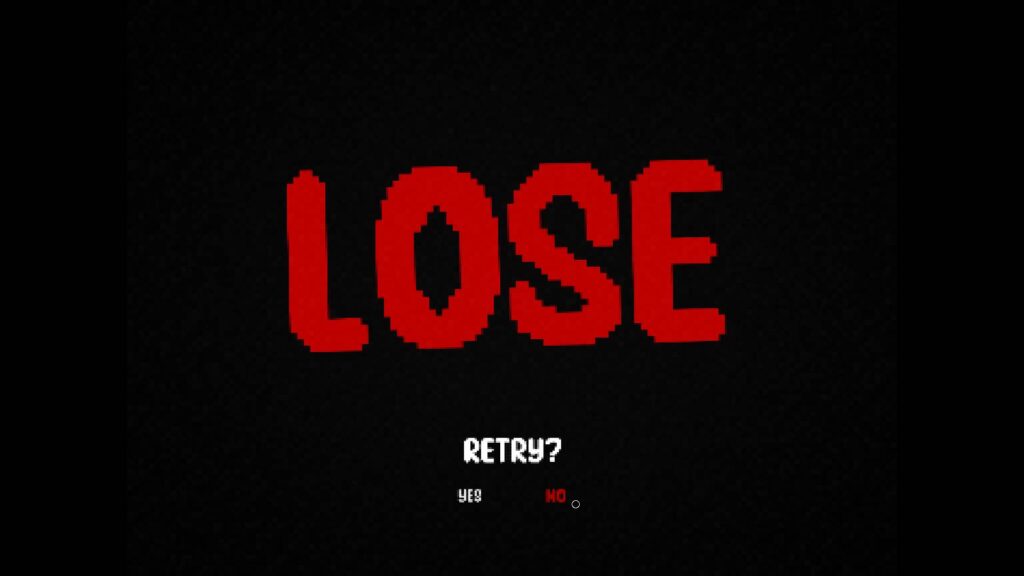
Choose No once you die to exit the mini-game and move on with the story.
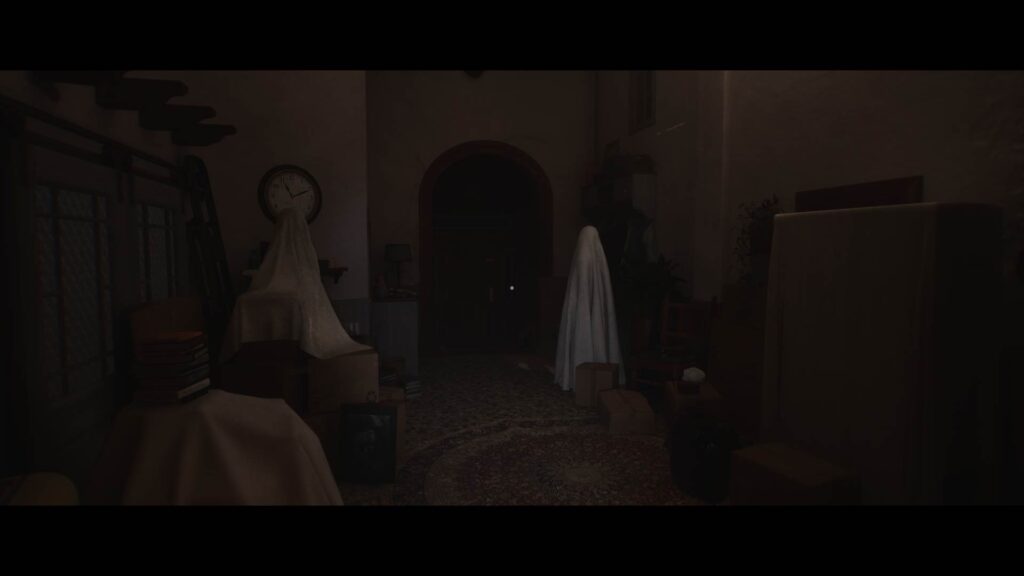
You’ll find yourself back in front of the broken mirror. Turn around and walk out the door.
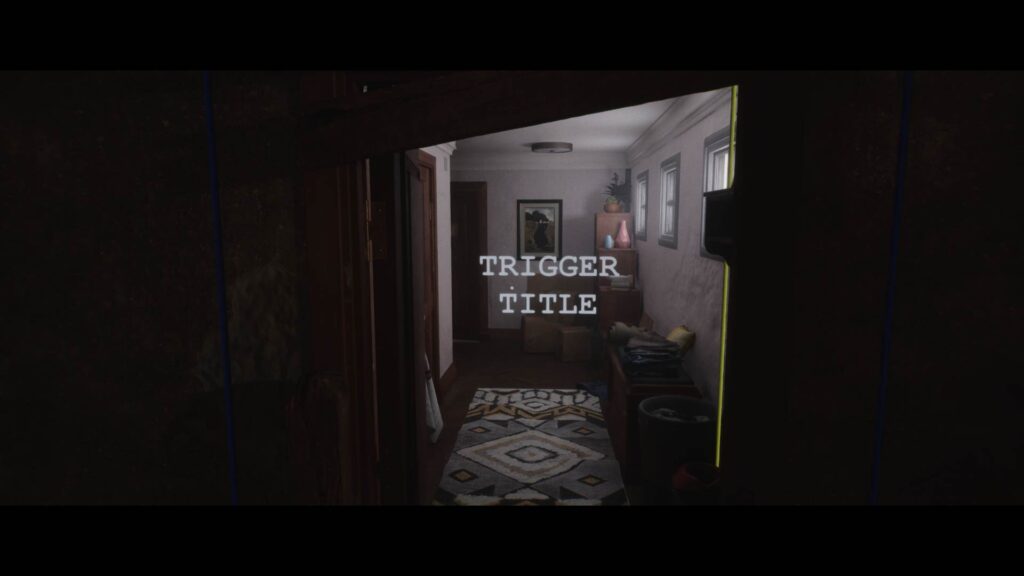
A shadowy figure will be standing on the other end of the room. As you walk towards it, it’ll disappear and a Trigger Title yellow box will appear on the doorway.
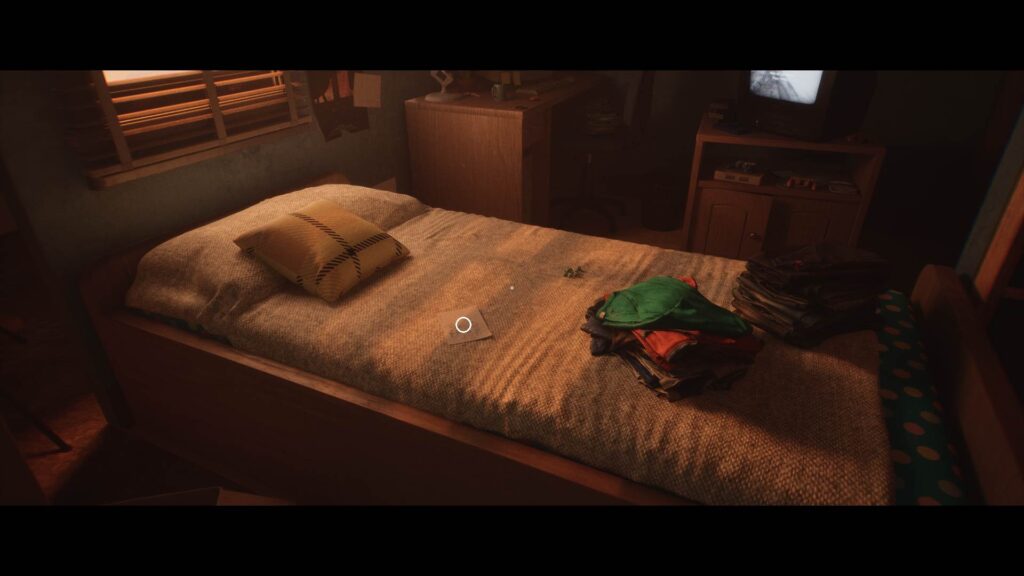
You’ll see a path on your left that leads to a child’s bedroom. Go in and pick up the Sketchbook Sheet on the bed.
Get back on the main path and walk through the Trigger Title doorway and the title for Chapter 3: One More Time will flash on your screen. Walk forward and take the door on your right.
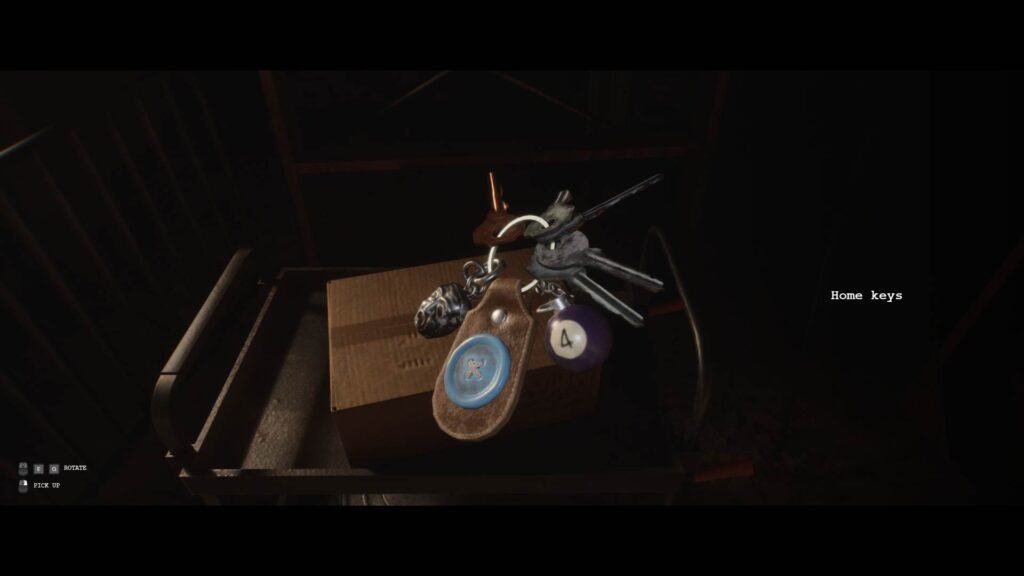
Pick up the Home Keys sitting on top of the crate up ahead.
Make your way to the ground floor and walk out the front door to change the day to Monday.
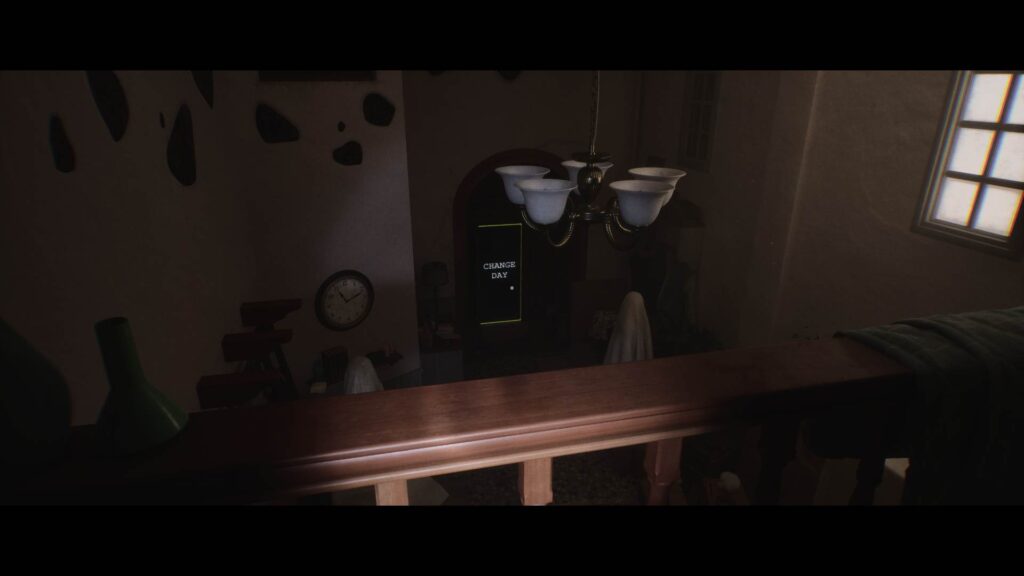
You’ll be teleported back to the area with the child’s bed. Go back to the bathroom as the screen continues to glitch. Turn around and start moving forward past the Trigger Title box. Head down to the ground floor and you’ll notice that the main door to your house is replaced with a yellow box that says Change Day. Go through it.
A Movie Set?
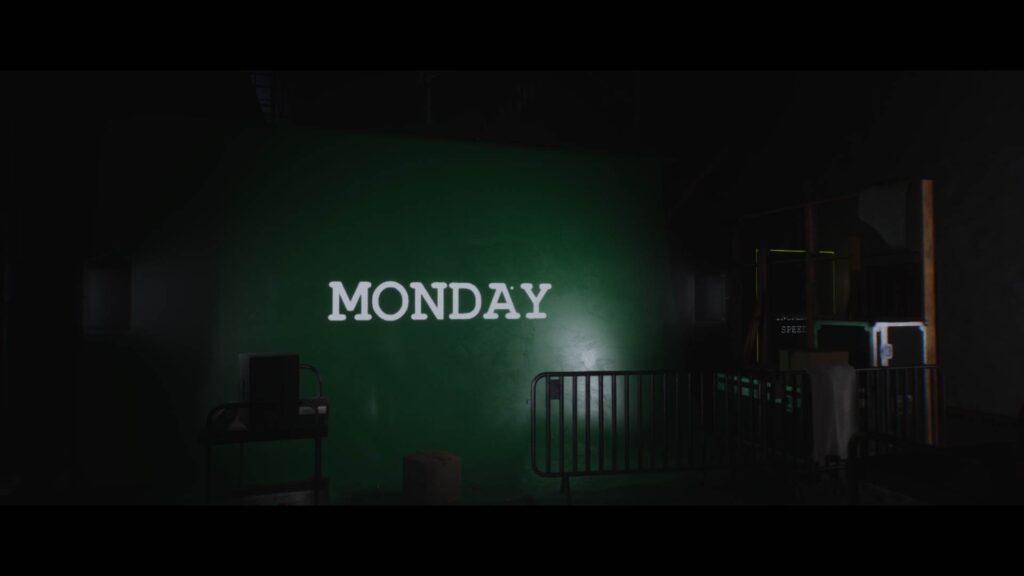
You’ll be able to pass through this time and see a green screen up ahead with the word Monday.

Turn right and take the left path up ahead, through the yellow box marked Increase Speed.
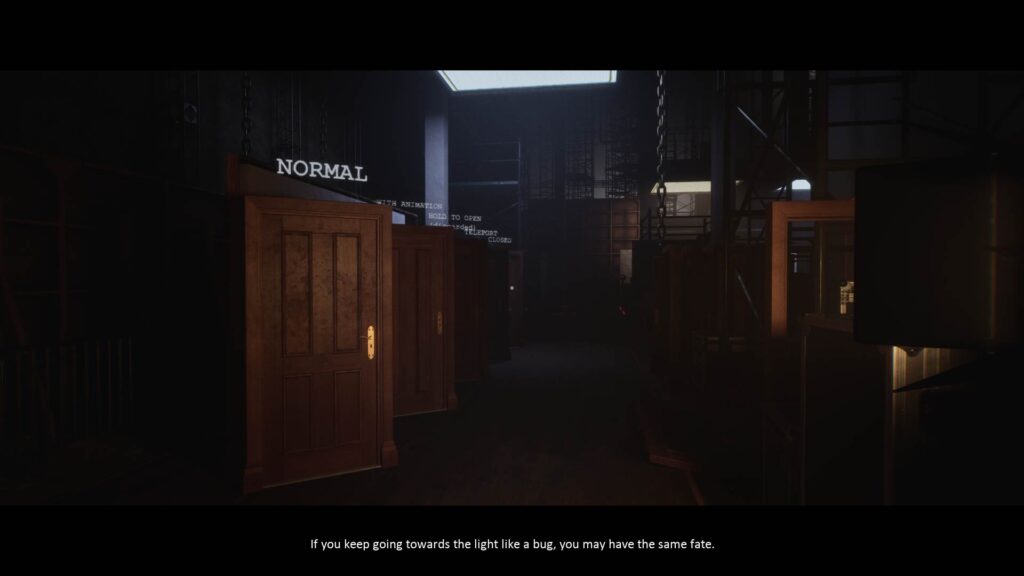
Keep moving forward and you’ll arrive in an area full of doors with different writings above them.
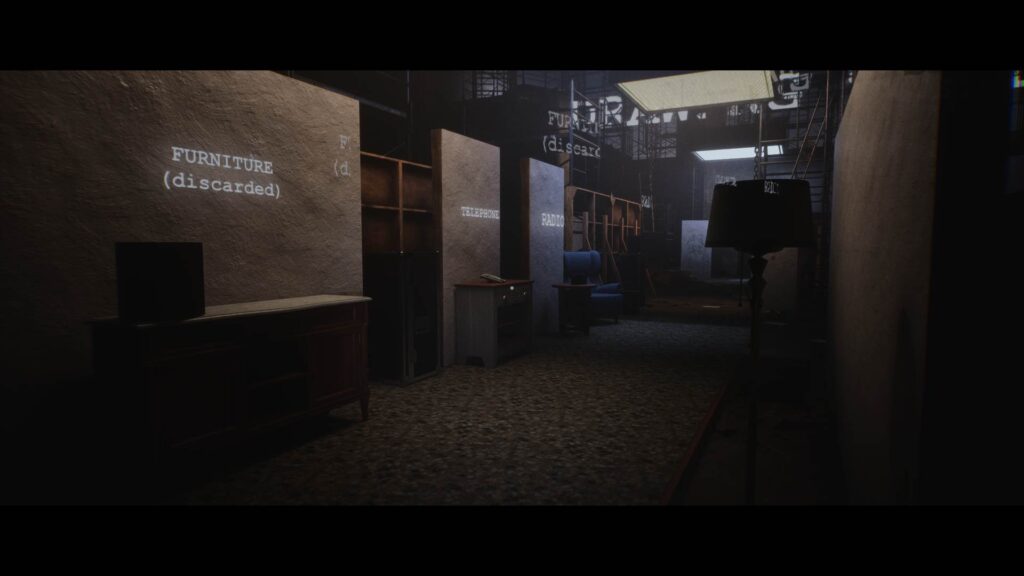
Continue onward past the red box on the ground. Keep moving through the next section. You’ll find a phone on a table on your left. Just after it, there’s a small radio on a table that you can pick up.
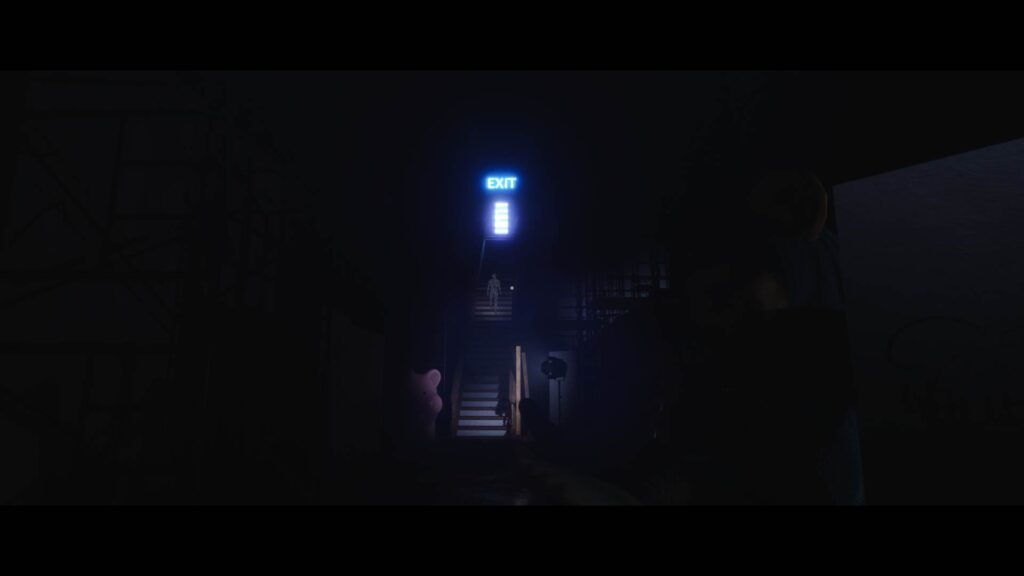
Keep walking forward and turn right just before the door at the end. You’ll see a long flight of stairs leading up to a door with the blue exit sign, and the shadowy figure walking up towards it.

Head for the stairs and the figure will disappear. Instead of going up the stairs, you will phase through it and reach the other side. You’ll see a red button up ahead and a door on the right side.

Take the door on the right and pass through the tunnel to arrive at an area with two moons, one big and one small.
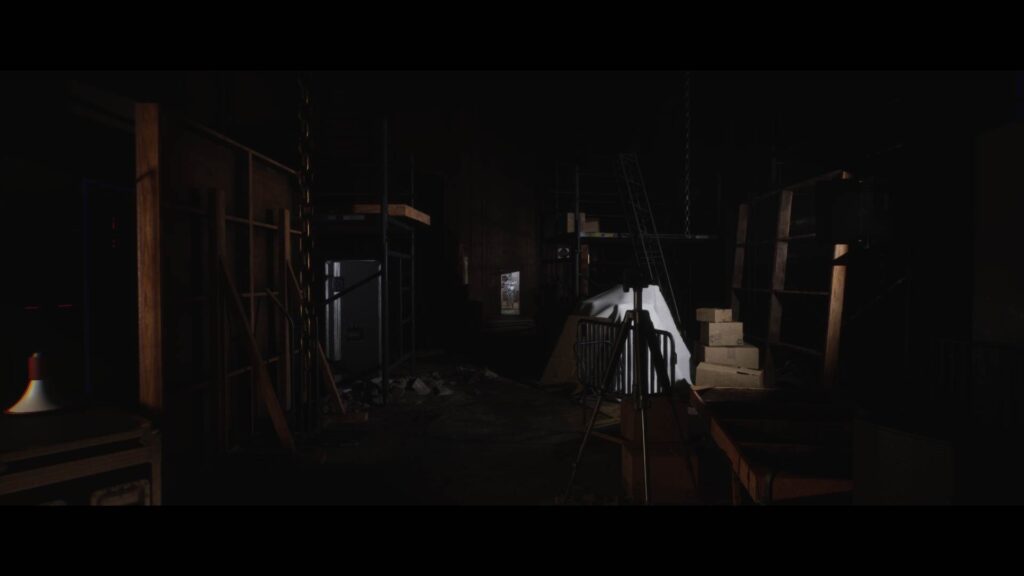
Behind the big moon, there’s a square hole in the ground. You can see an armchair in the area and the white shadowy figure sitting down beside it, but there’s also an Out of Bounds yellow box inside that teleports you to the start of the room if you drop in.
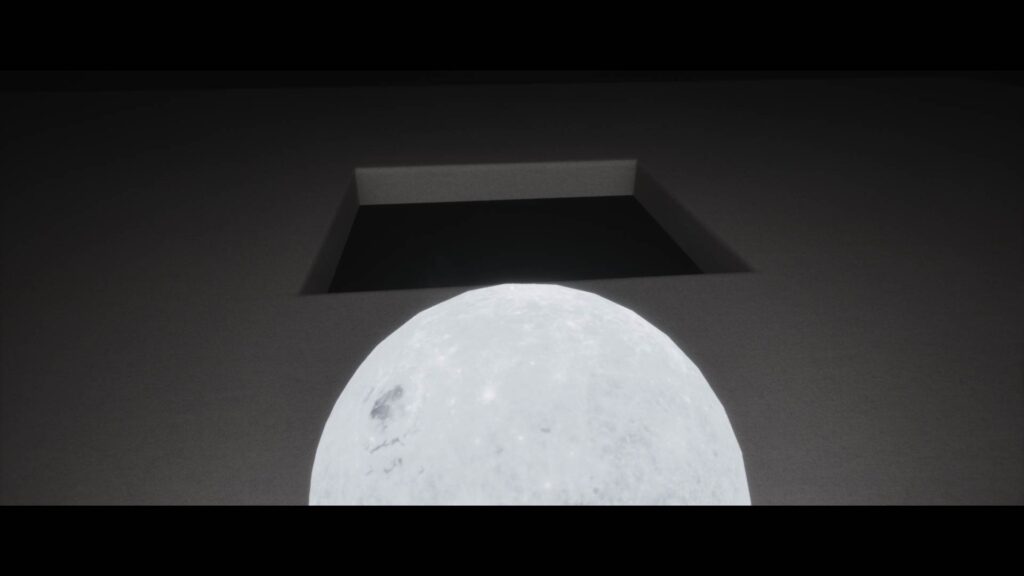
Interact with the small moon and roll it into the hole. Drop down as it falls.

You’ll land safely on the sand and see a shadowy figure sitting beside an armchair. Walk towards the figure and interact with it to trigger another cutscene.
Luto Finale
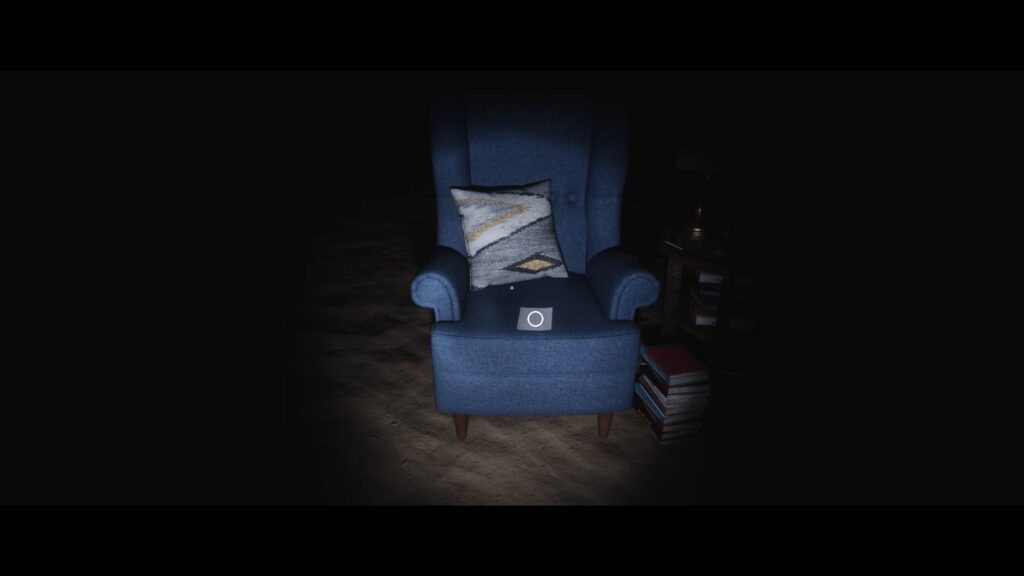
Once the cutscene ends, pick up the Sketchbook Sheet from the armchair.
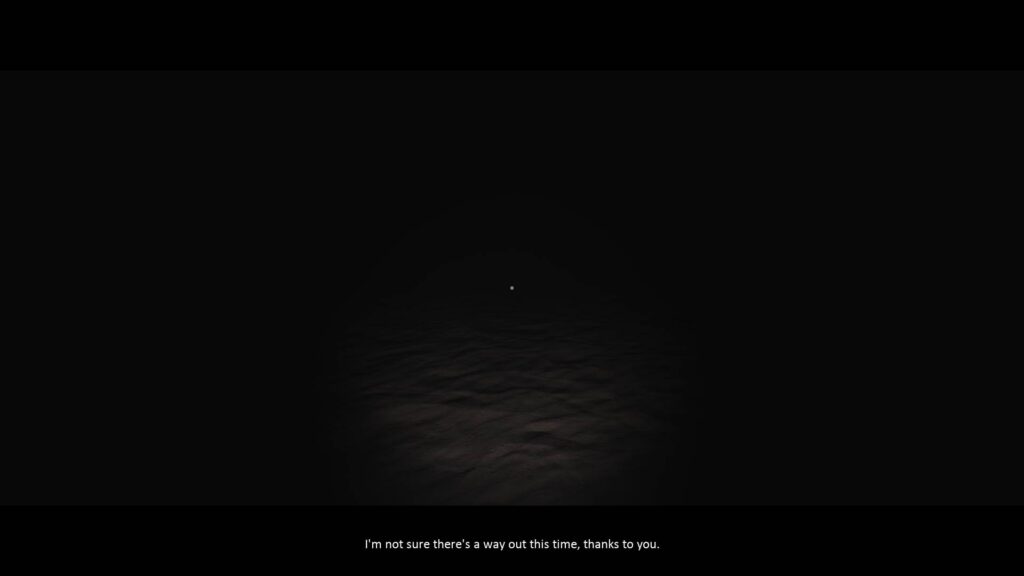
Start moving forward. The direction doesn’t matter. The narrator, at one point, will say that there’s no way out because of you. Exit to the main menu and press Continue.
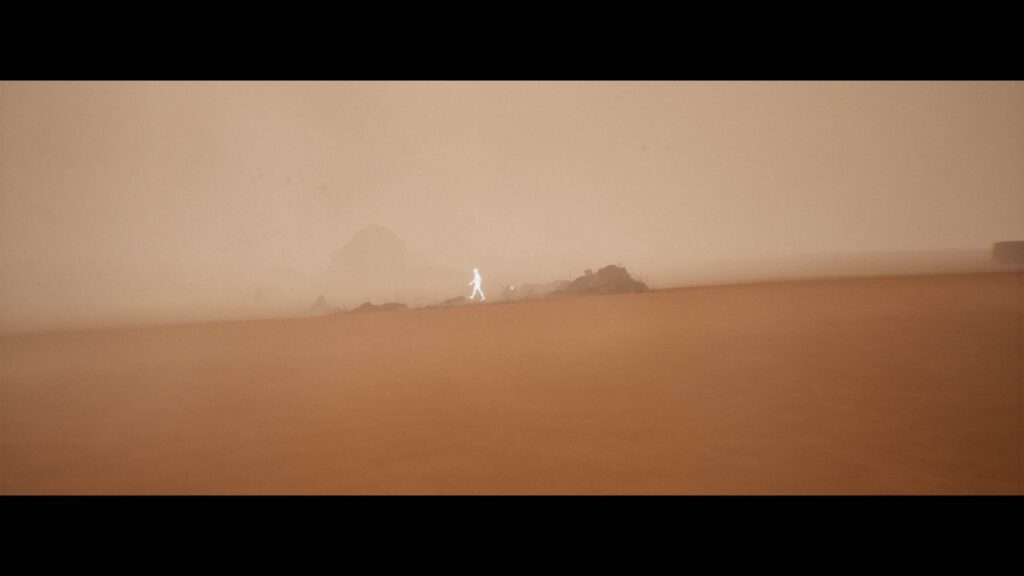
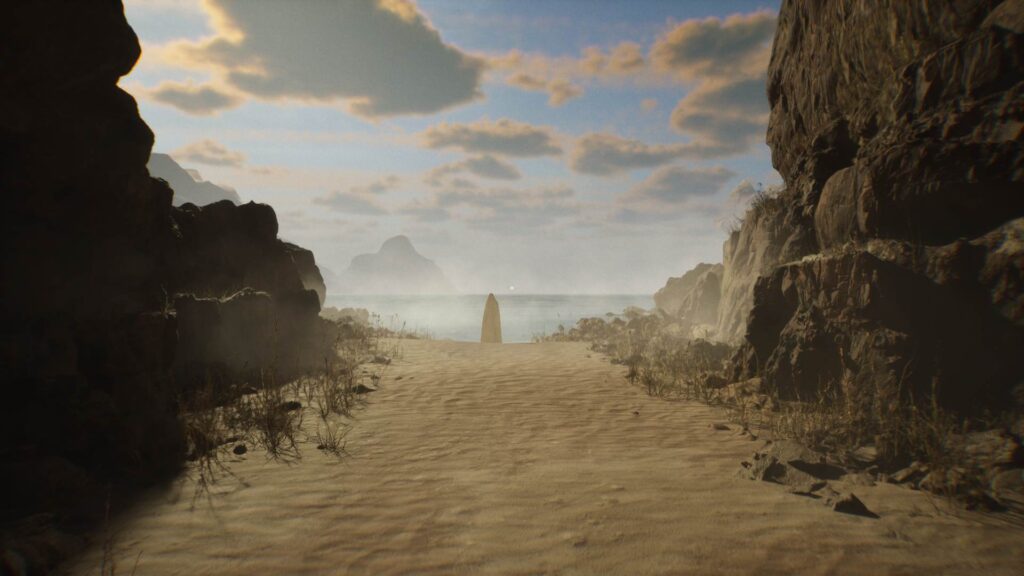
You’ll find yourself back in the desert. Keep resisting the sandstorm and make your way towards the white shadow figures. There are a total of four figures that you can touch.
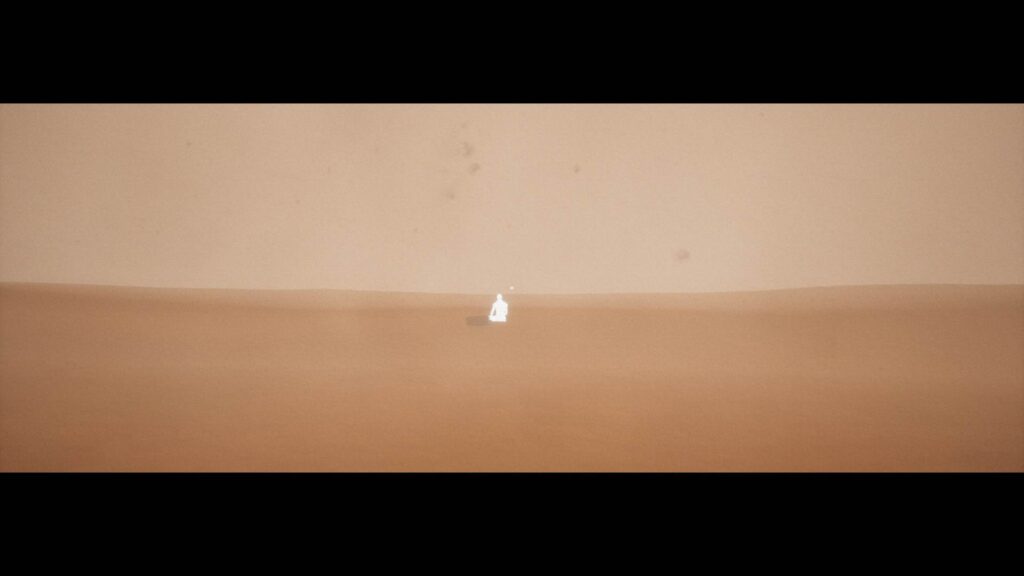
Unlike the first three figures, the last one would be sitting on the ground. As you reach it, it’ll disappear with a bright flash, and you’ll find a cardbox on the ground.
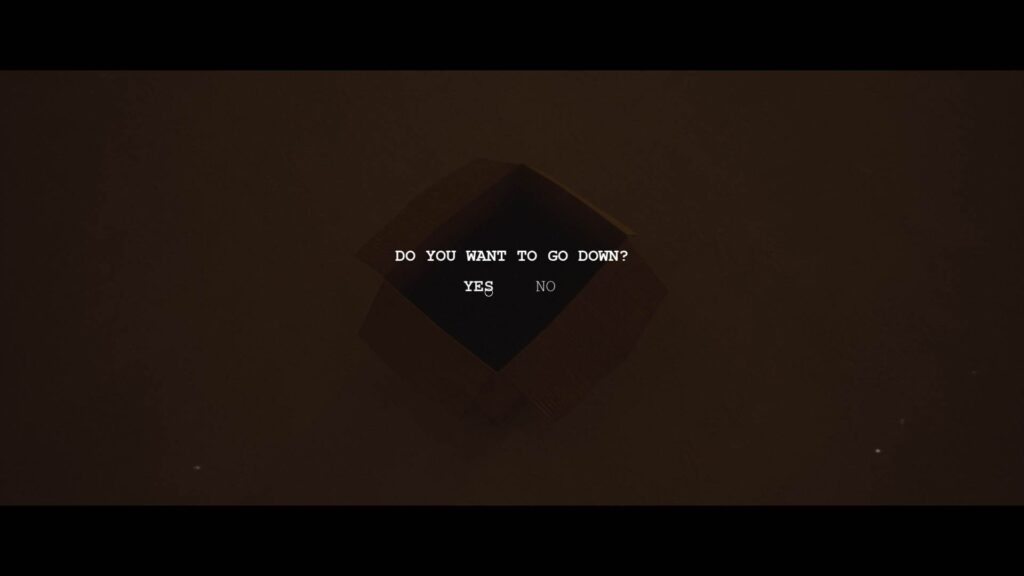
Interact with it and choose to go down.
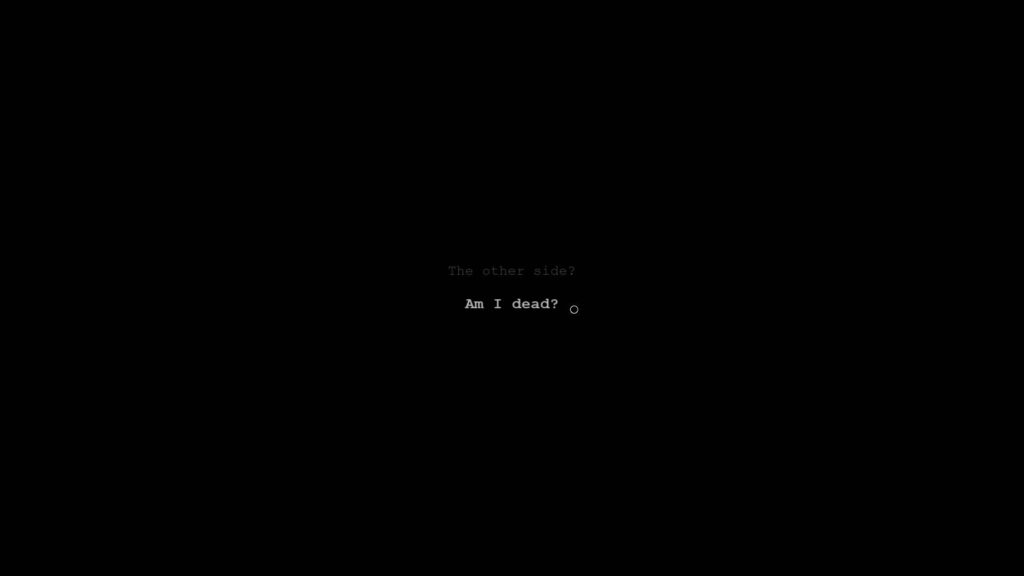
Listen to the narrator’s voice and run through the dialogues to continue the conversation.

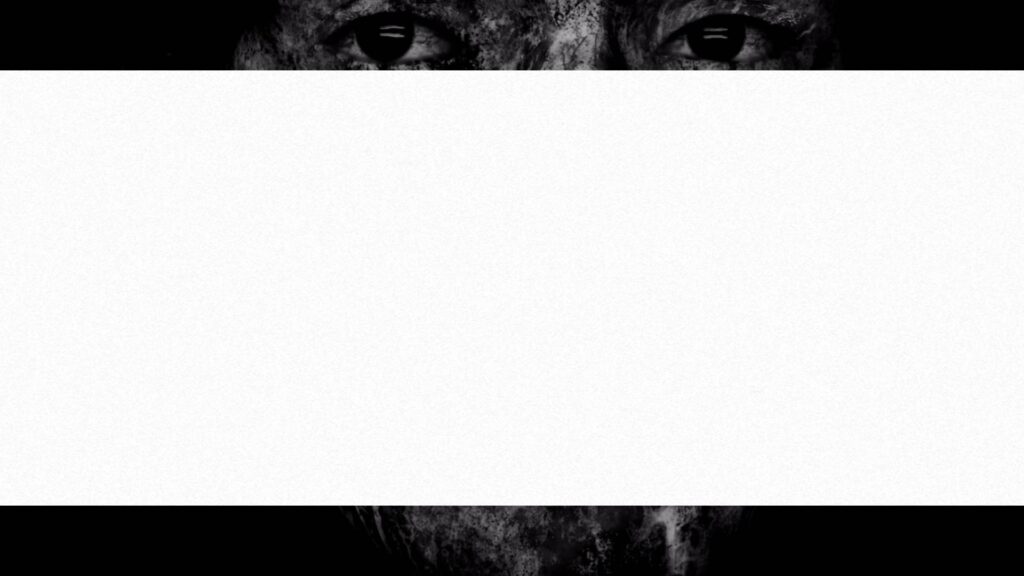
You’ll see the “=” symbol appear on your screen.
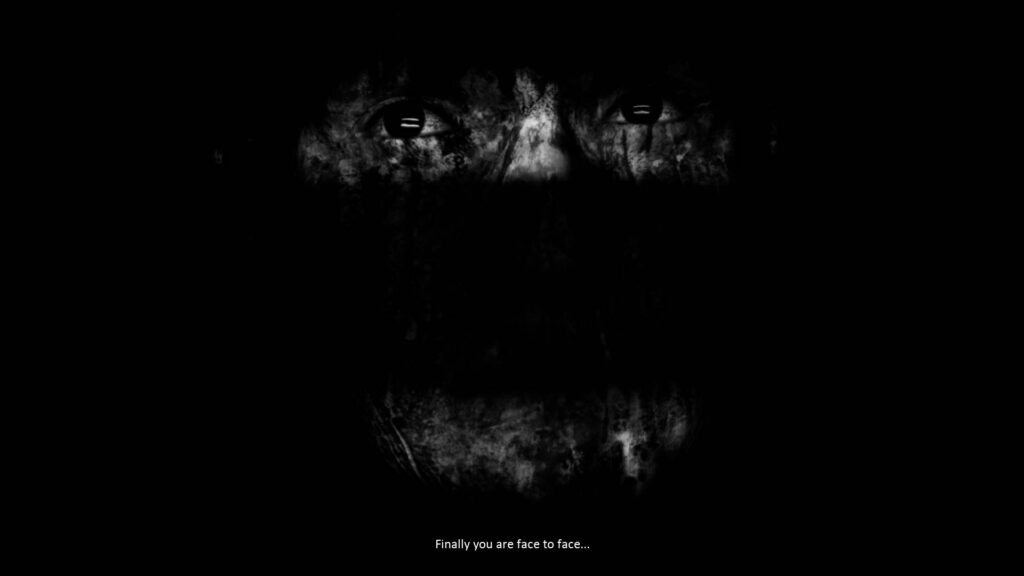
Walk towards it to trigger another conversation with the narrator. This time we went with the dialogues that show regrets. Once the dialogue ends, you’ll see the “=” symbol once again. Walk towards it until a bright white light fills your screen.
You’ll be teleported to a beach and see a white ghost figure up ahead.
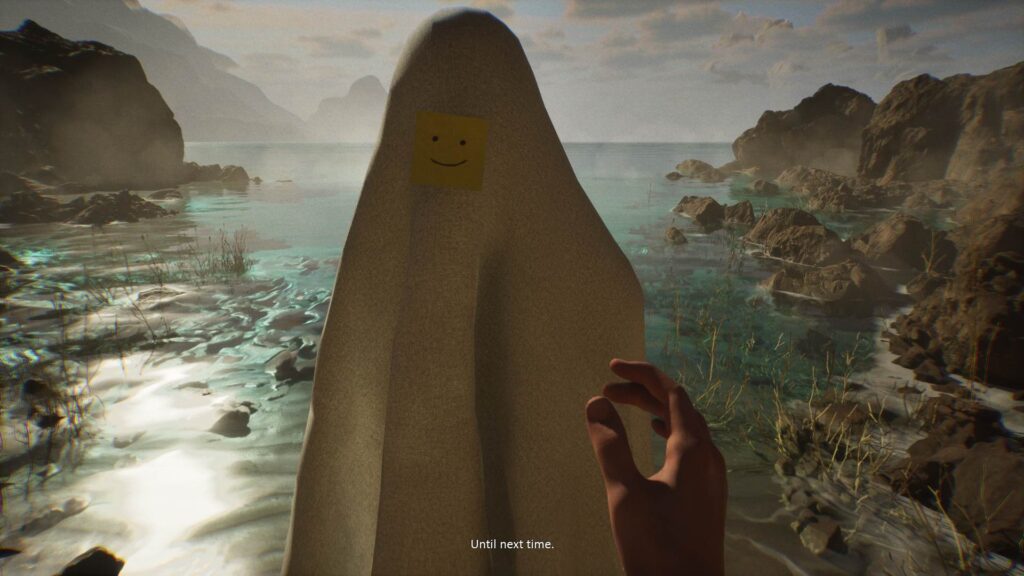
Walk to it and interact with it to pick up the sticky note. This time, Sam will actually reach out with his hands to collect the item.
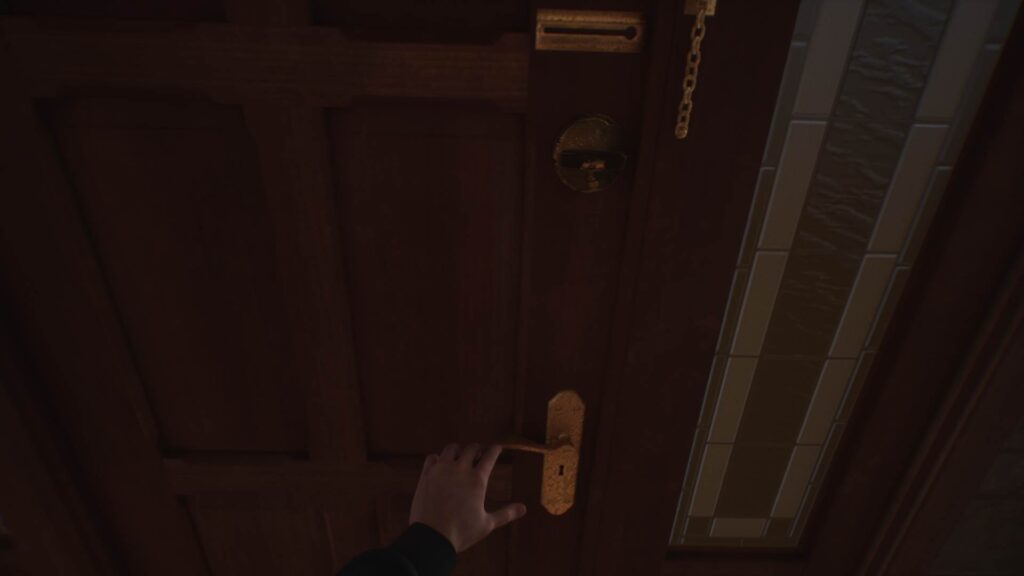
You’ll find yourself back in your house in front of the broken mirror. Make your way downstairs, pick up the Home Keys from the phone table, and walk out the main door.
This concludes the walkthrough for the final chapter of Luto. If you’re stuck in any of the previous chapters, be sure to check out our walkthrough hub.
For other interesting articles related to indie games, click the links below: