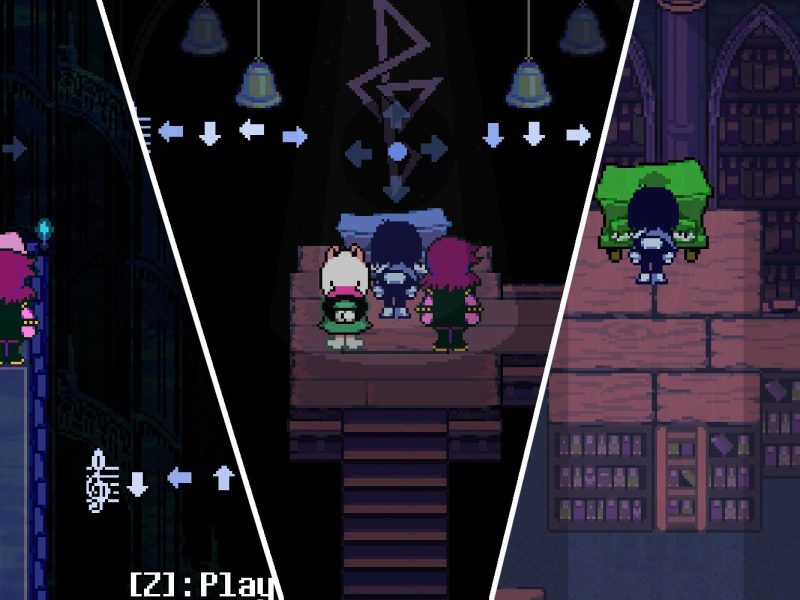
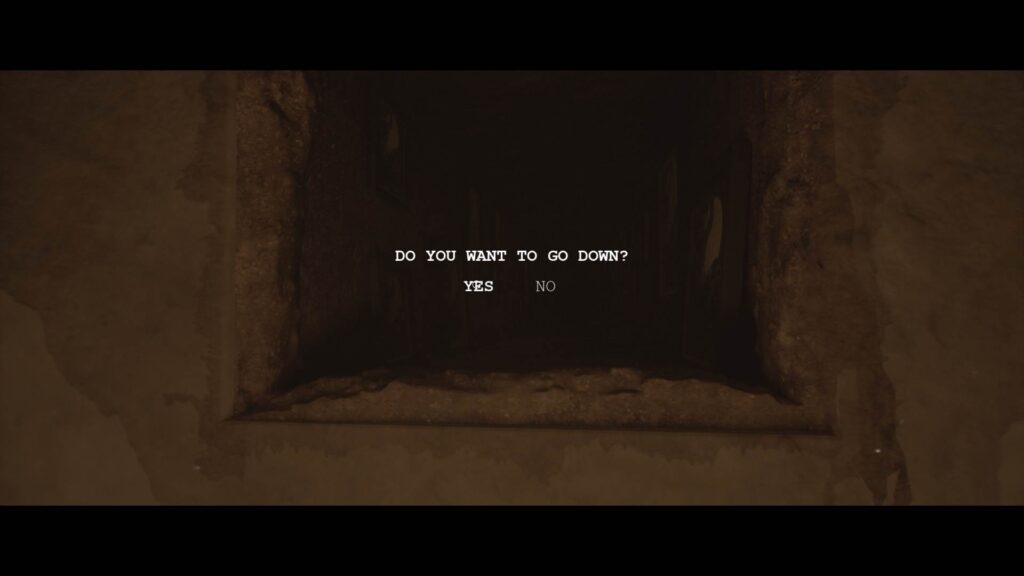
Welcome to our walkthrough for chapter 4 of Luto. After going down the ominous hole in the last chapter, Sam arrives at a new house. Unlike the previous chapters, this one is filled with tough puzzles, and confusing pathways that unlock as you keep progressing.
But you don’t have to worry about getting stuck when you’ve got us to rely on.
If you want to know more about Luto, check out their official website here.
Exploring a New House
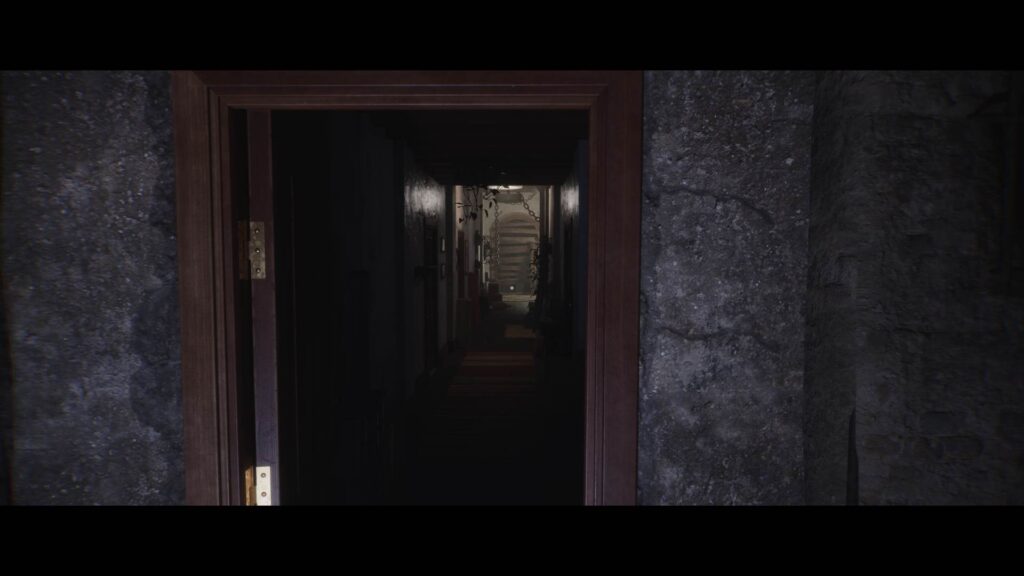
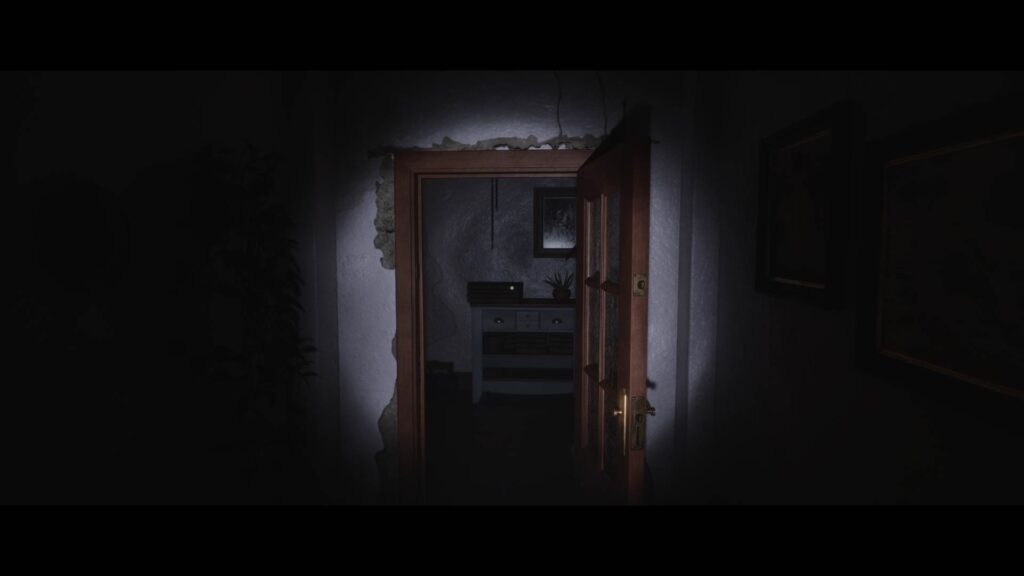
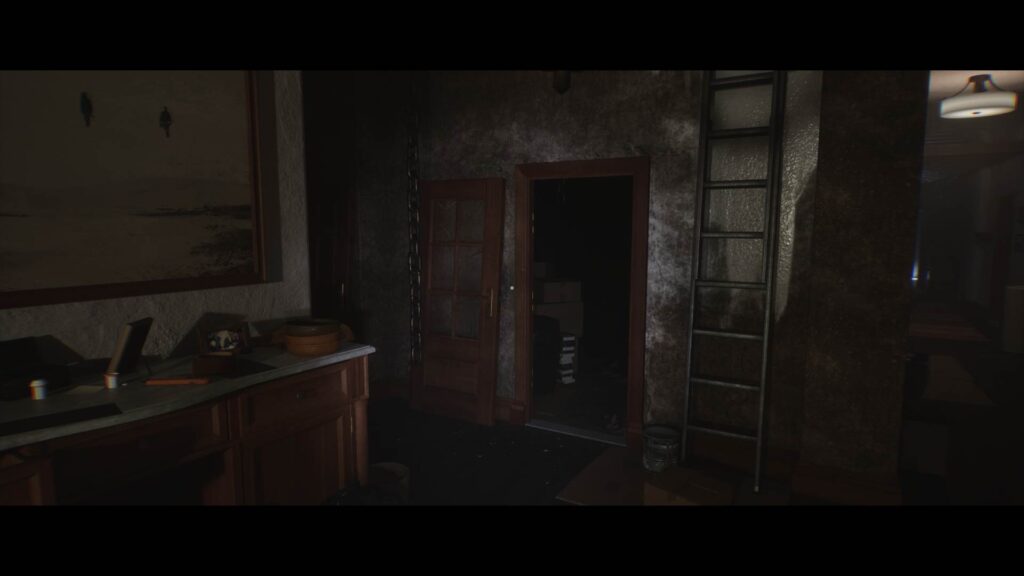
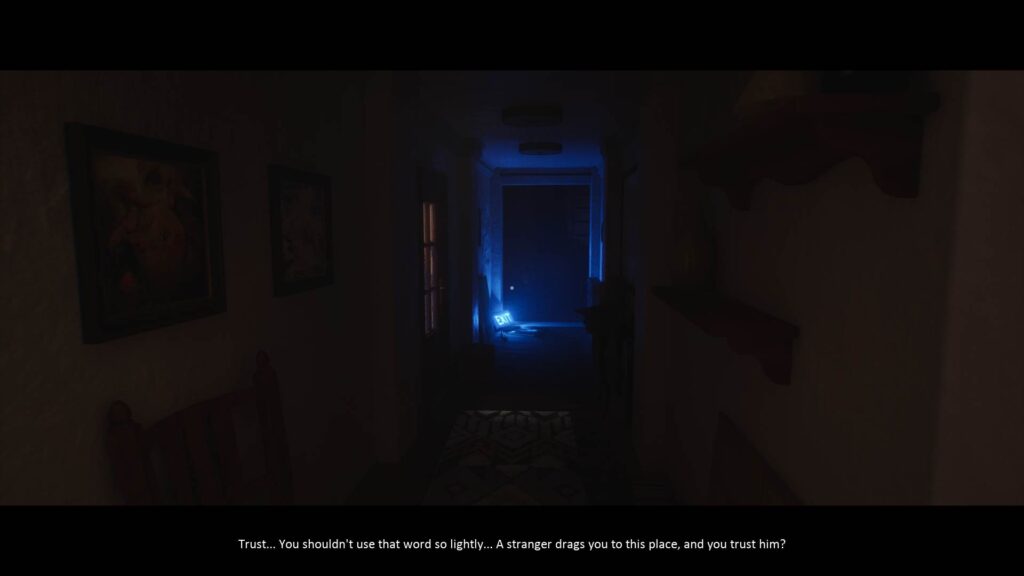
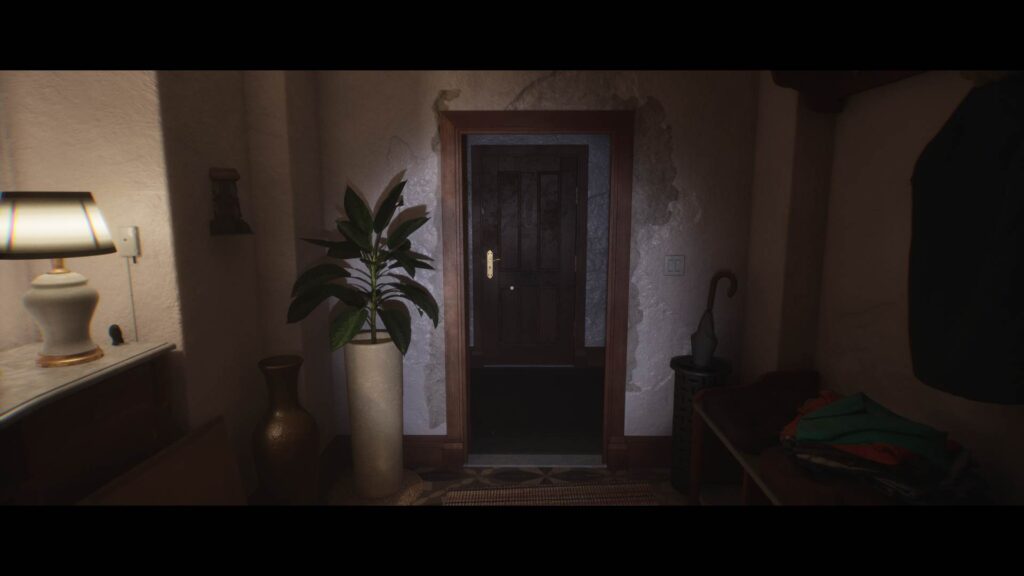
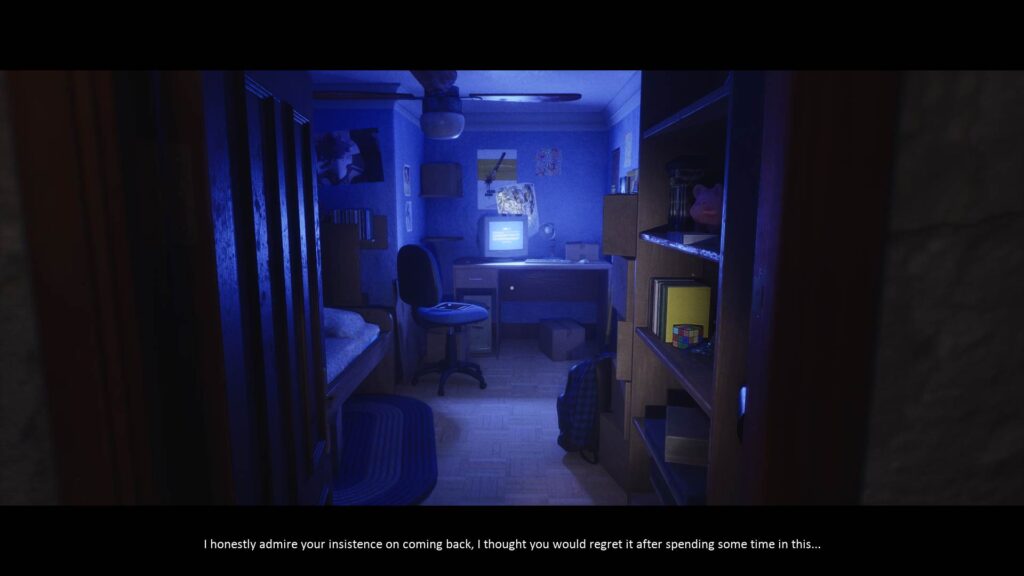
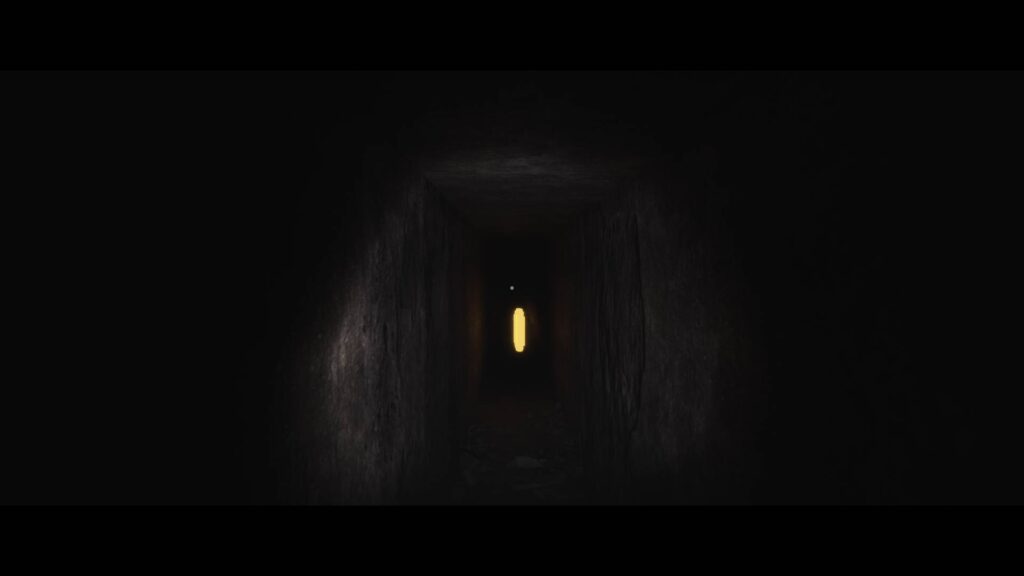
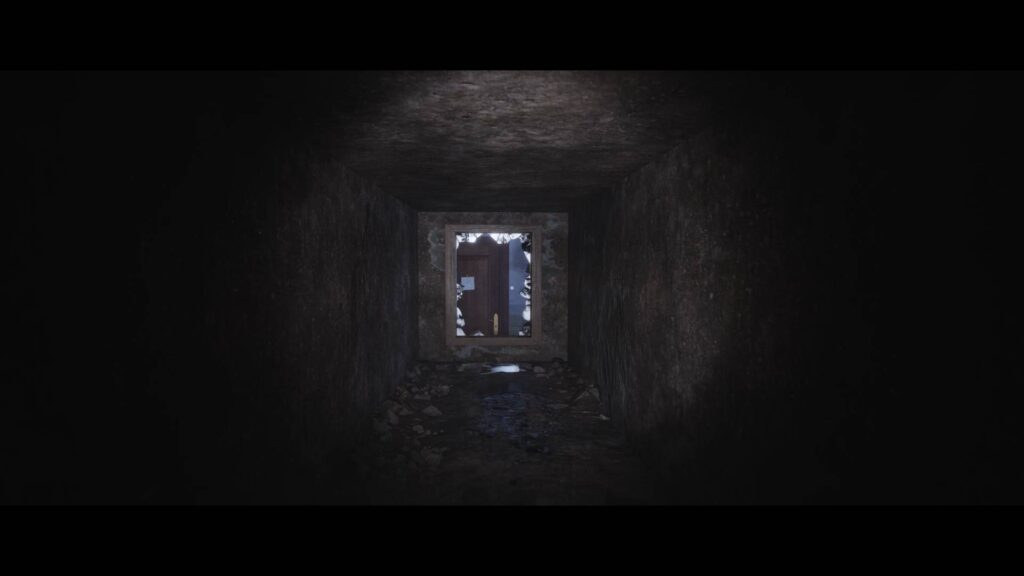
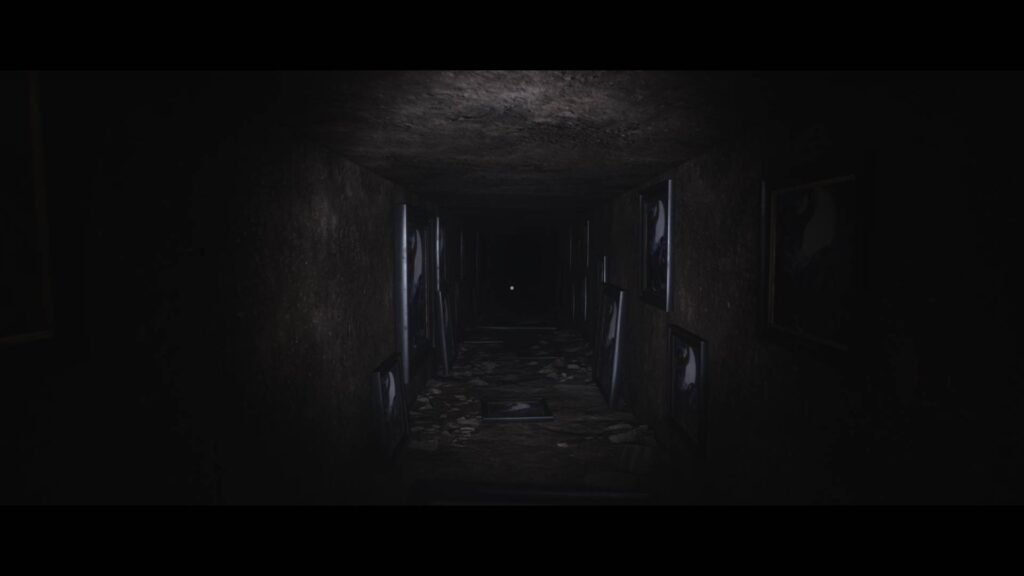
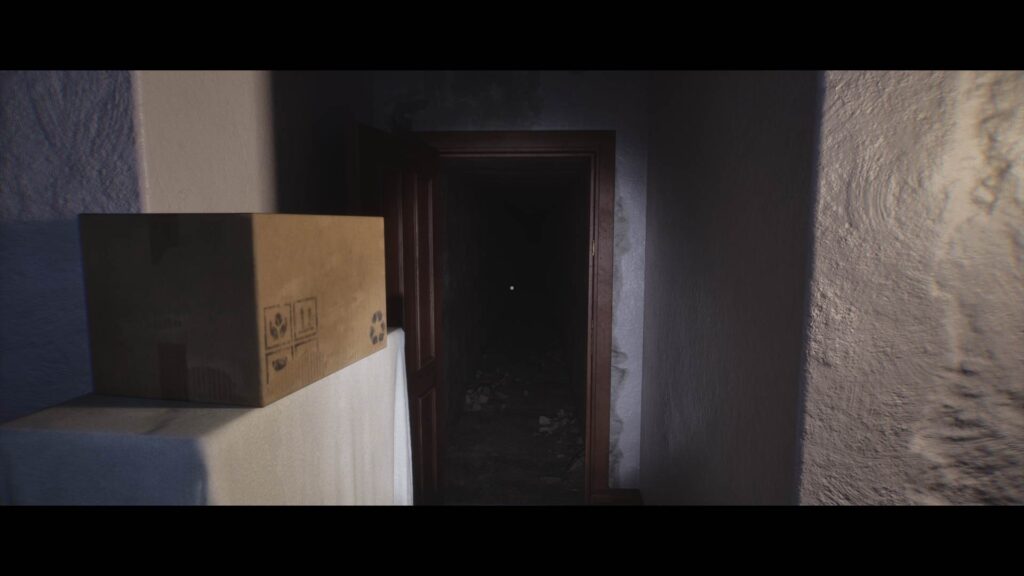
The chapter begins with you dropping down in a dark room. There’s a door right in front of you. You’ll see a long corridor on the other side.
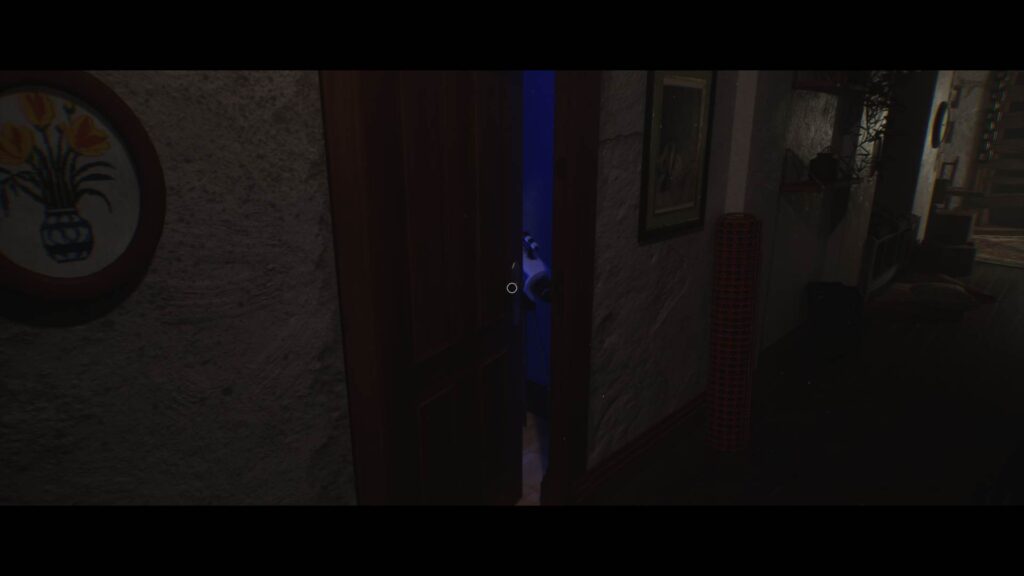
The first door on both sides of the corridor is locked for now. But the second door on your left is slightly open.
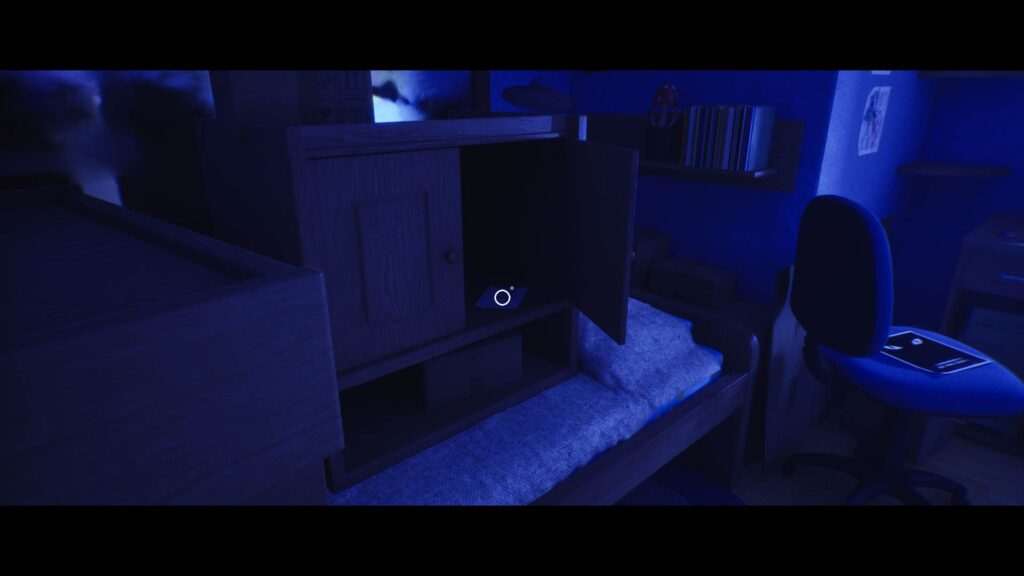
Go inside and pick up the Sketchbook Sheet inside the cupboard on the bed.
Turn around and look at the Bulletin Board. Note that there are three drawings missing.
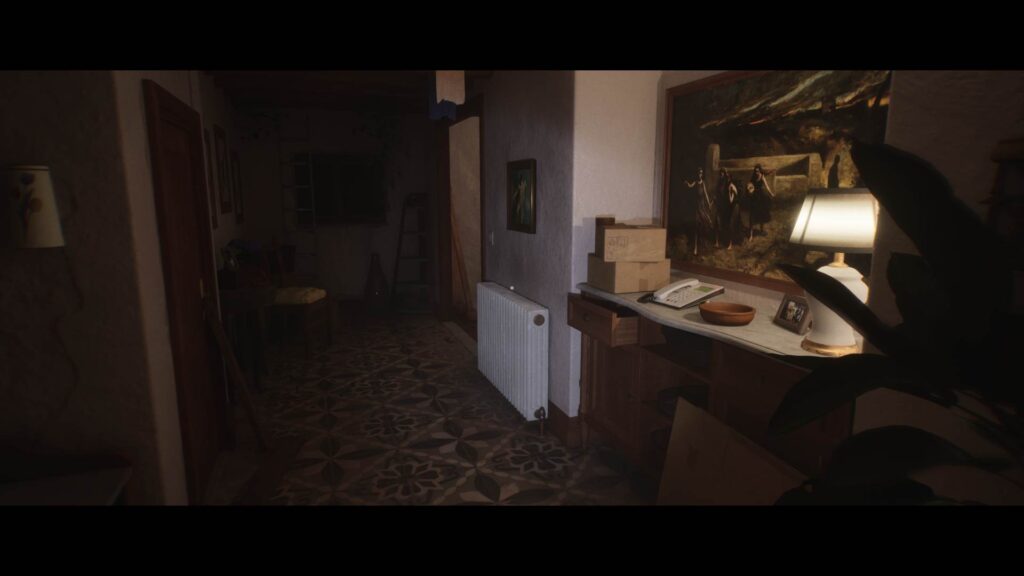
Walk back out and head towards the living room. You’ll find a note on the cupboard under the painting.
Take the left side of the room to reach another door.
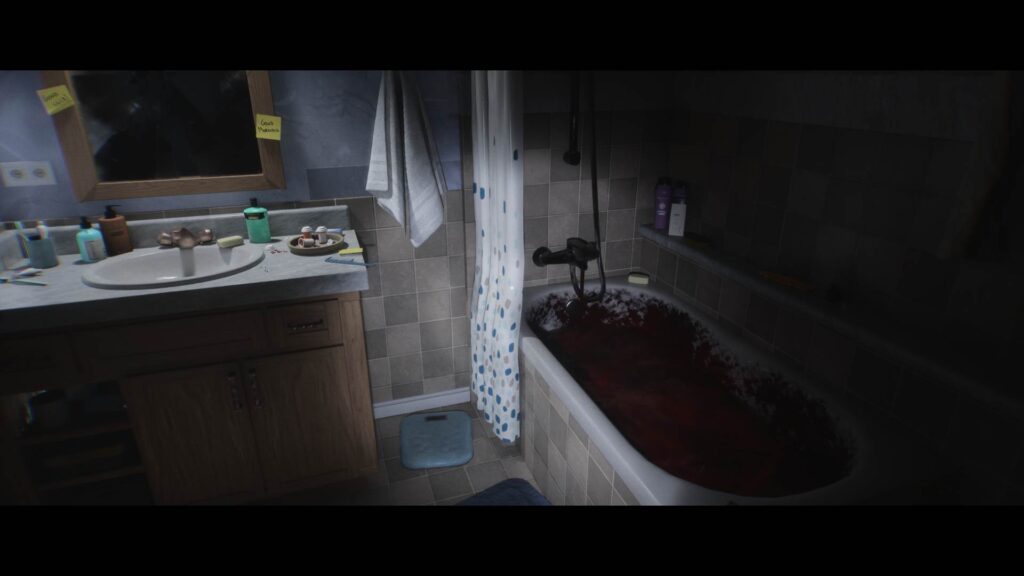
A bathroom will come up on your right. The bathtub inside is filled with blood.
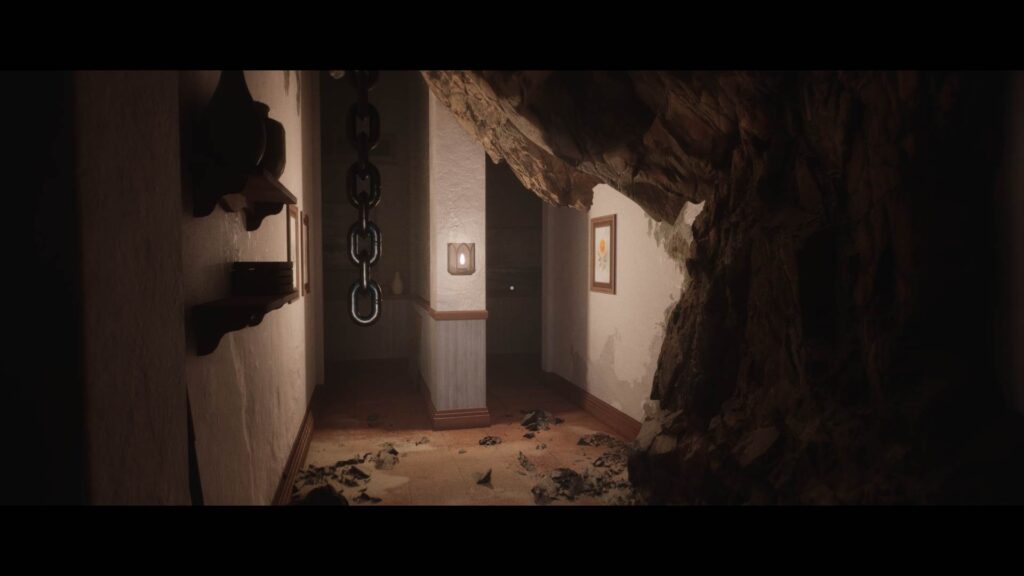
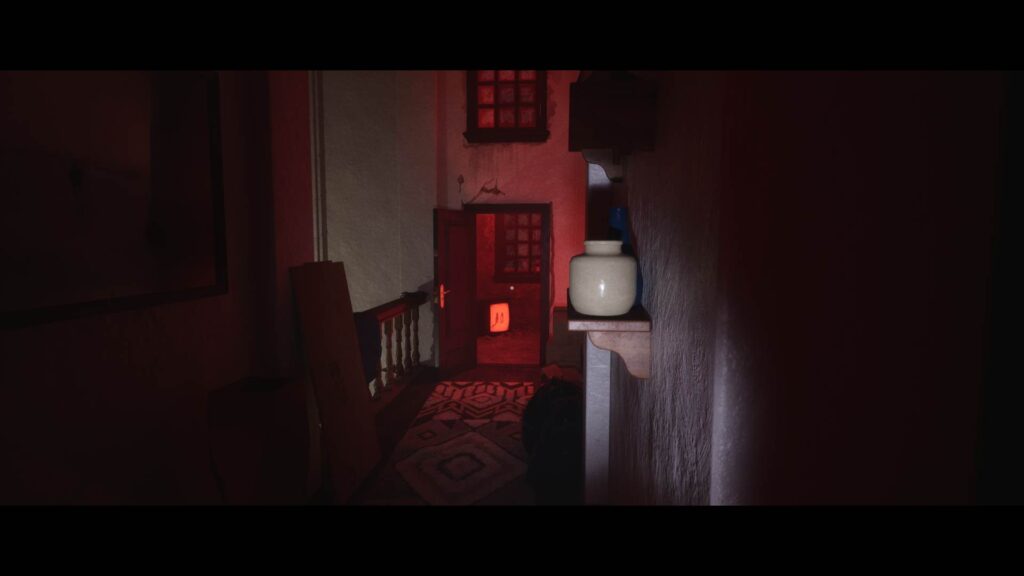
Moving along past the bathroom, you’ll come across a fork up ahead.
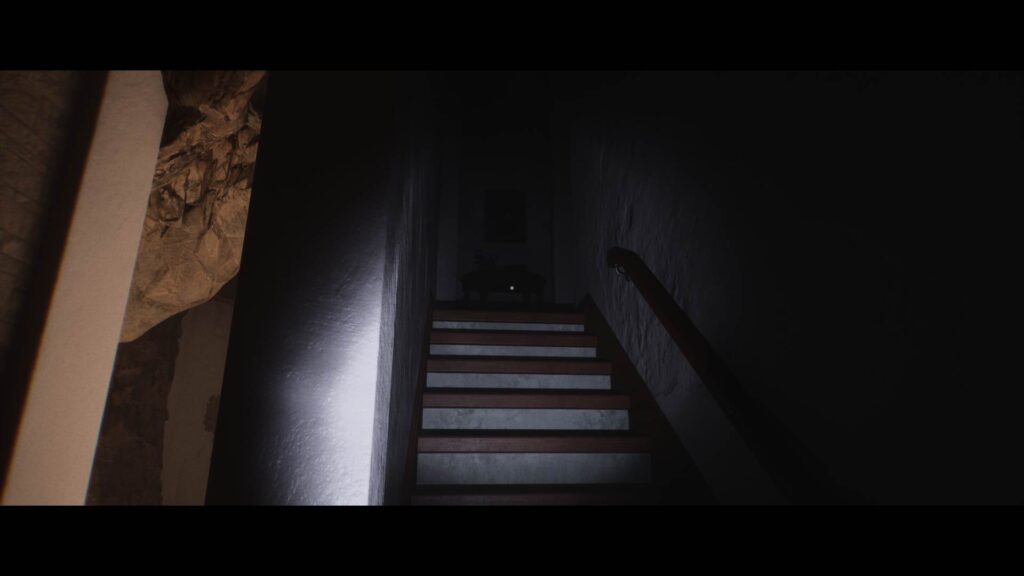
Take the left side first and walk up the stairs.
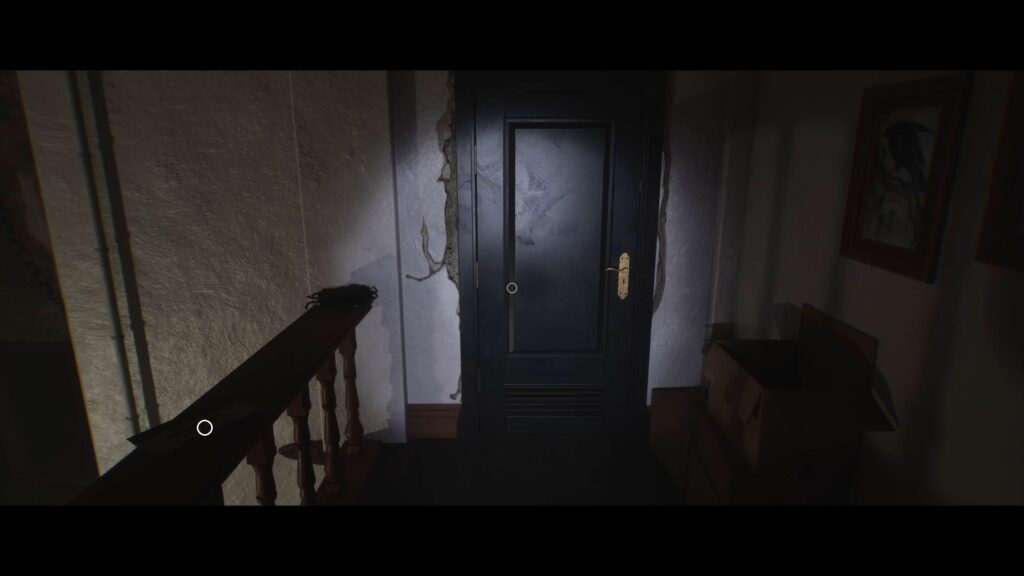
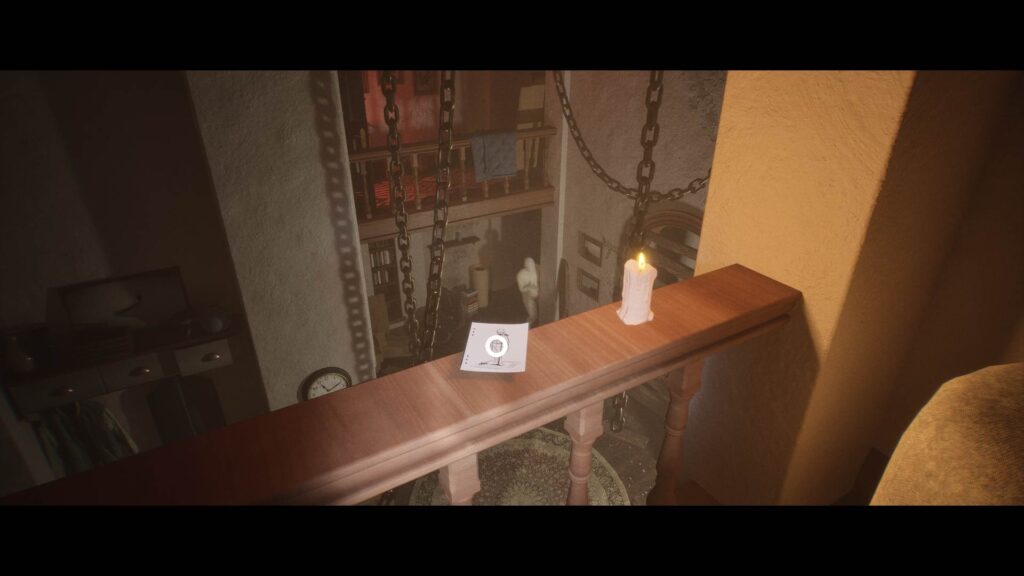
At the top, you’ll notice a Black Door. Interact with it and a sound will start playing. The railing on the left will have the first drawing that you can collect for the bulletin board.
Return to the bottom floor and take the right path from the fork.

There’ll be a locked door up ahead. Turning around, you’ll find a set of stairs leading down into the basement.
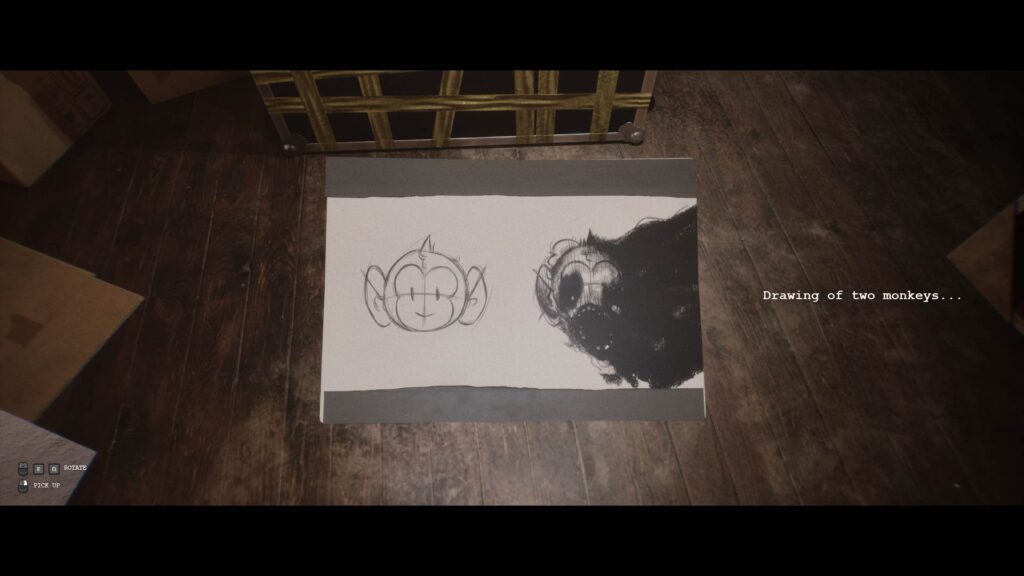
Go down the stairs to arrive at a room full of drawings. Pick up the Drawing of Two Monkeys that’s on the ground. This is the second drawing you’ll need.
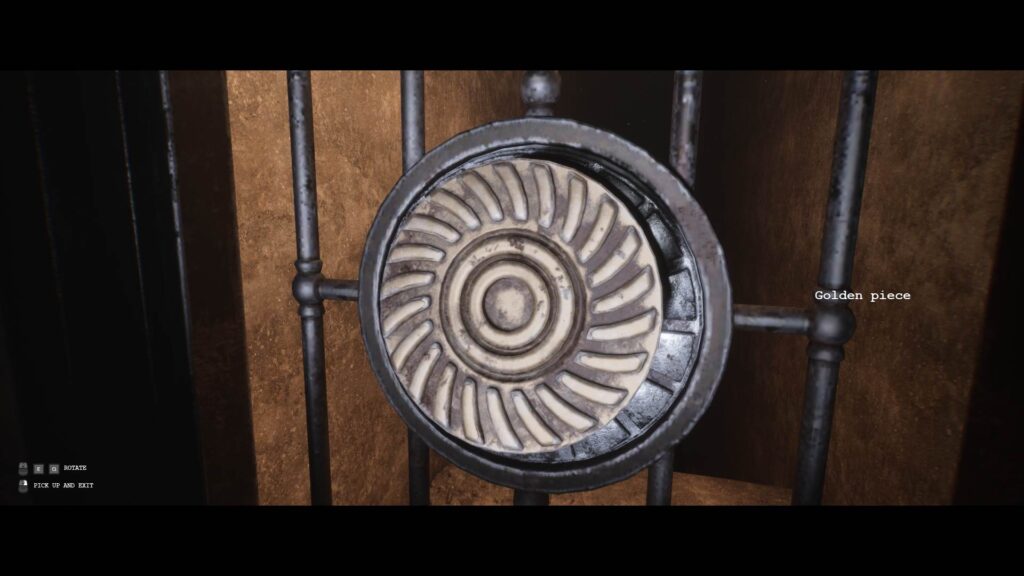
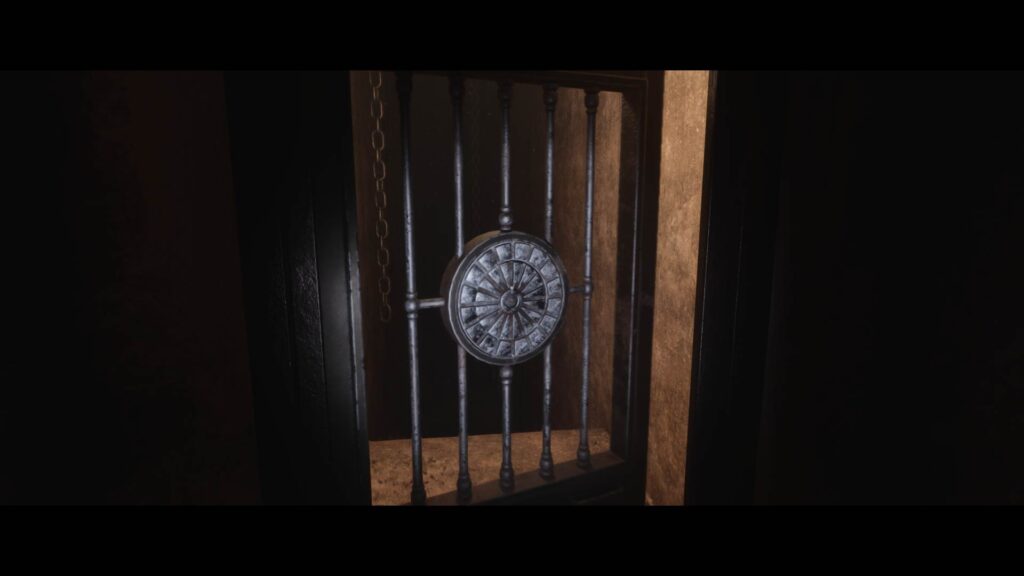
At the end of the room, you’ll find a gate with a weird symbol on it. Interact with the door to pick up the Golden Piece key item.
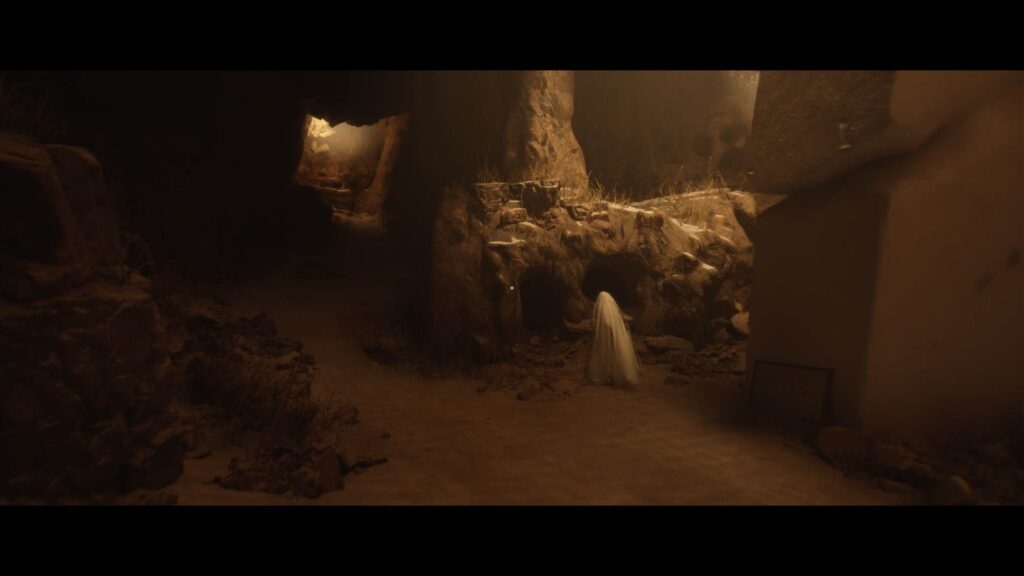
Turn around and walk back out the way you came, ignoring the creepy ghost that just passed by the other end of the room.
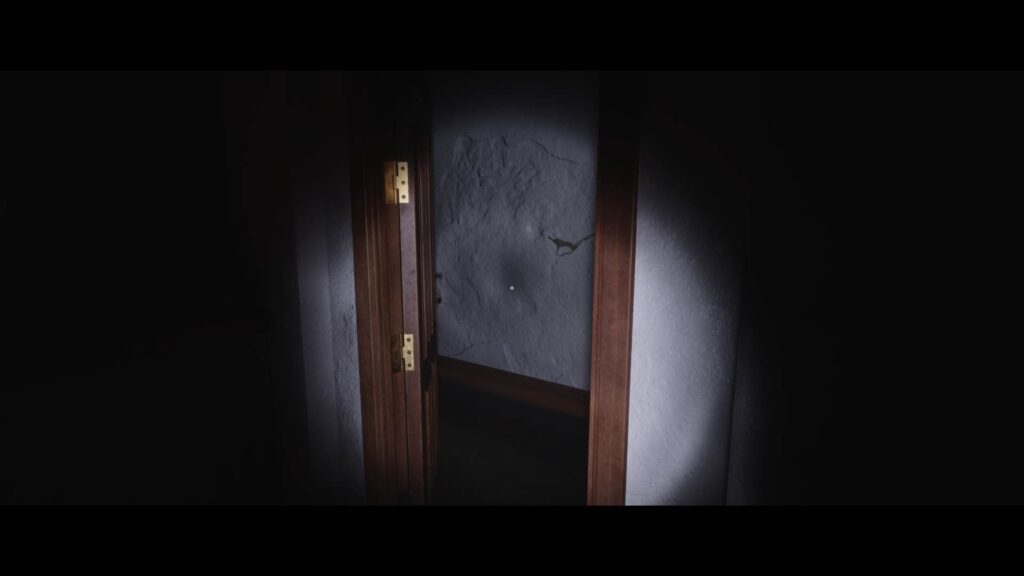
You’ll hear a creepy thud as you walk up the stairs. At the top, you’ll find that the door that was locked earlier is now open.
Through the Open Door
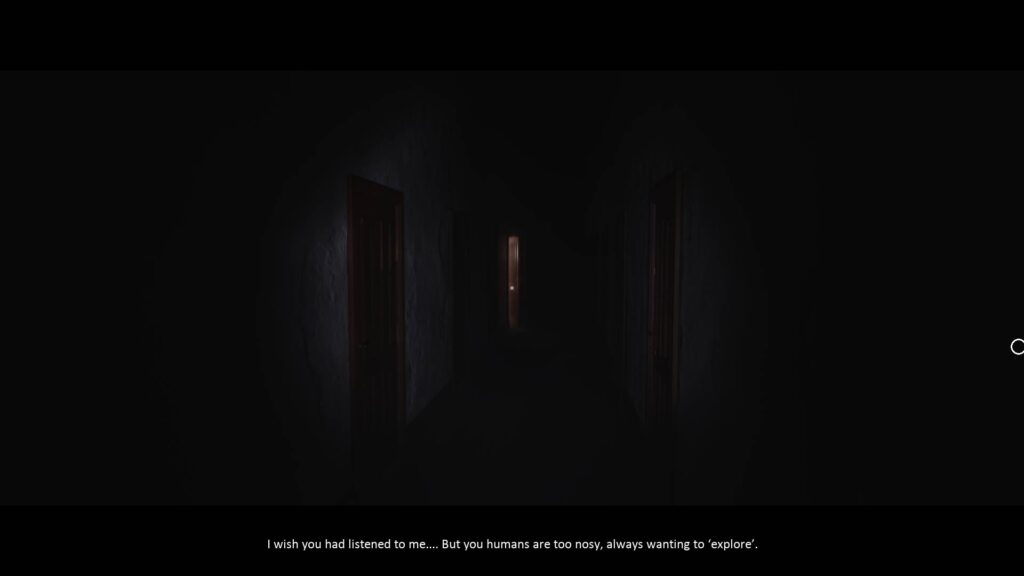
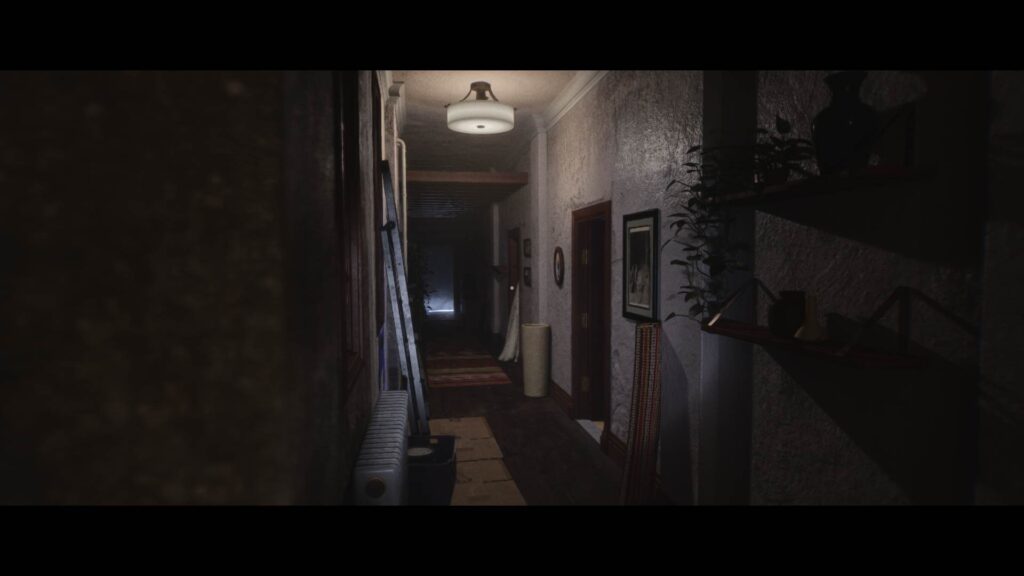
The door leads to a long, dark corridor with locked doors on both sides. The narrator will start talking, but his voice will be different. It’s clear that he’s mad at you for wanting to “explore”.
You’ll see a slightly open door down the corridor. Beeline straight for it as you can’t do anything else with the other doors at this point.
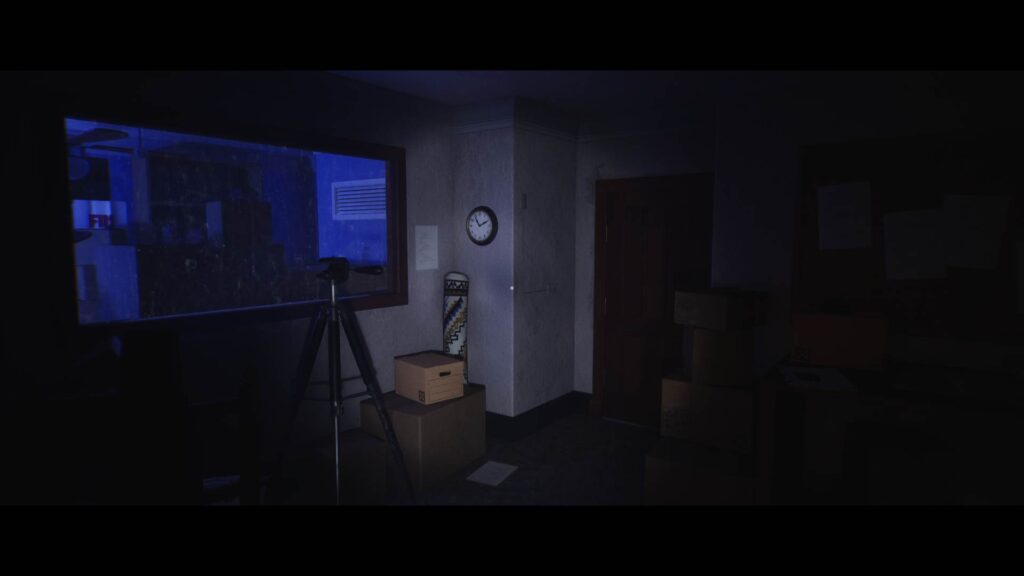
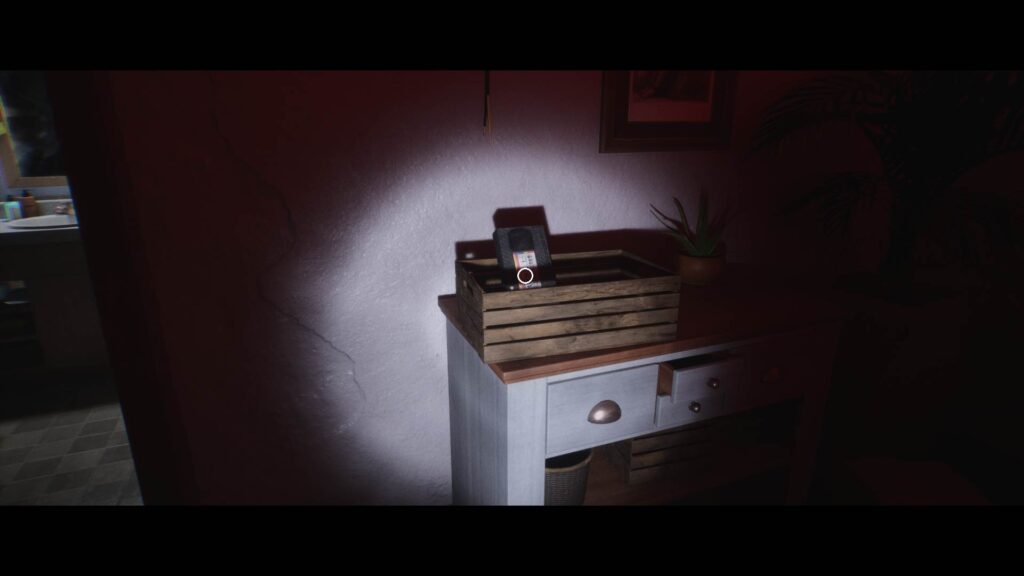
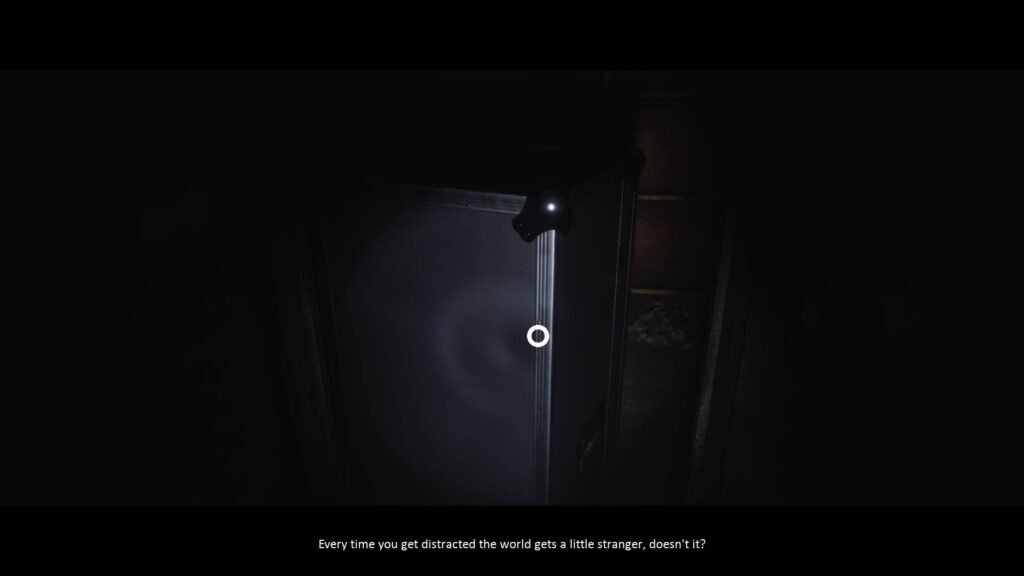
Enter the room and take a look around. There’s a Word Card you can pick up on the table.
You’ll also see a video camera positioned in front of what seems like a one-way mirror.
Walk through the door on the other side of the room and you’ll find yourself back at the starting area of the chapter.
Back To Exploration
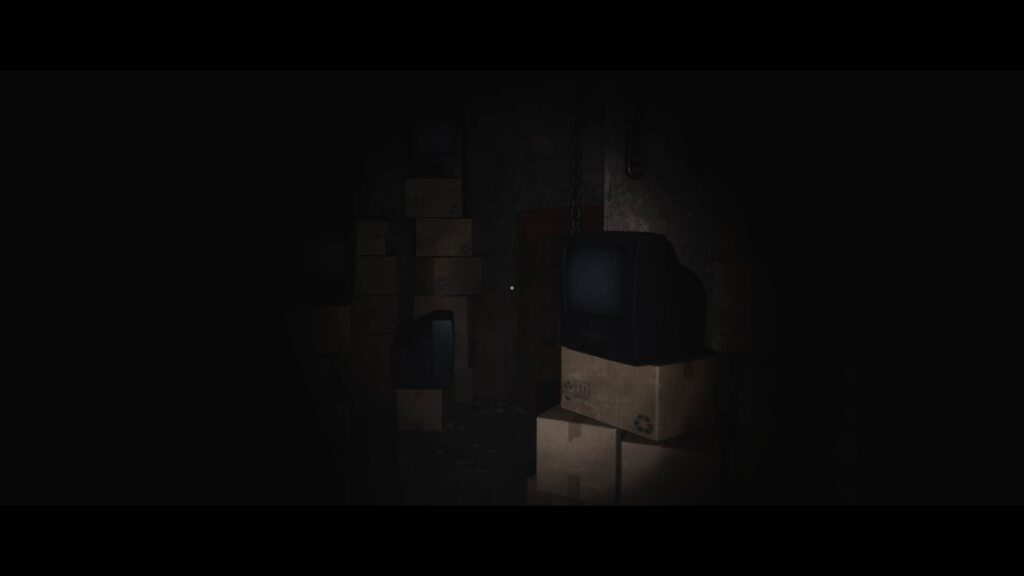
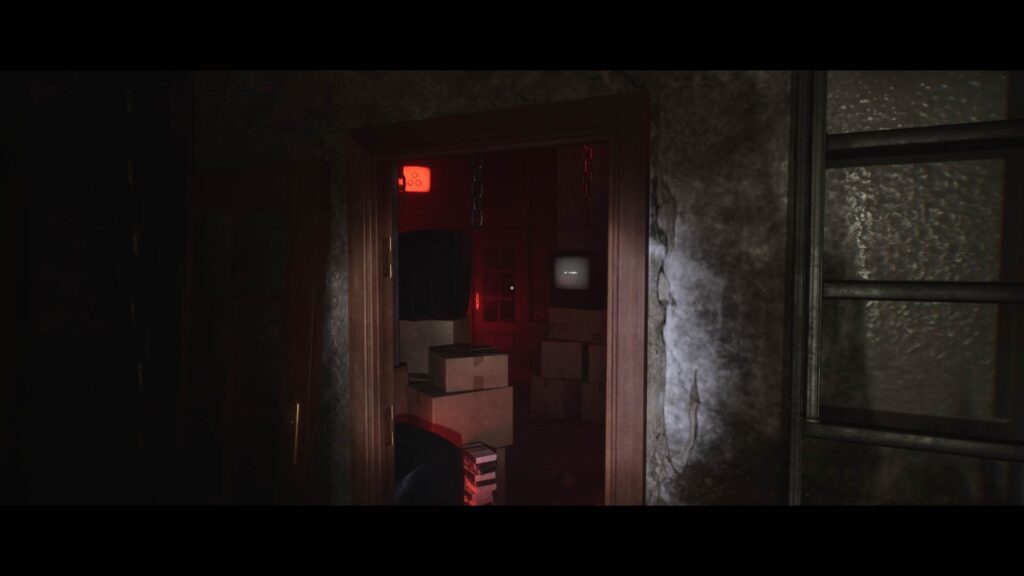
Head back to the living room area and turn right. The first door on your right leads into a dark room with some TV sets. There’s a door on the other side, but it’s locked for now.
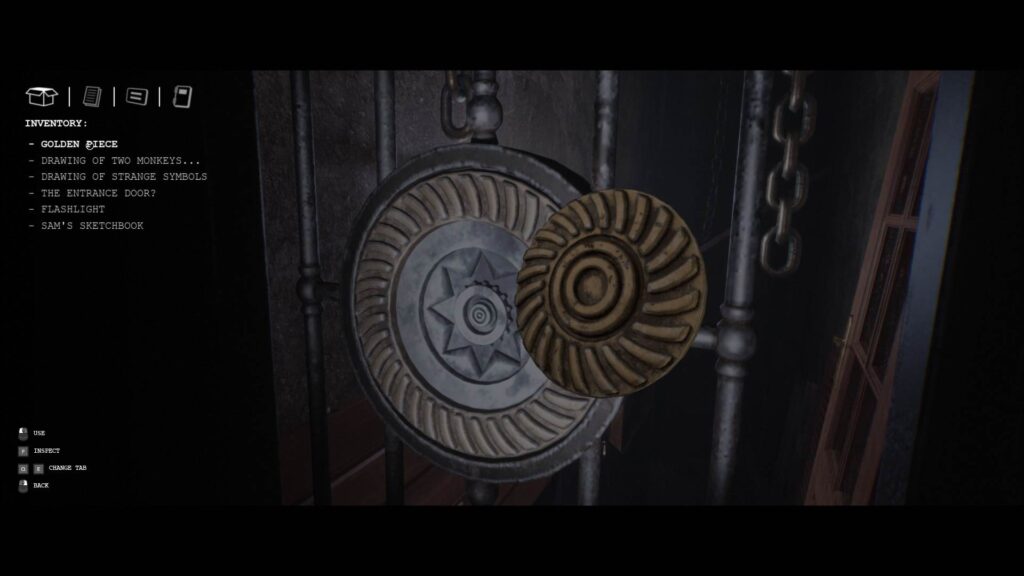
The narrow passage past the room leads to a grilled gate similar to the one you saw earlier. Use the Golden Piece with the gate. The door will open, revealing a set of stairs leading down.
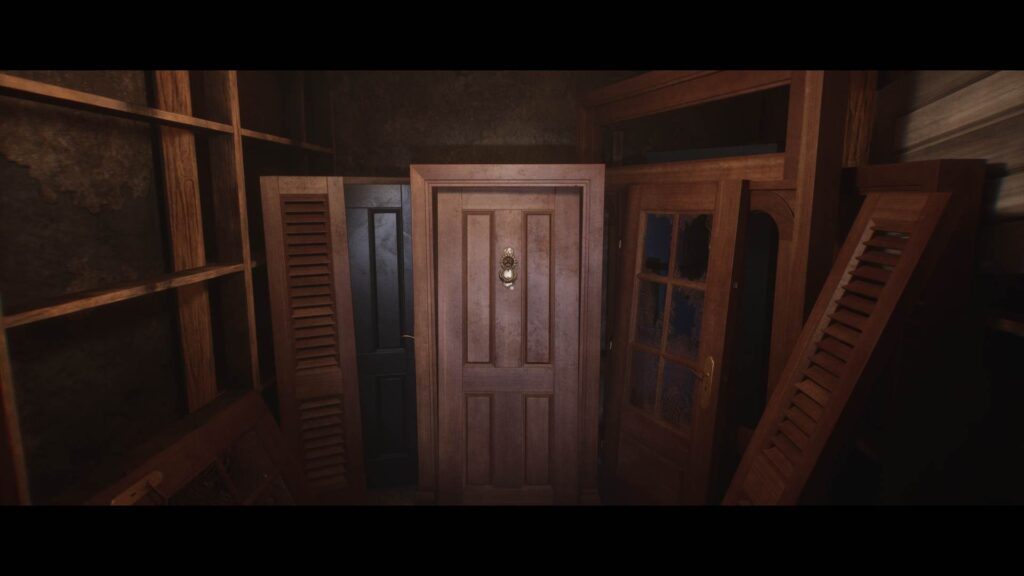
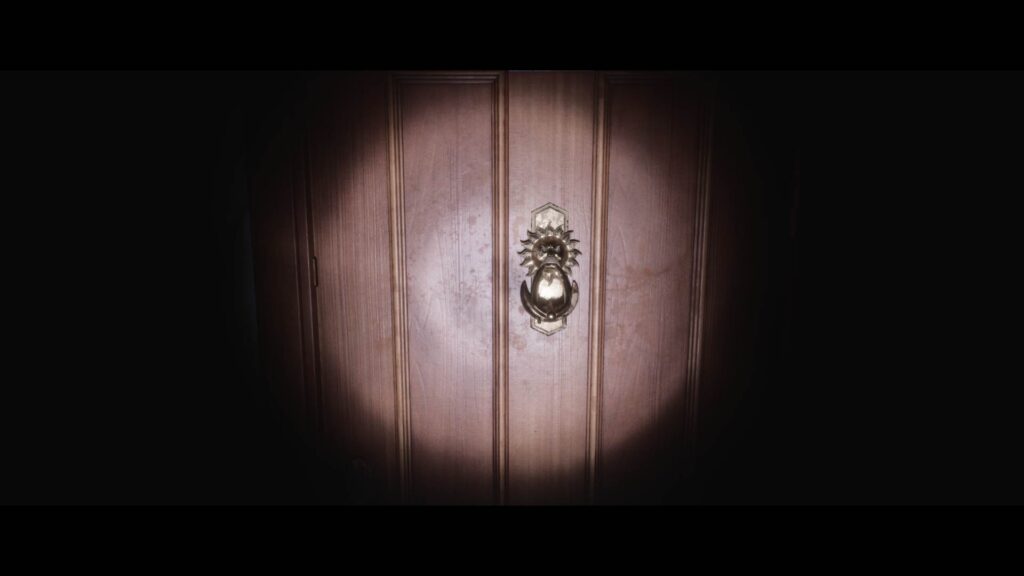
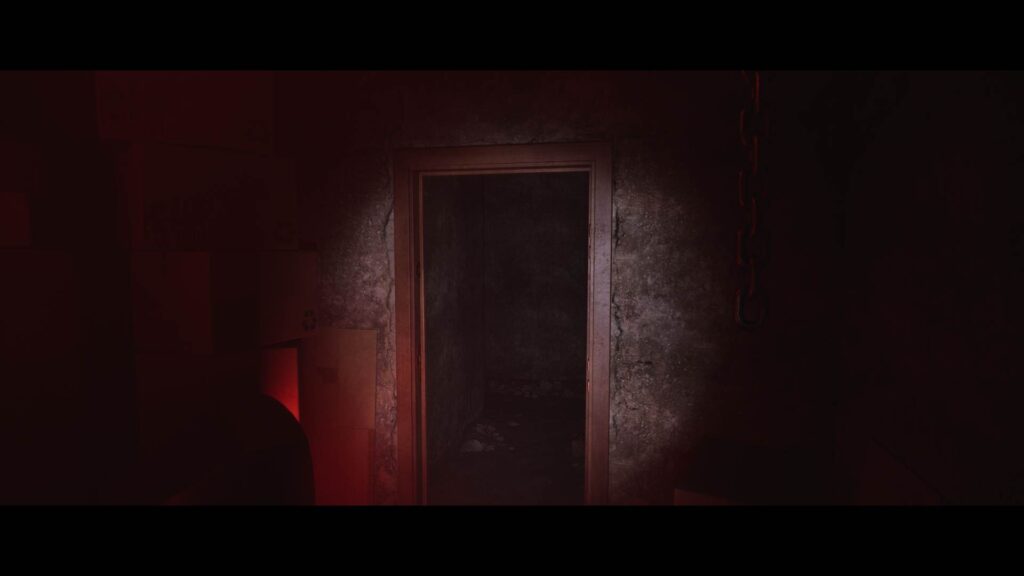
Go down the stairs and inside the room. Interact with the wooden door in front of you to pick up the Moon and Sun Knocker.
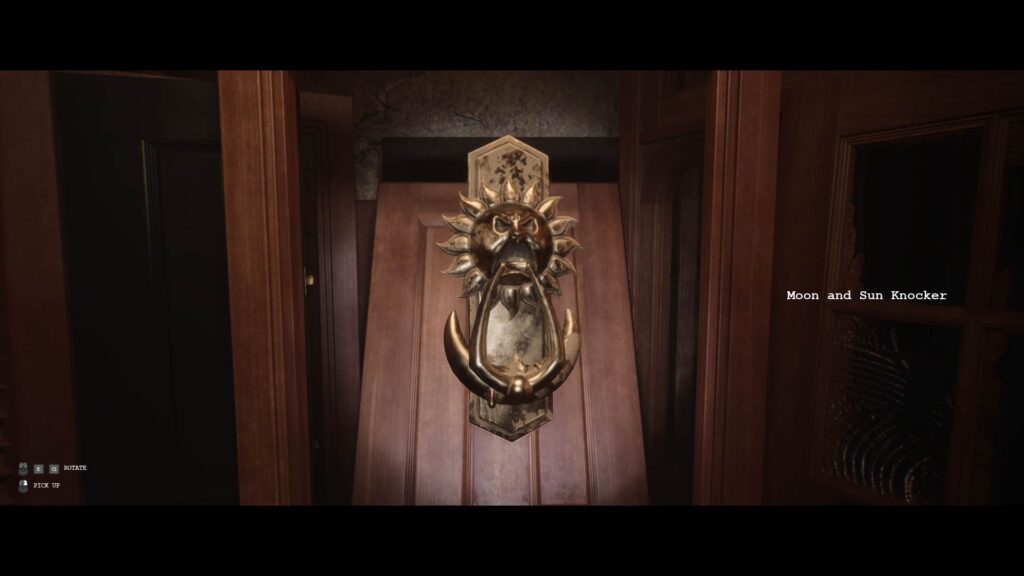
At this point, the wooden door will fall over, revealing a dark tunnel behind it.
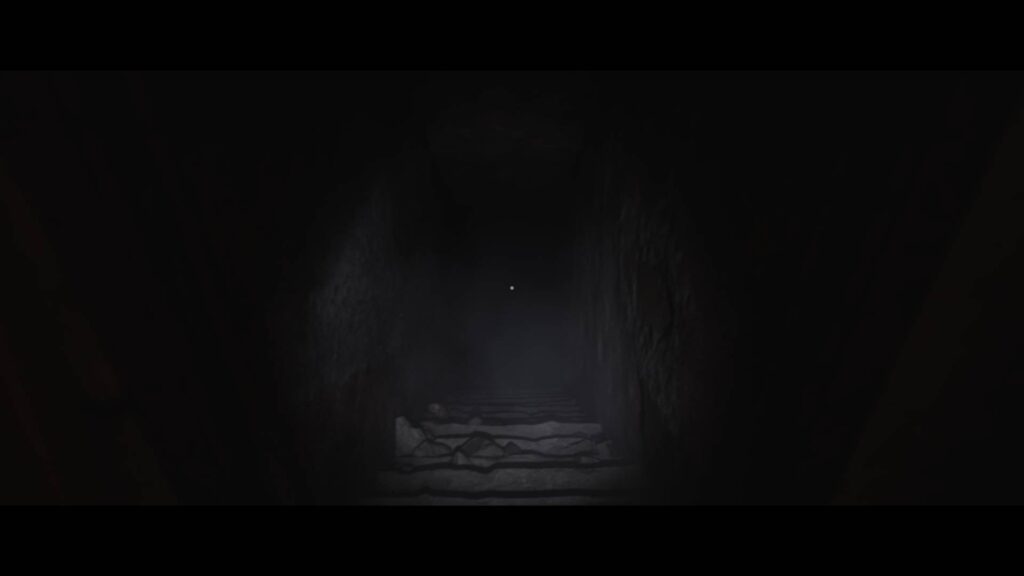
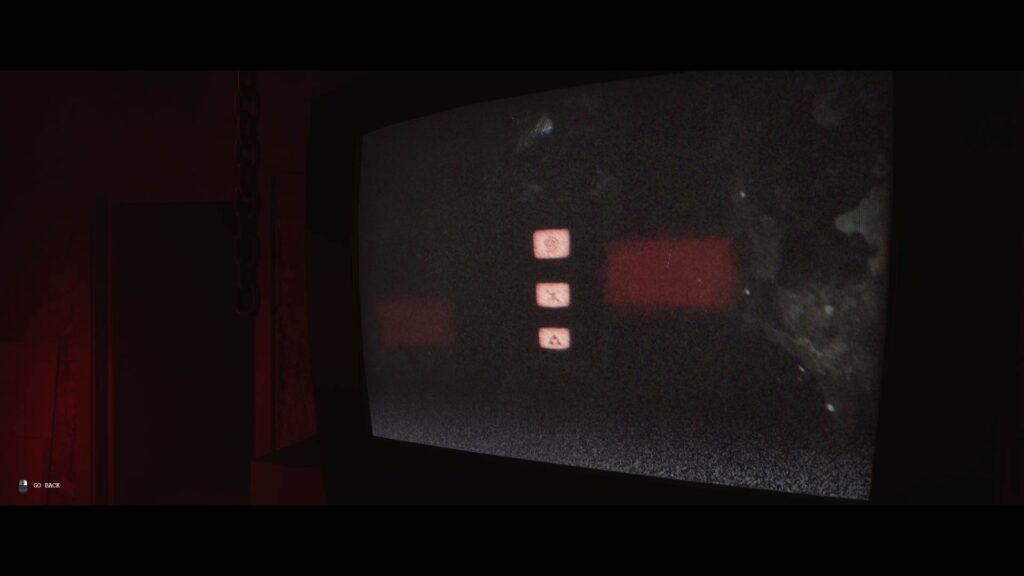
Head through the tunnel, climbing down the stairs, and you’ll see three TV screens light up with weird symbols. You can interact with the TV screens to change the symbols.
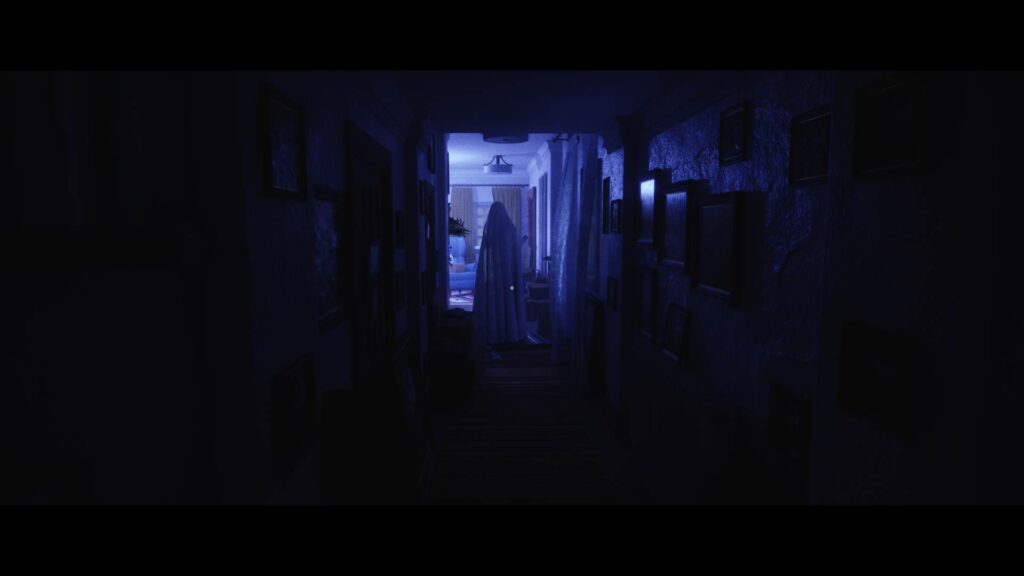
Following The Ghost
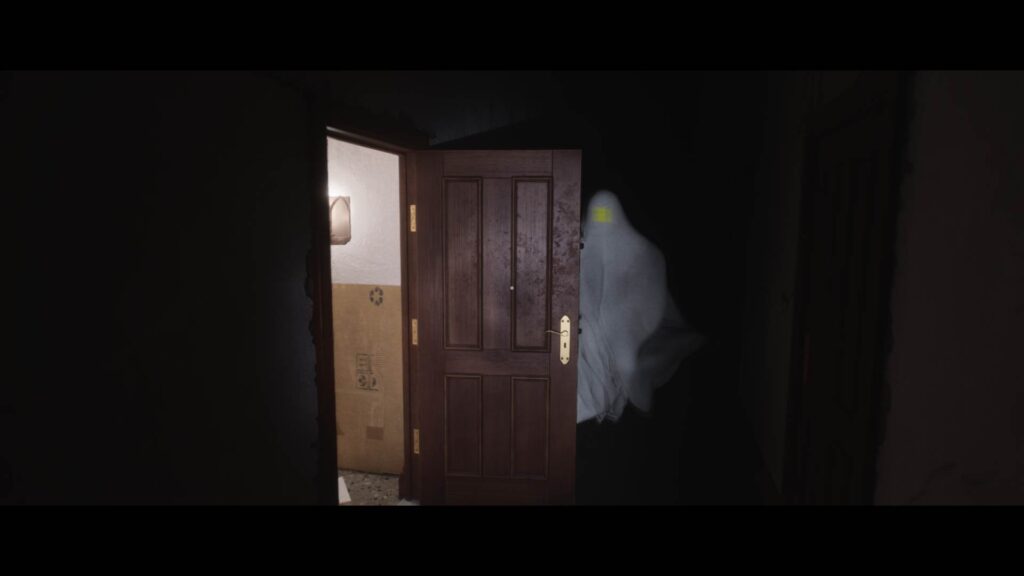
Turn around and get back to the living room. As you reach the corridor leading to the living room, you’ll see the ghost walking away to the left side. Follow it and you’ll see it get in the room with the video camera. The ghost will lock the door behind it.
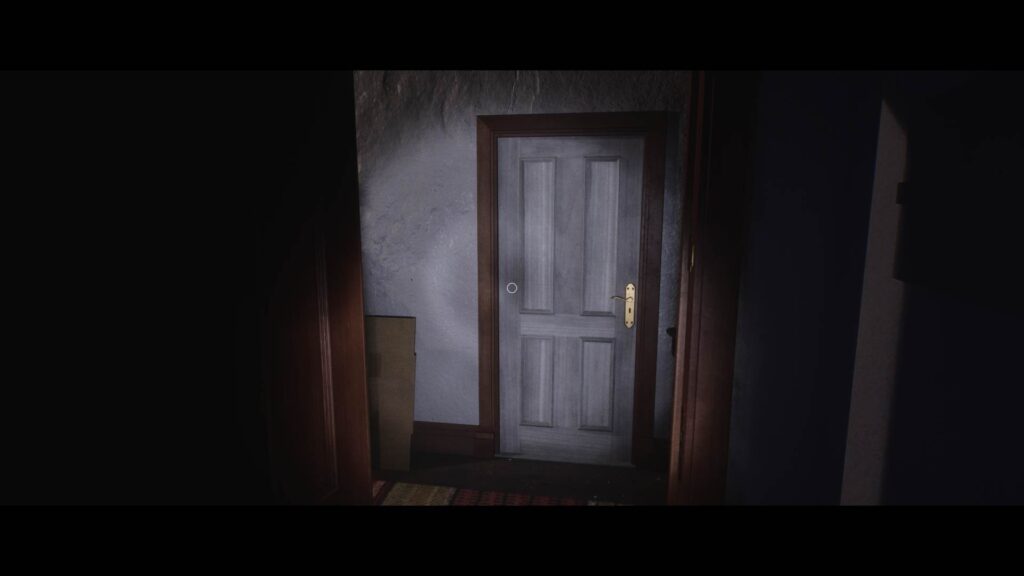
Get back to the area with the long dark corridor past the bathroom, on the right side of the fork. As you start heading down the corridor, you’ll hear a phone start to ring. Turn right and use the Moon and Sun Knocker on the door.
Interact with the knocker, and the door will unlock.
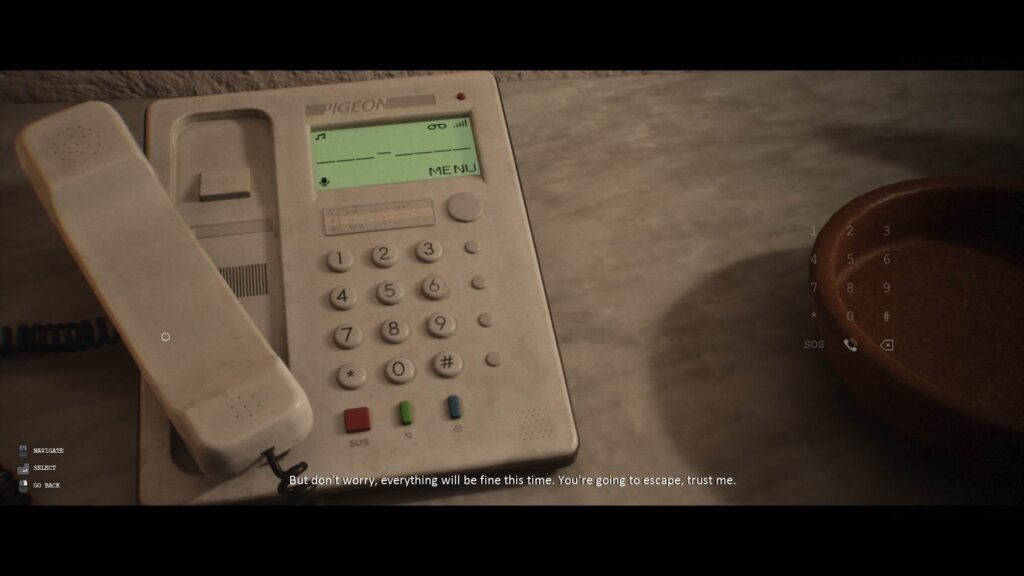
Answer the phone to listen to the voice for some words of encouragement.
Going Deeper Into the House
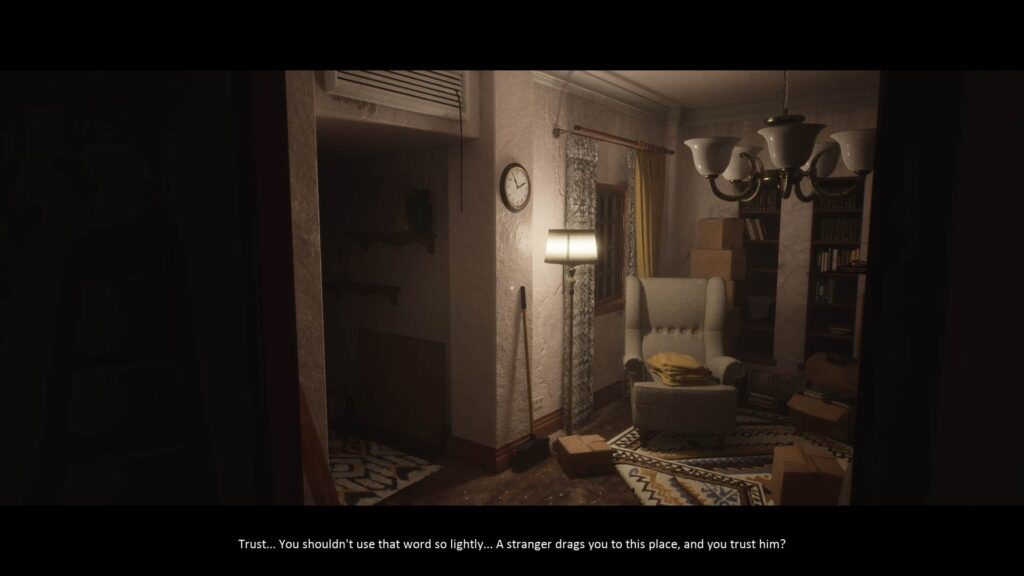
The narrator will start talking again once you hang up the phone. Explore the new area while listening to him.
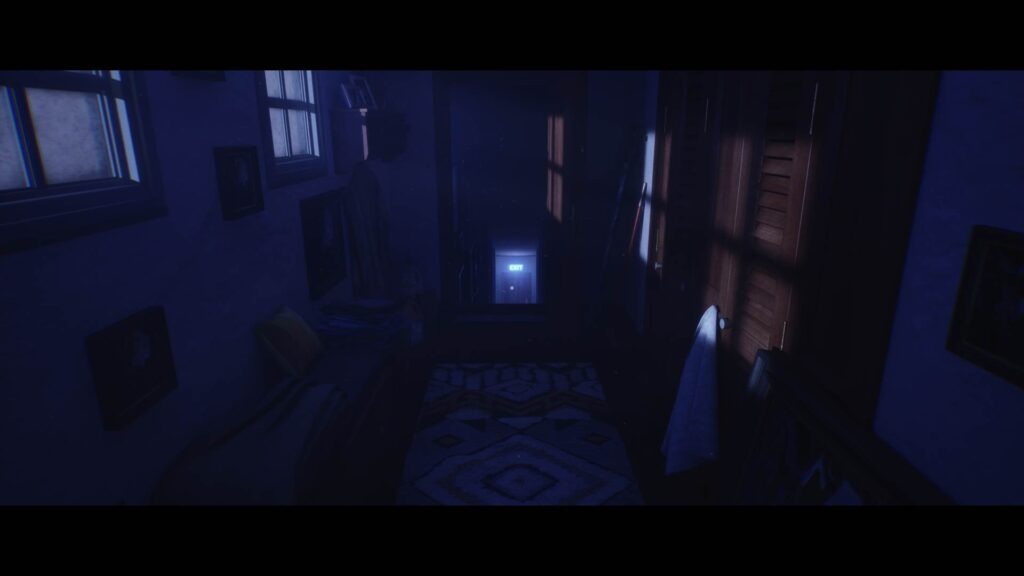
There’s a narrow passage with a blue Exit sign at the end. You’ll see a door on your left. It’s locked for now.
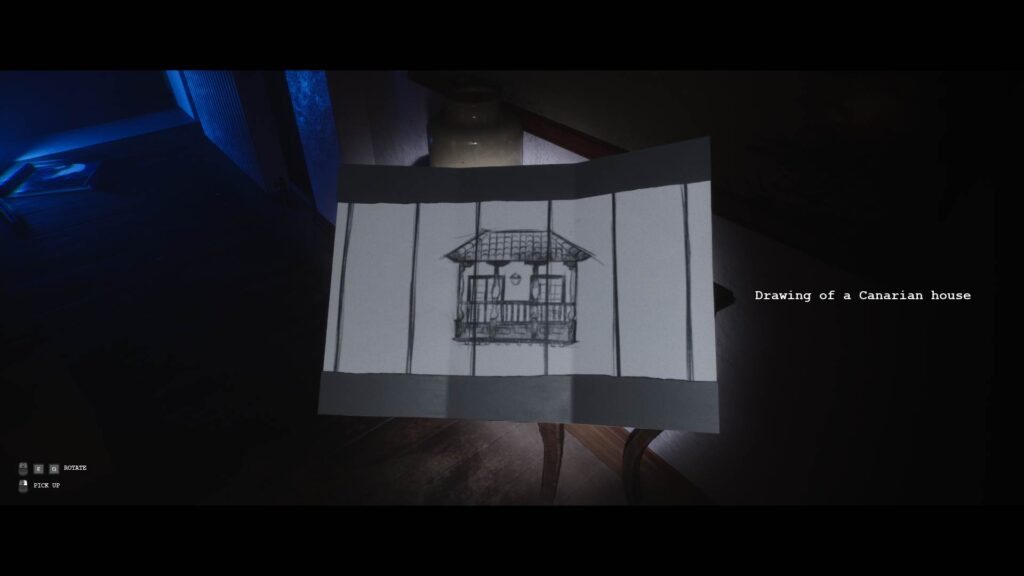
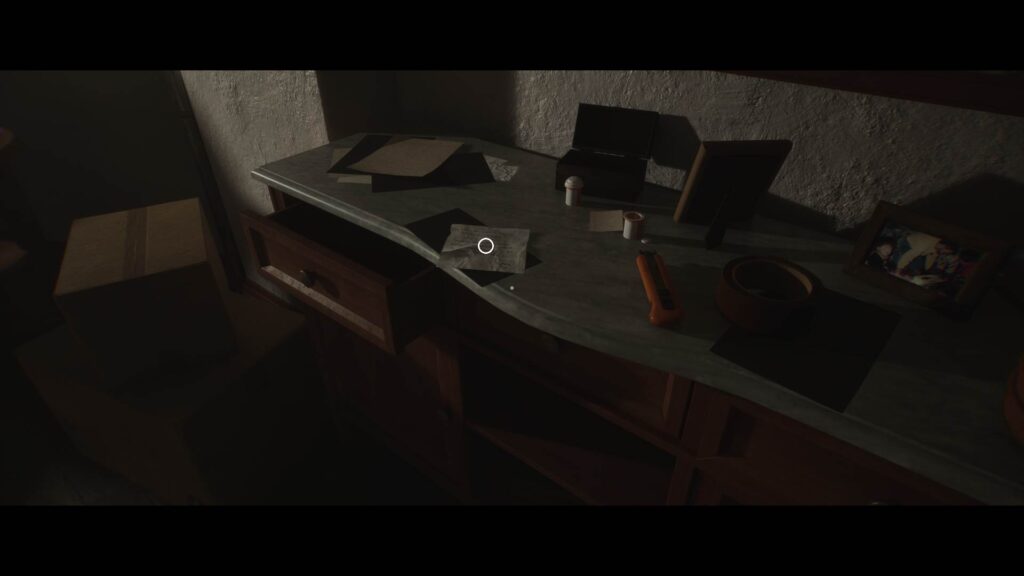
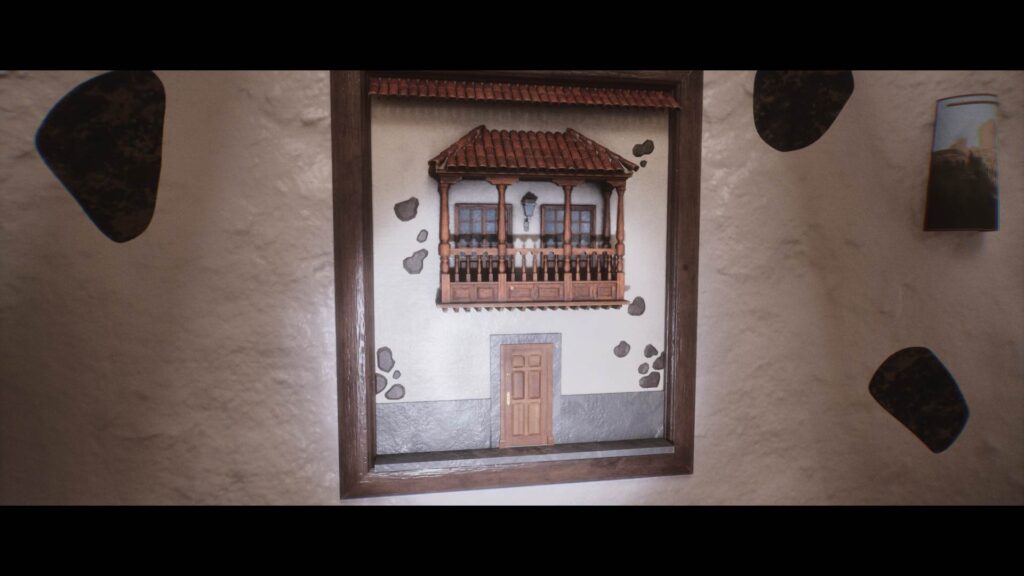
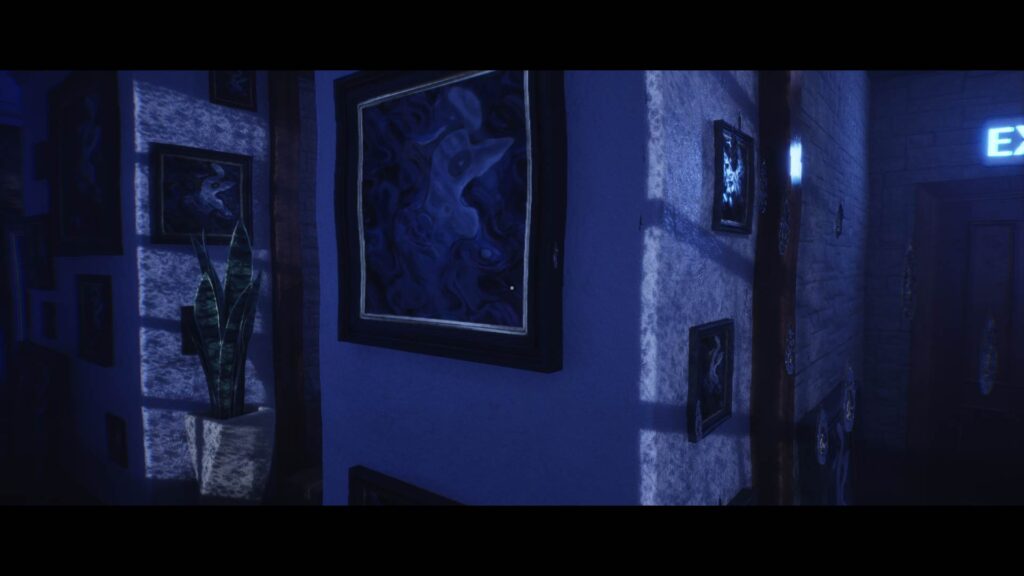
Pick up the Drawing of a Canarian House on the table opposite the door and continue moving along the passage.
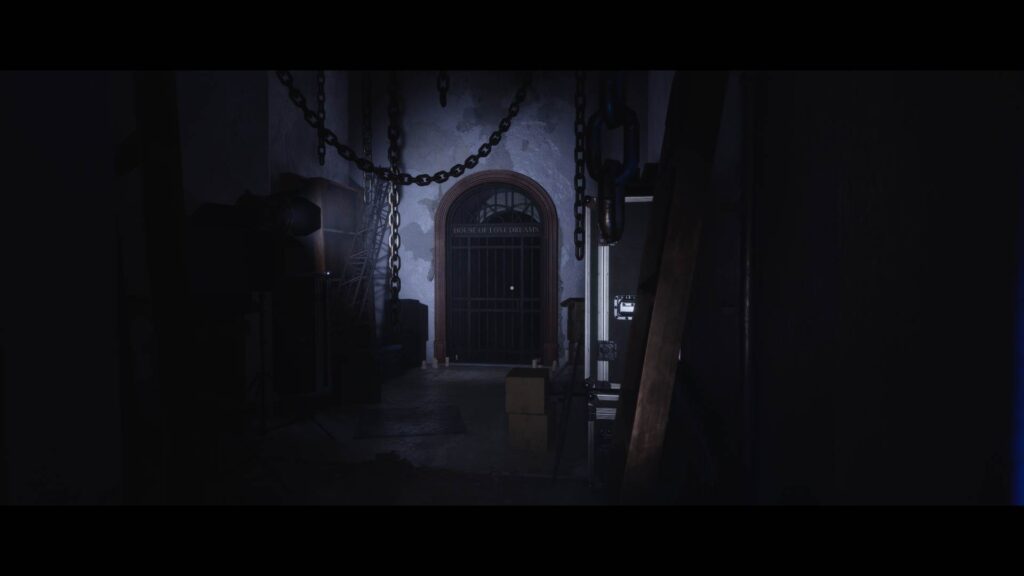
Near the Exit sign, turn right to see a gate leading to House of Lost Dreams. On the left is another path we’ll get back to later. Head towards the House of Lost Dreams and open the gate.
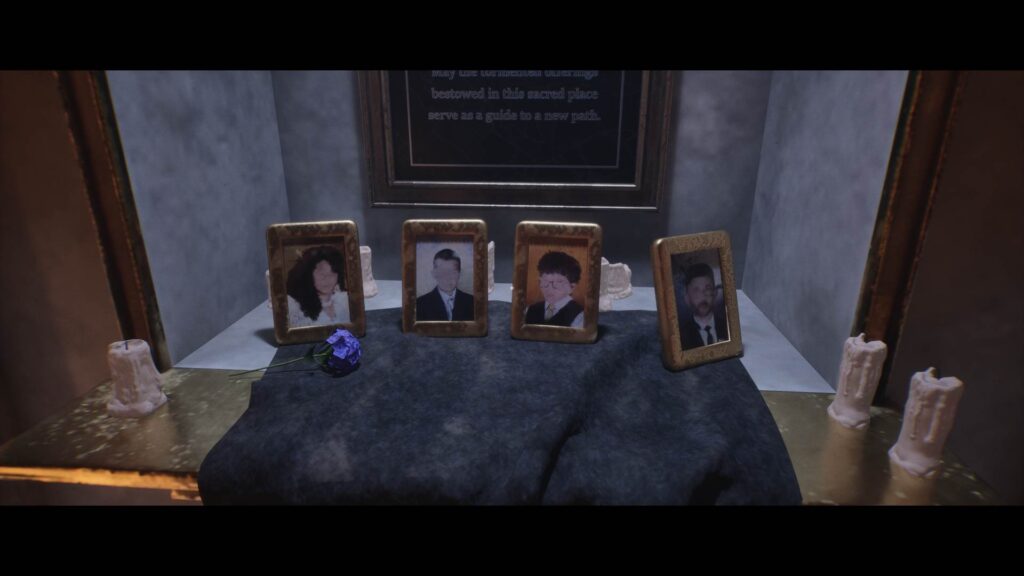
Go down the stairs and you’ll find yourself in an altar of sorts.
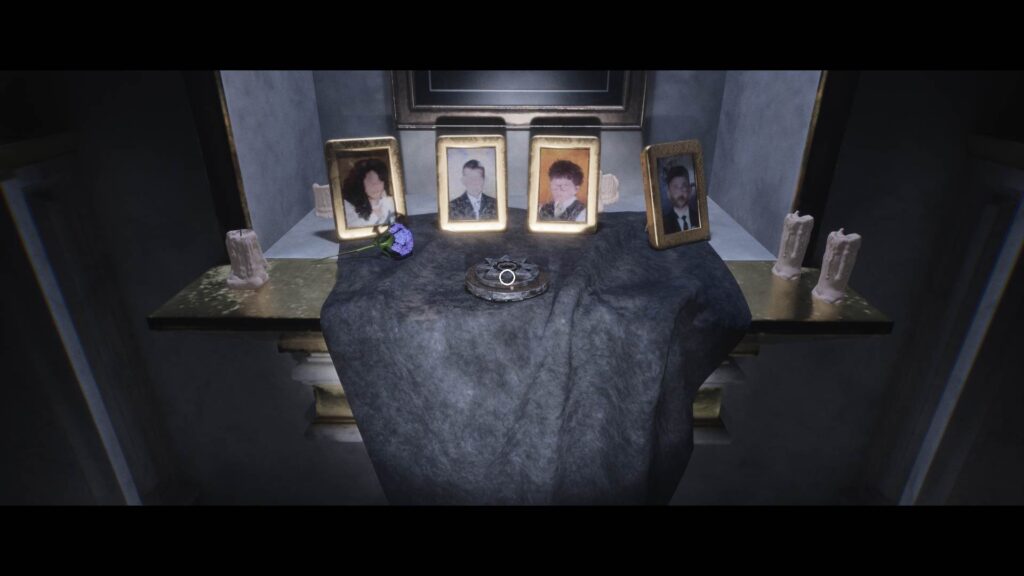
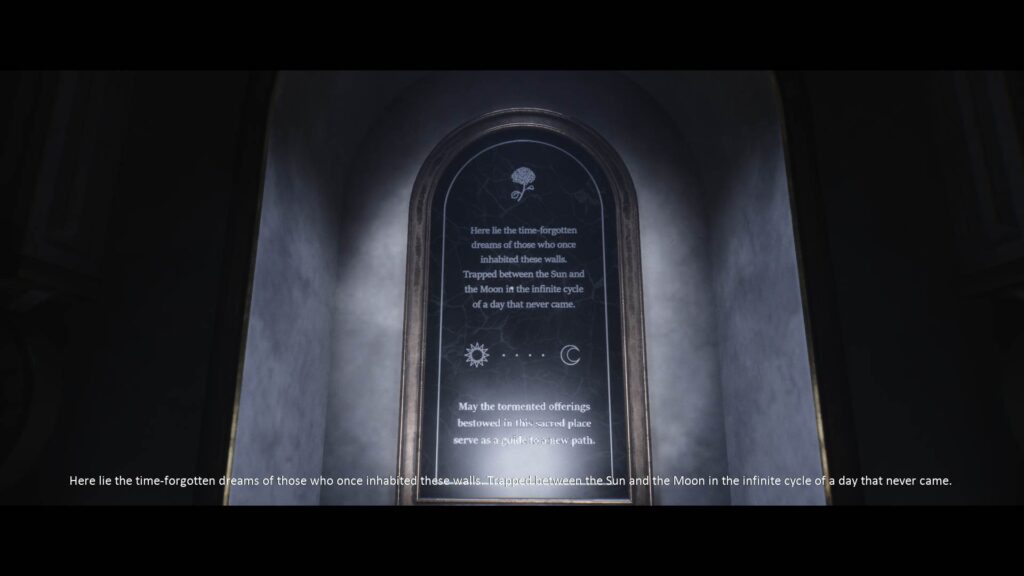
Move forward and pick up the Silver Piece key item sitting near the pictures of your family. Also check the writing on the wall.
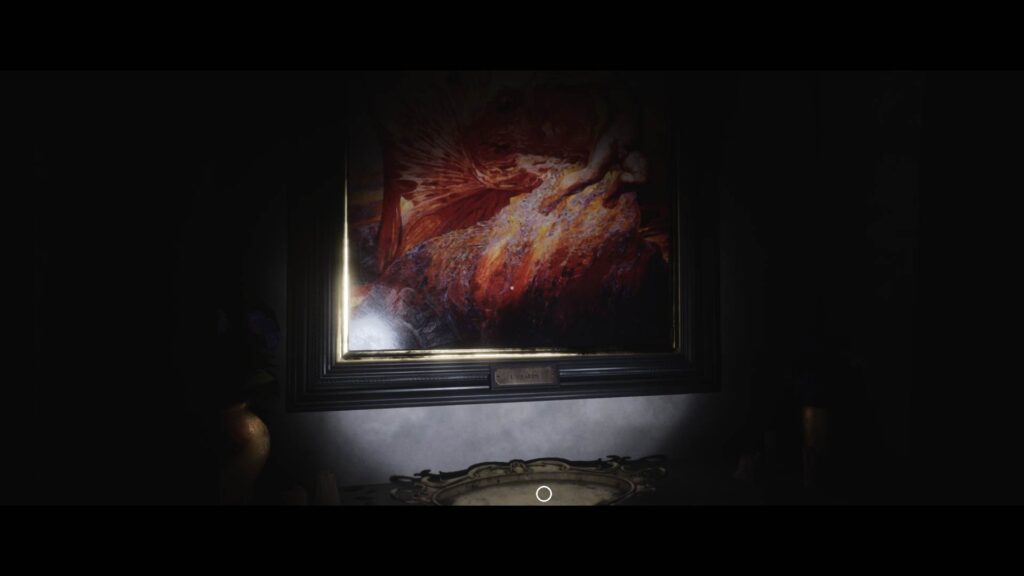
Looking around the room, you’ll find four big paintings. Under each painting, there’s a golden plate on a pedestal.
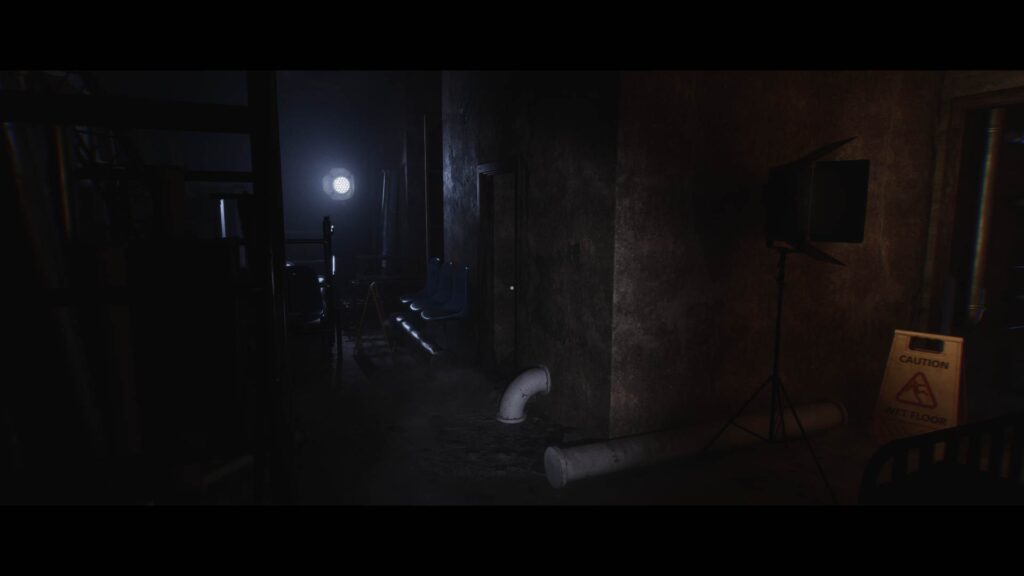
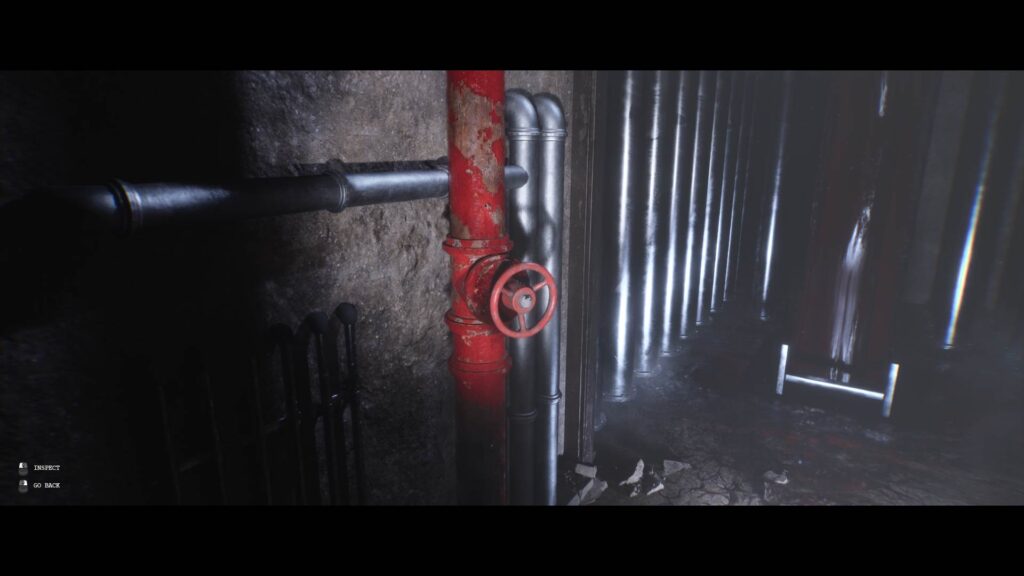
Go back to the exit sign and take the other path. You’ll find a maintenance room. There’s a path on your left that leads down.
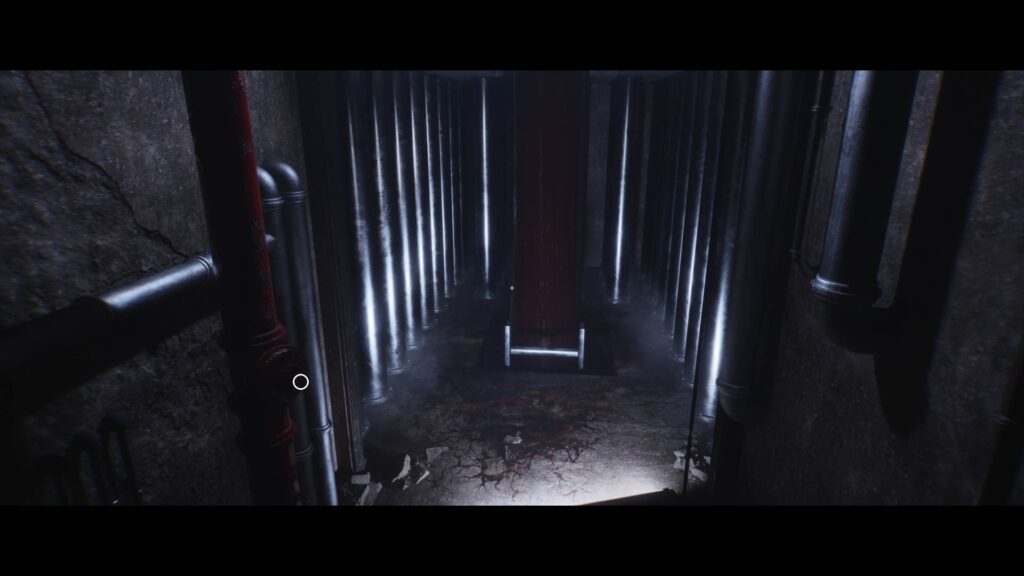
Go down the stairs and you’ll see that there’s blood falling down a hole. You can place something in the Red Pipe on your left, but you don’t have the right item in your inventory at the moment.
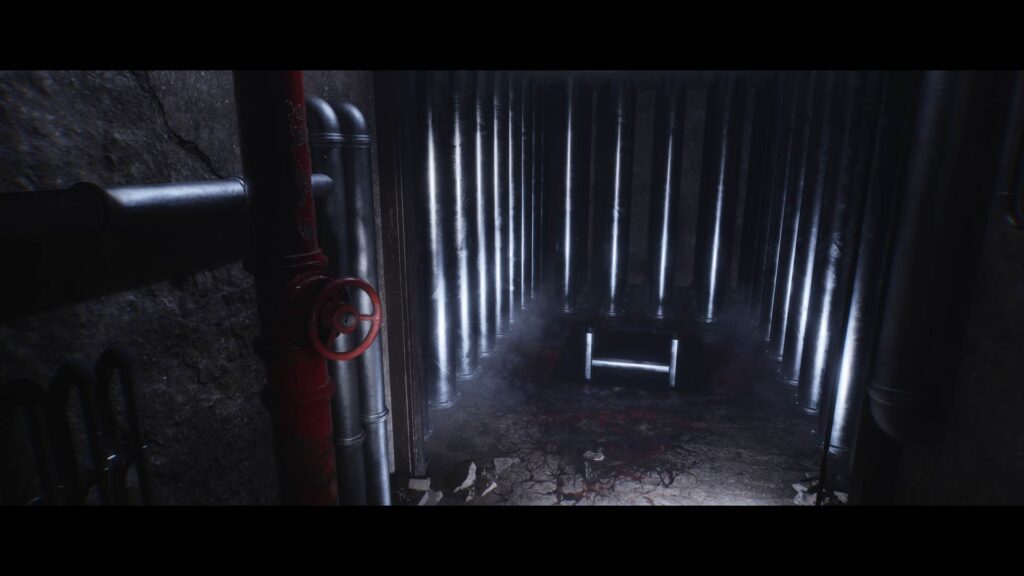
Get back to the maintenance room and there’s a long dark tunnel beside the path you just took. You can go in, but the road ahead is blocked off by a chair.
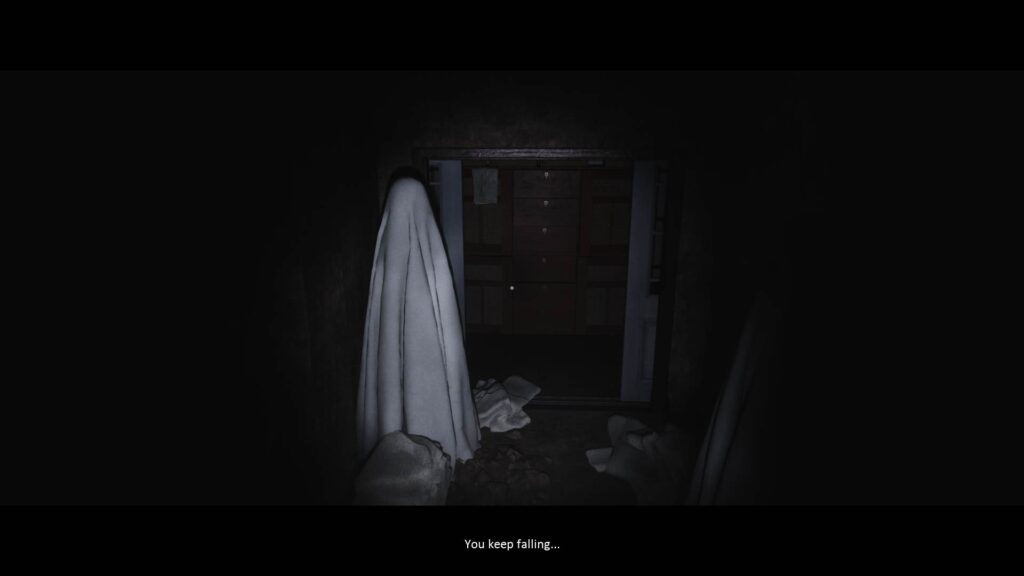
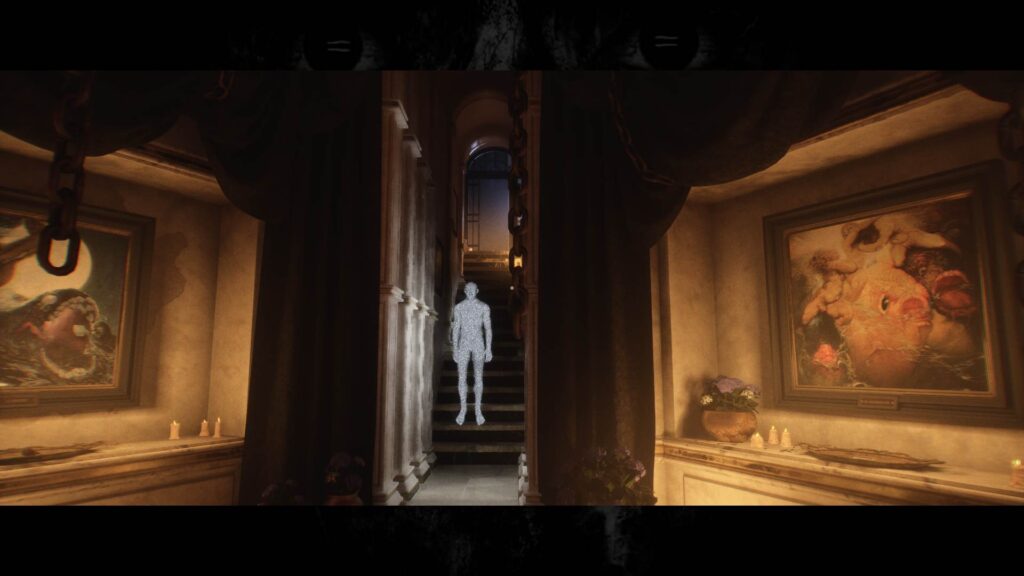
Start making your way towards the main long corridor. As you reach the door, you’ll catch a glimpse of the ghost.
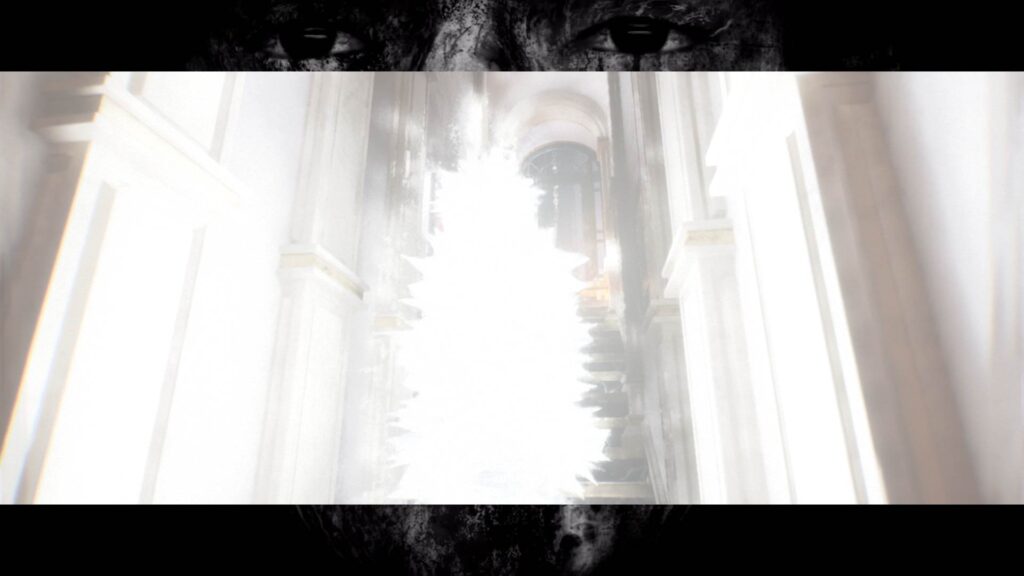
Head to the corridor and you’ll see an open door at the end. Run for it, and as you reach it, the ghost will run and attack you.

Go through the dialogue options in darkness, and eventually, a symbol will appear on your screen.
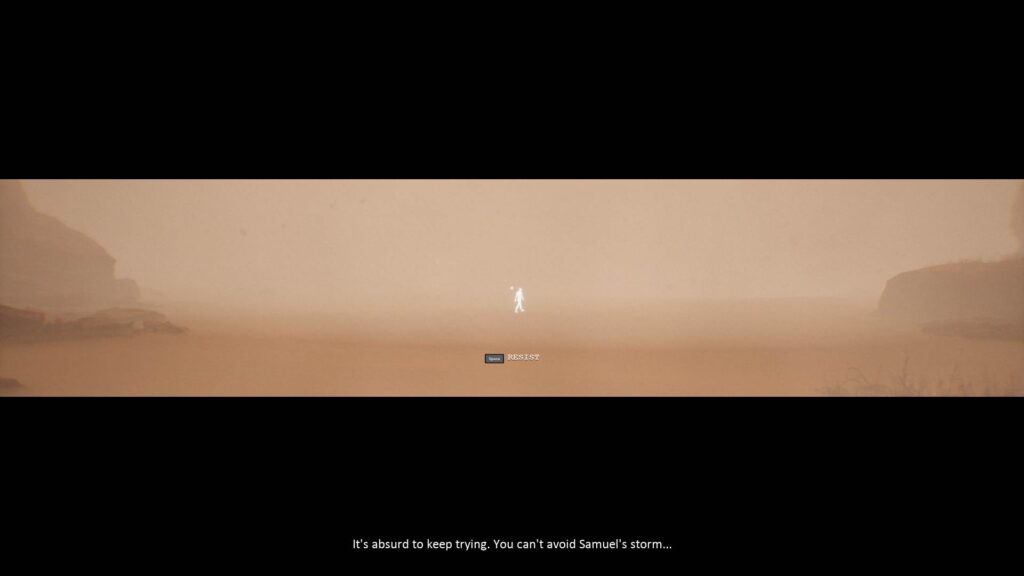
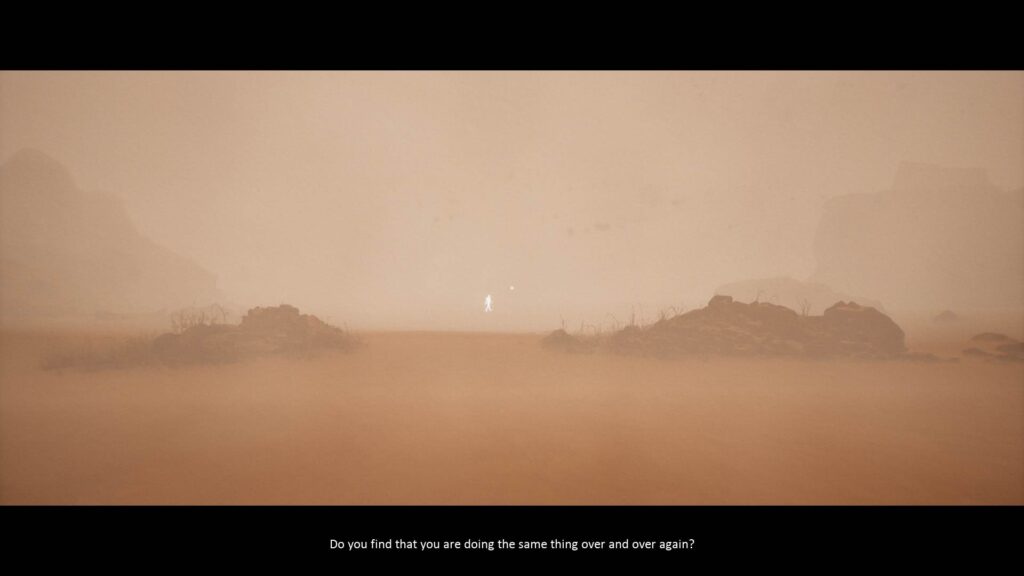
You’ll find yourself back at the Cave in the desert. As usual, keep moving forward until you get to the open desert. You’ll see the white shadowy figure in the distance. Keep walking forward until the sandstorm consumes you.
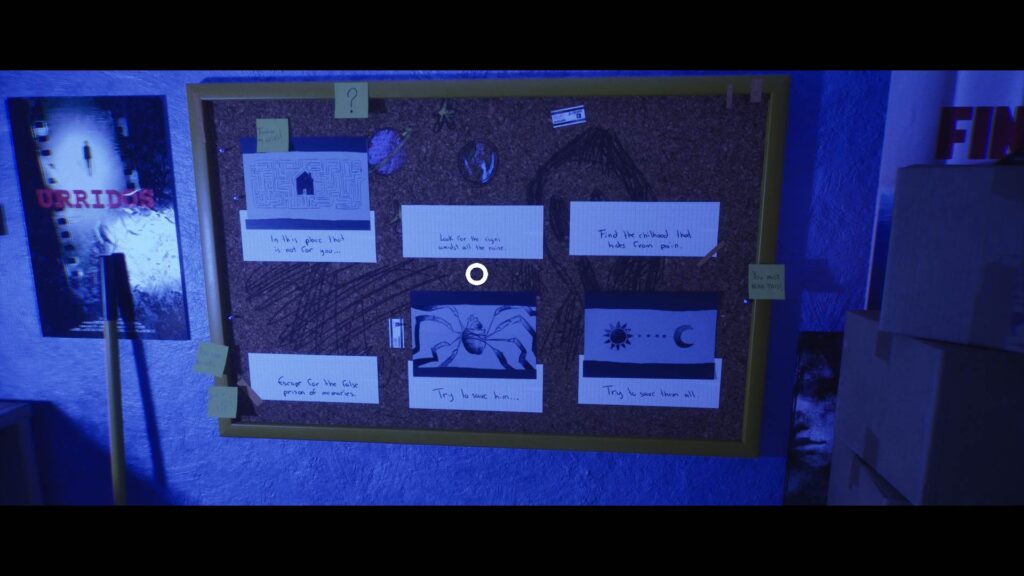
Solving the Bulletin Board Puzzle
After waking up back in the bathroom, head towards the room with the Bulletin Board. Now that you’ve got all three drawings, you can solve this puzzle.

There are three empty spots. The drawings you want to place in each empty space are as follows:
- Look for all the signs amidst all the noise: Drawing of Strange Symbols
- Find the childhood that hides from pain: Drawing of Two Monkeys
- Escape from the false prison of memories: Drawing of a Canarian House
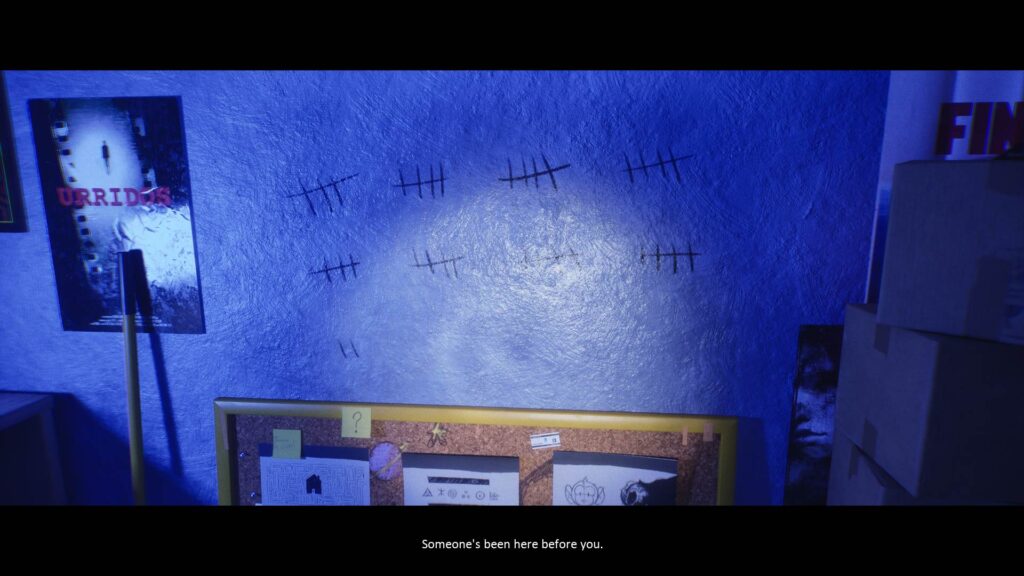
As you head for the door after solving the puzzle, the Bulletin Board will fall off behind you. Look at the wall for some markings, and the narrator will mention someone being here before you.
The Video Tape and TV Room
Head back to the living room. You’ll notice that all the TVs inside the room on the right has turned on showing red symbols on the screen.
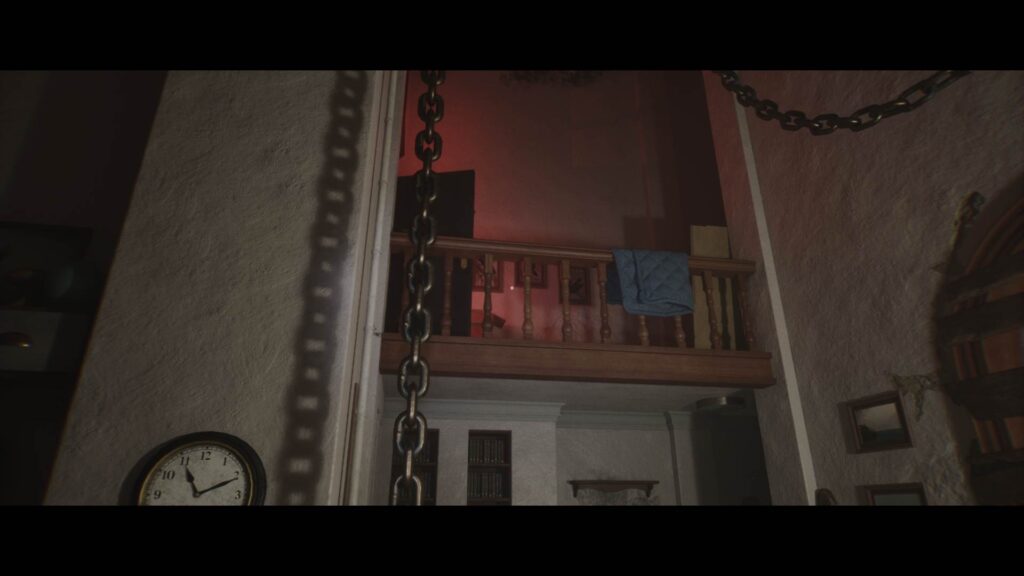
On top of that, if you look up at the railing, you’ll see the Black Door that was locked earlier is now open.
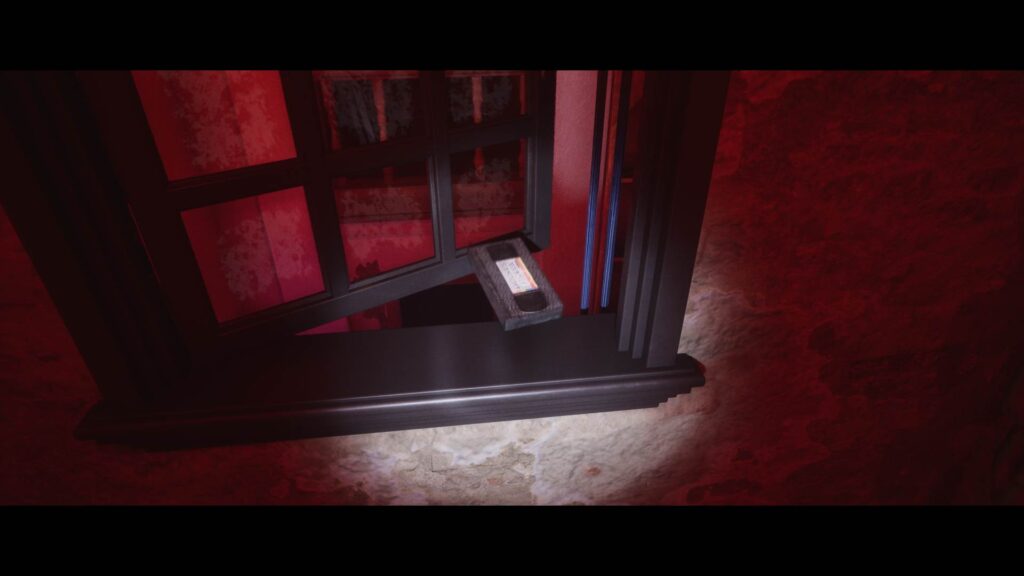
Make your way upstairs and go inside the now accessible room. You’ll find a Video Tape on the window. Interact with it and it’ll fall off to the other side.
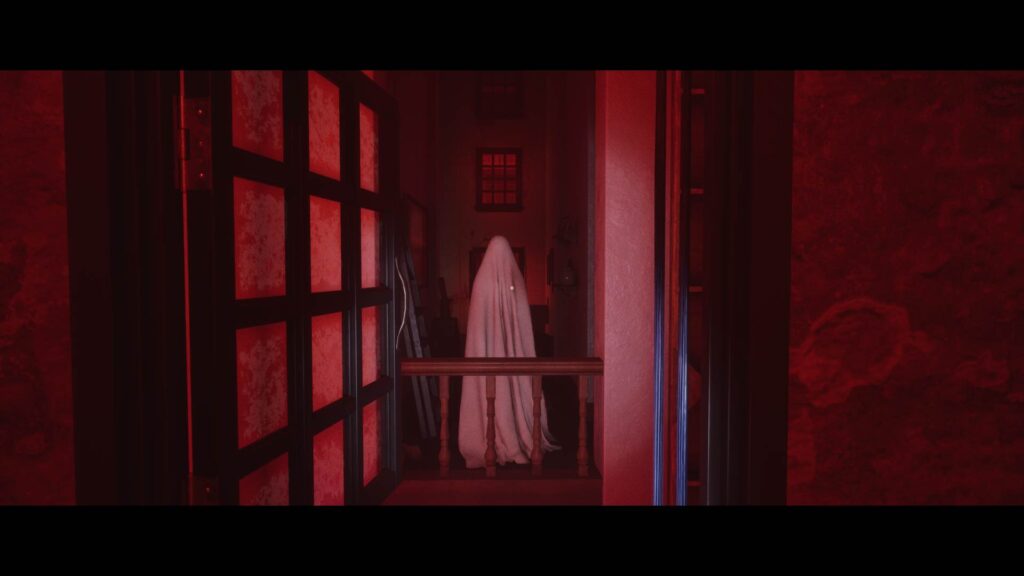
To make matters worse, you’ll see the ghost walk up to the window on the other side and stand still.
Turn around, and you’ll find the same ghost behind you along the corridor. Walk down the stairs, and in a small basket beside the bathroom door, you’ll find the Video Tape.
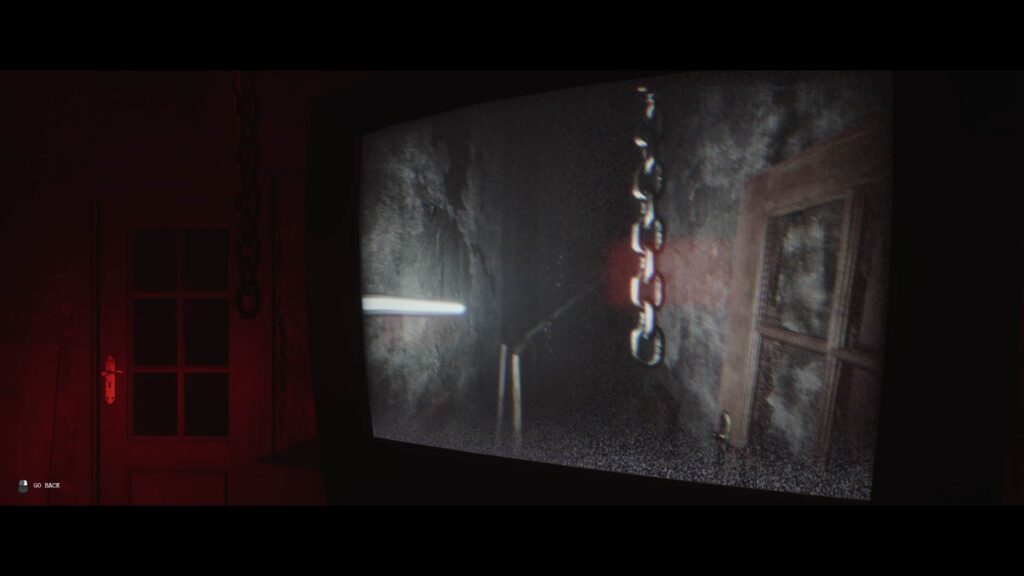
Take it to the room with all the TVs and use it with the TV with no signal. At this point, you’ll take on the character inside the TV. Move forward and down the stairs on your left.
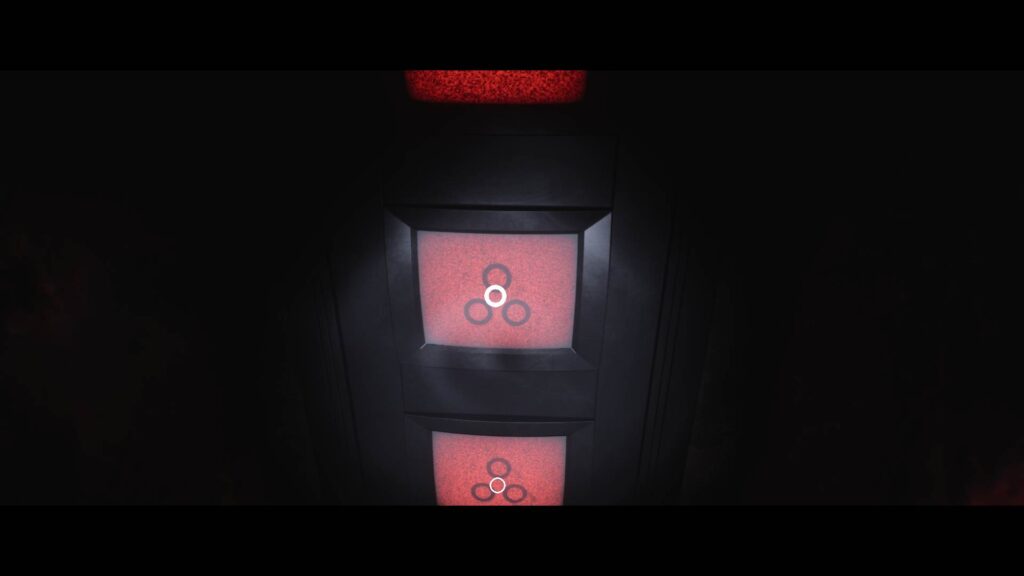
You’ll see three TVs stacked on top of each other. Hmm… this seems familiar. Walk close and take a quick note of the symbols that appear on the screen.
Keep moving through the areas. It’s a linear path. But as each section shifts, you’ll see a red symbol appear. These symbols refer to the three symbols shown on the three stacked TV screens earlier.
Once the video ends, you’ll notice that the previously locked door on the other side of the room is now open. Before going through that door, go back out of the room and go through the door where you used the Golden Piece earlier. Interact with the TV screen to match the symbols you saw from earlier.
NOTE: Spiral at the top, a straight line with two half circles on top and bottom in the middle, three Triangles at the bottom, and three Triangles at the bottom.
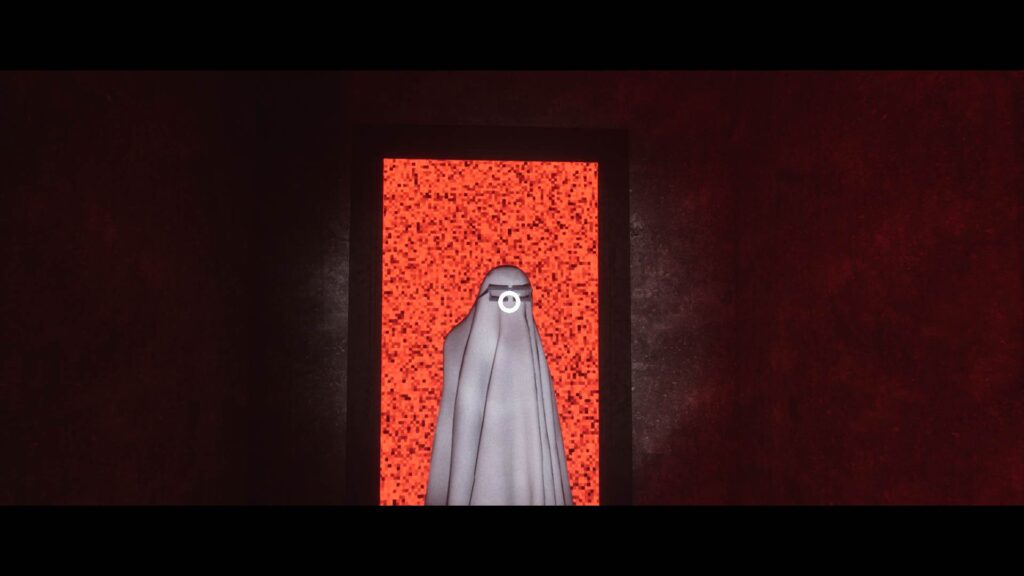
A door will open behind the TV screen. Keep moving forward and you’ll eventually see a ghost figure in front of a red screen. All the other TVs will shut off.
Walk up to the ghost figure and collect Sam’s Broken Glasses from it.
As you turn back and take a few steps, you will fall down. Once you regain consciousness, you’ll find yourself in a different area.
Go out and turn right. You’ll find a Sketchbook Sheet on a railing up ahead. You’ll also notice a weird-looking figure on the living room floor.
Turn back and keep moving forward, and you’ll eventually arrive at the TV room.
Behind the Silver Gate
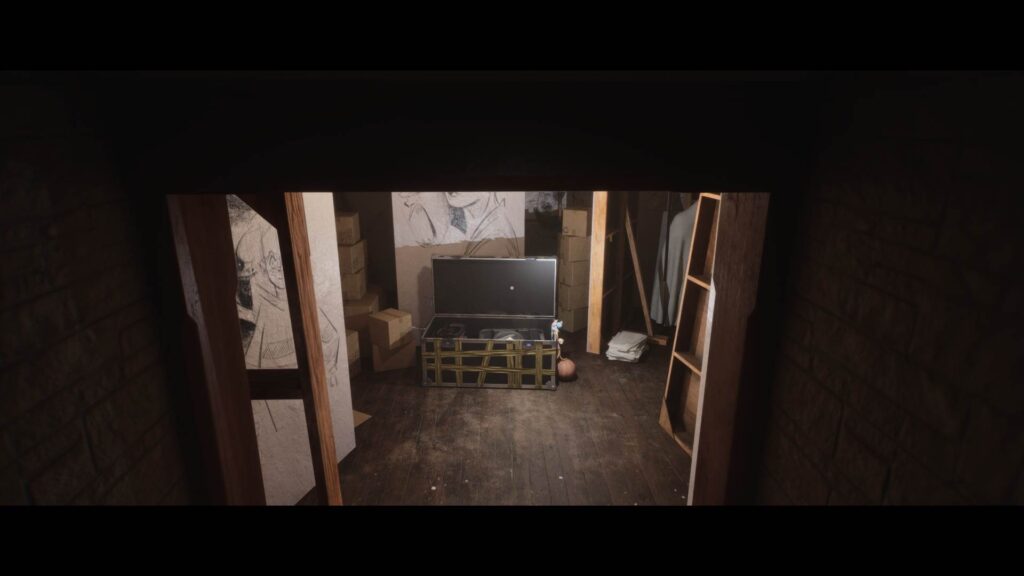
Now that that part’s done, make your way to the basement where you found the Golden Piece. As you walk down the stairs, you’ll see an open trunk. This was closed the first time you visited. What changed?
You’ll find a Sketchbook Sheet inside the trunk.
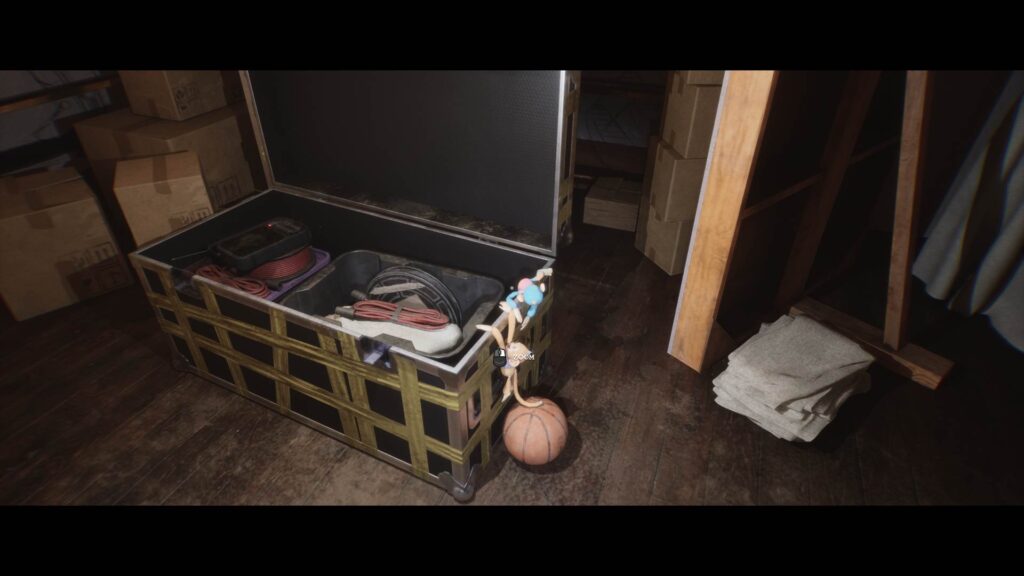
Zoom in on the two monkey dolls hanging on the side of the trunk. Turn around and the screen will glitch for a moment, and you’ll hear the sound of monkeys.
NOTE: Similar to the puzzle in chapter 3, you’ll have to find the disappearing monkeys as they teleport to different locations.
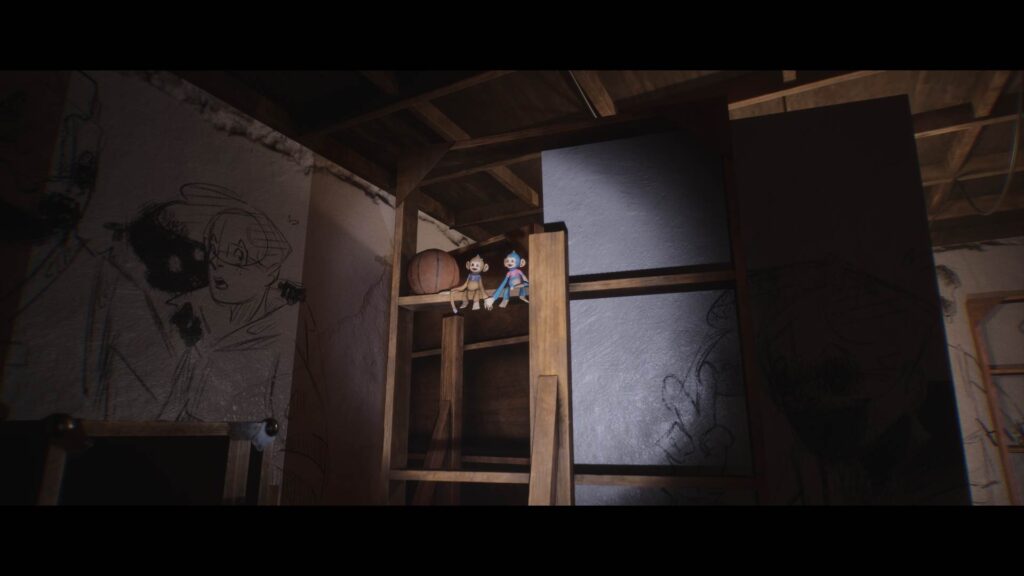
- The second spot is on a shelf beside a large drawing.
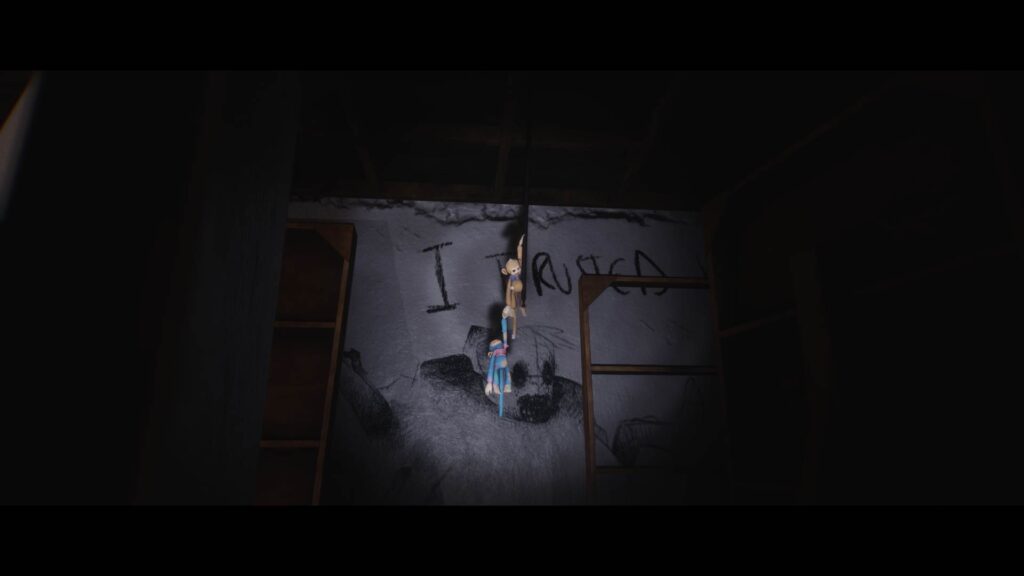
- The third spot is hanging from a rope near the I Trusted writing on the wall.
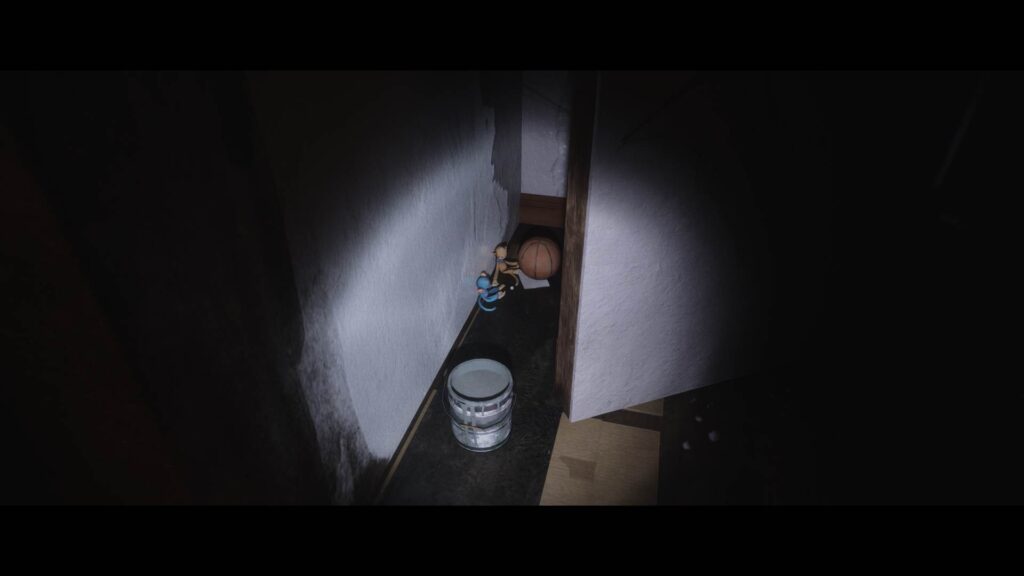
- The fourth spot is on the right side of the grilled gate on the ground.
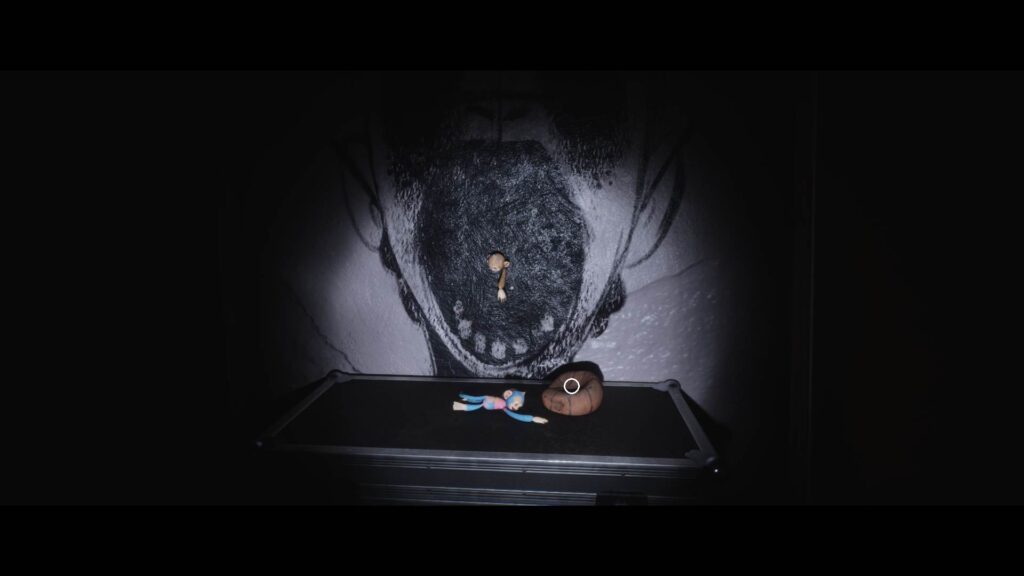
- The final spot is on the wall with the drawing of a screaming face.
Pick up the Isaac’s Deflated Ball key item from the last spot.
Once that’s done, interact with the grilled gate, use the Silver Piece, and walk down the stairs.
You’ll arrive in another sandy area. Keep walking and at the end of the passage, you’ll find a tunnel leading left.
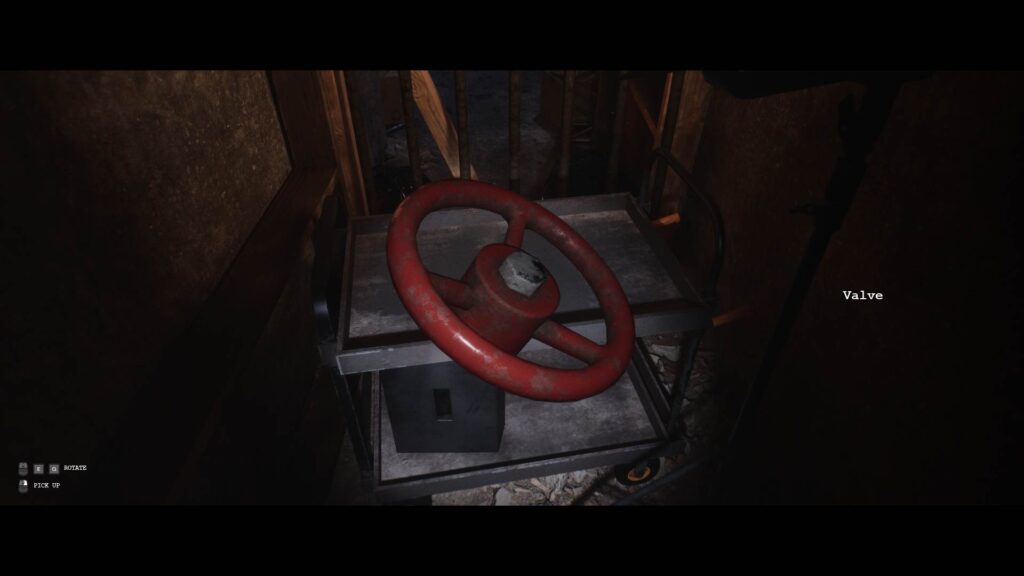
Walk to the end and you’ll find the Valve.
Heading Back to the Maintenance Room
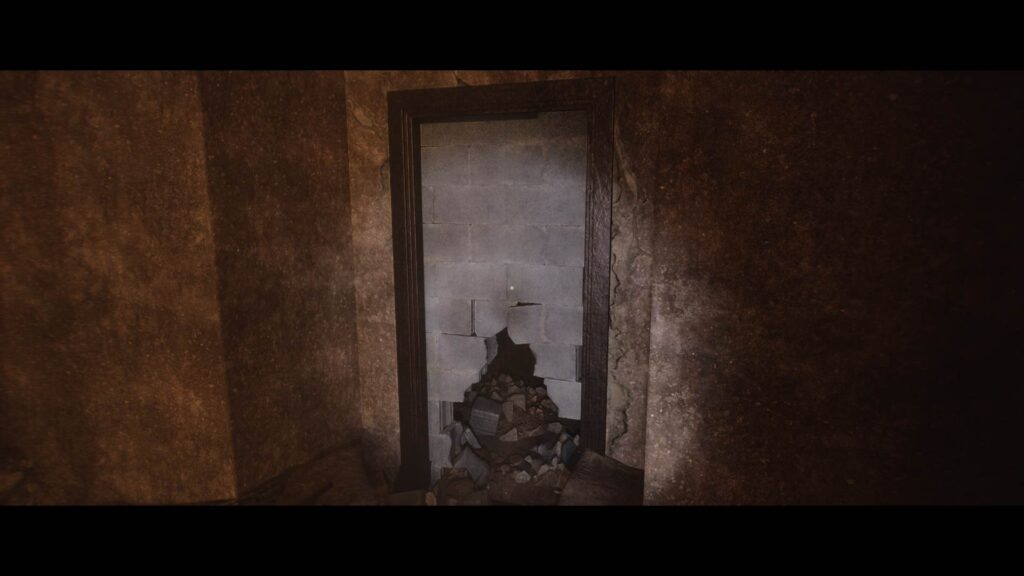
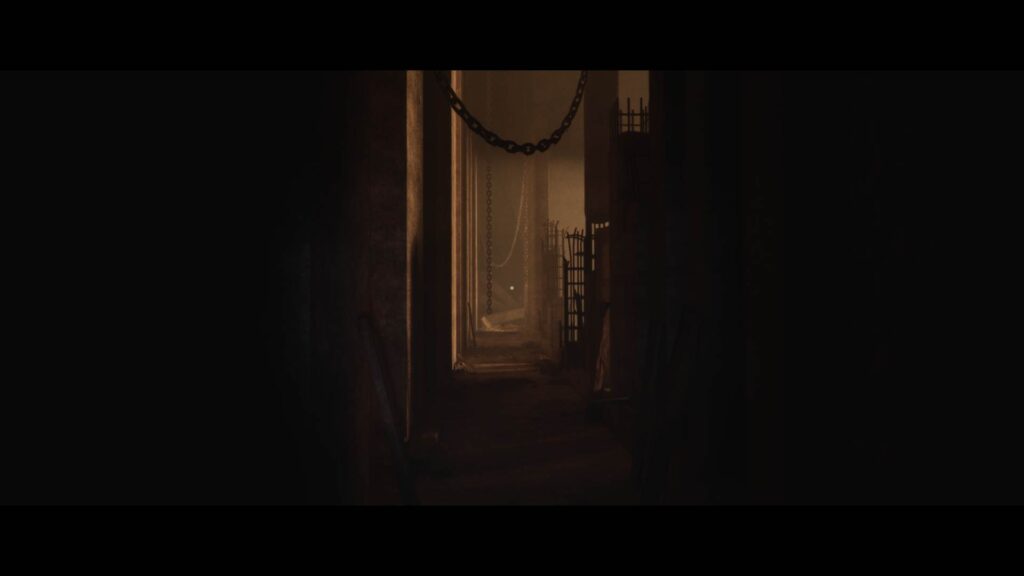
With the Valve in your hand, start making your way back. The world will start shaking as you walk through the tunnel, but you can ignore it. As you keep walking back, you’ll notice that the path you took is walled off. There’s a small hole, however, that you can use to pass through.
You’ll end up in another dark tunnel. But you can see a Gold Coin at the far end. Keep walking through the dark tunnel with your flashlight out. Ignore the creepy red spider that scuttles by.
Interact with the trunk at the end and you’ll find yourself back in the maintenance room.
Go down to the area with the blood falling down a hole. Use the Valve with the Red Pipe.
This will turn off the blood showering down and reveal a ladder. Use it to go down.
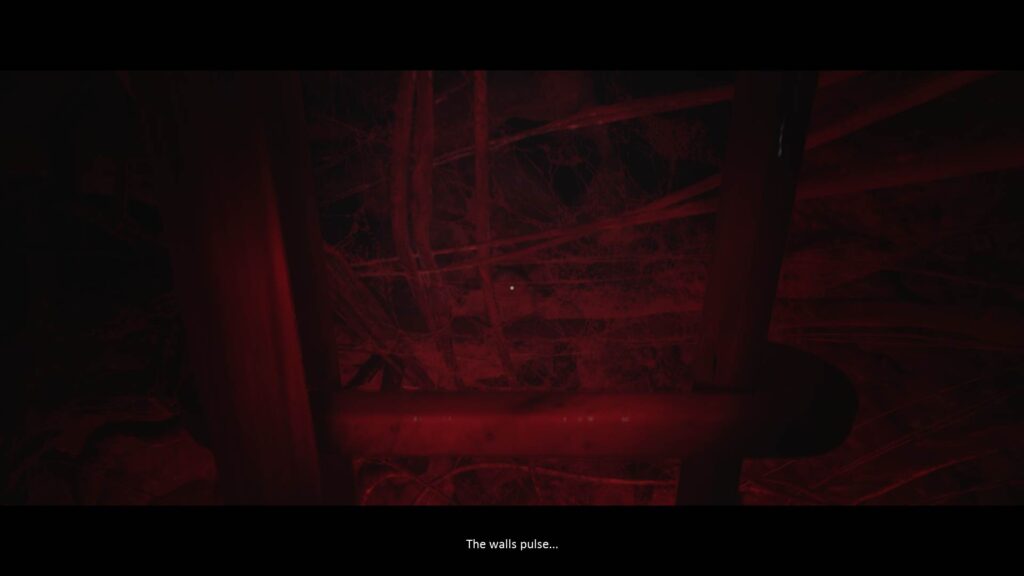
Things will start taking a creepier turn. But as you reach the bottom of the stairs, you’ll see an object that resembles a heart floating mid-air.
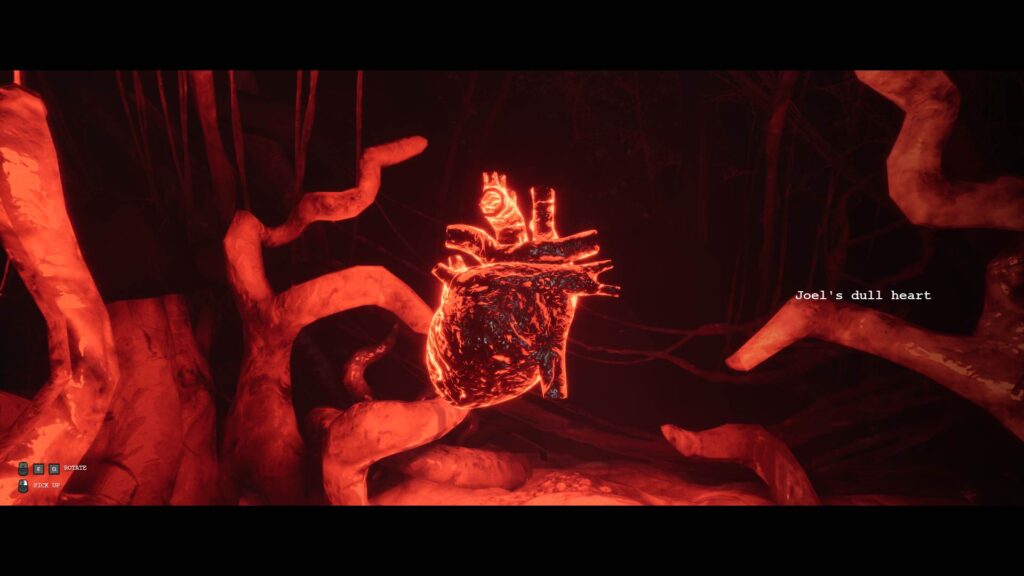
Go ahead and pick up Joel’s Dull Heart and go back up. This is one of the things you’ll need for the House of Dreams puzzle later on.
Solving Mum’s Puzzle

Now that you’re back up, head back to the living room section of this area. You’ll notice that the door that was locked earlier, where you found the Drawing of Carian House, is now open.
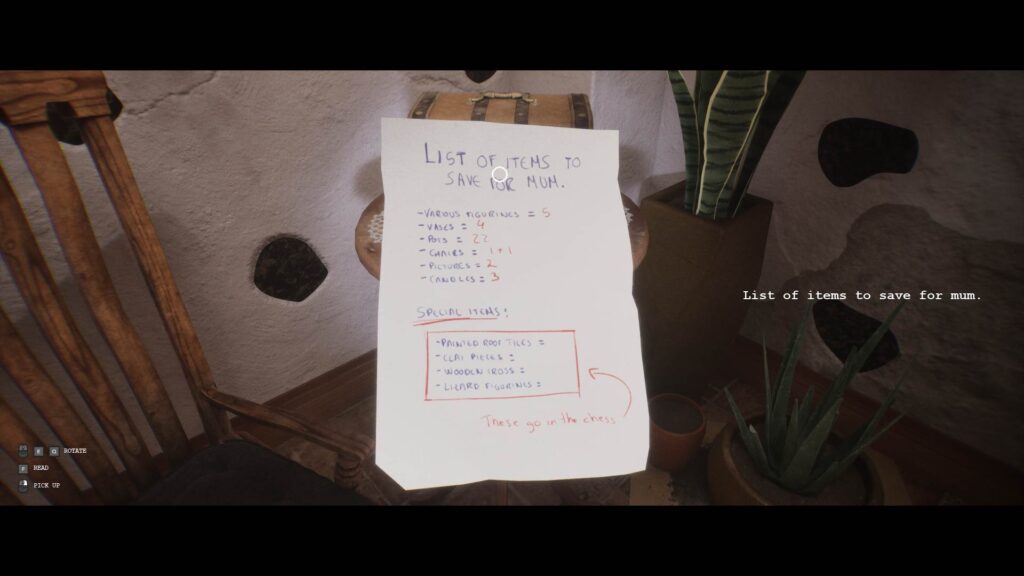
Head inside and pick up the note that’s on the table.
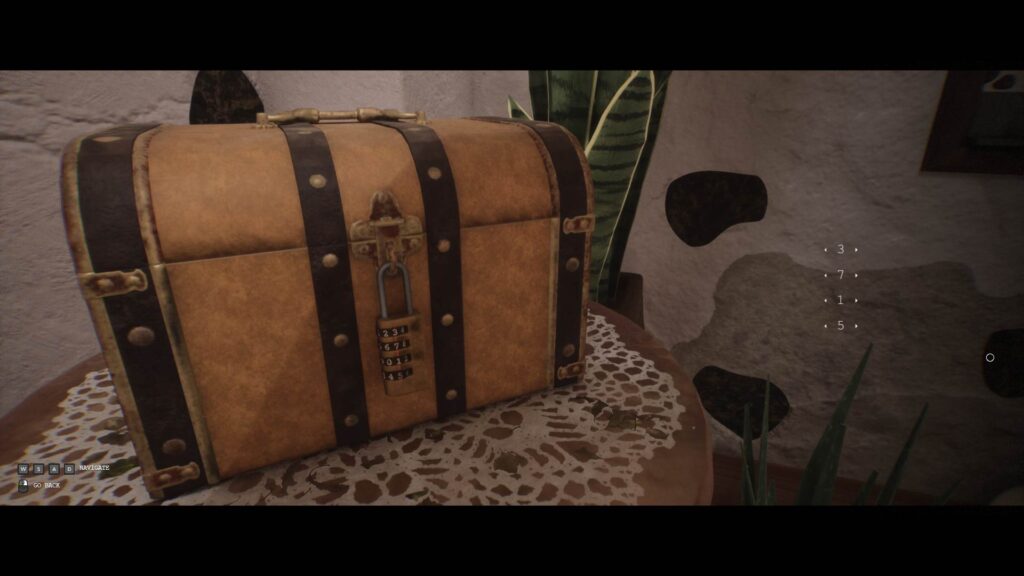
There’s also a chest on the table with a combination lock. The note you just picked up holds the clue for the password.
On the wall, you’ll see a house with a missing door. Use The Entrance Door? in your inventory with it.
Turn around and pick up the Sketchbook Sheet on the chair behind you.
The note you picked up beside the chest mentions four special items that go in the chest.
- Painted Roof Tiles
- Clay Pieces
- Wooden Cross
- Lizard Figurines.
Scan the rooms and count the number of these special items you can find. For example, there are 5 Lizard Figurines in the room, so the number for the bottom combination is 5.
After solving the puzzle, you’ll hear a click. Turn around and you’ll see the ghost on the other side of the door.
Look at the house painting where you put the door. Interact with the door and it’ll open.
Pick up Eva’s Shattered Photograph from inside the door.
NOTE: For those having trouble, the password is 3715.
The House of Lost Dreams Puzzle Solution
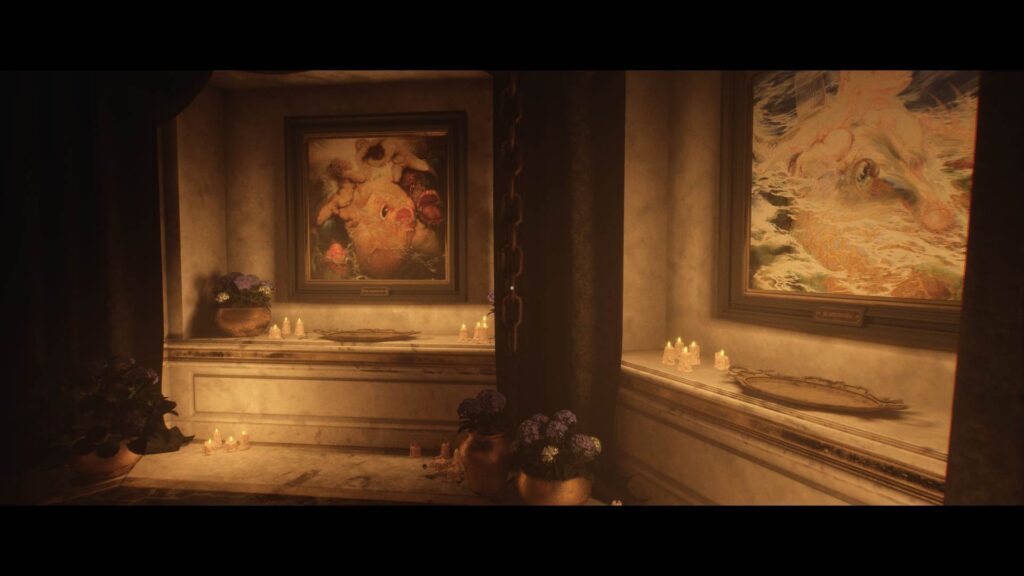
With all four objects in your inventory, head back down to House of Lost Dreams. You’ll find that the inside is lit up by candles.
You’ll have to place the four objects you picked up in the right places under each painting to solve the puzzle. Each painting has its own name that you can check by zooming in on the nameplate under it.
The solution lies in your sketchbook from pages 22 to 28. If you managed to figure it out, go around the room and place the four objects on the right plates under each painting. The “=” symbol represents the time of the day.
For those having trouble with the puzzle, the solution is as follows
- The Dawn – Eve’s Shattered Photograph
- The Middle Day – Isaac’s Deflated Ball
- The Afternoon – Sam’s Broken Glasses
- The Night – Joel’s Dull Heart
Once the objects are placed, head towards the stairs. A white shadowy figure will appear.
Resist the screen shrinking and head towards the figure, and interact with it. A new cutscene will play.
Chapter 4 Finale
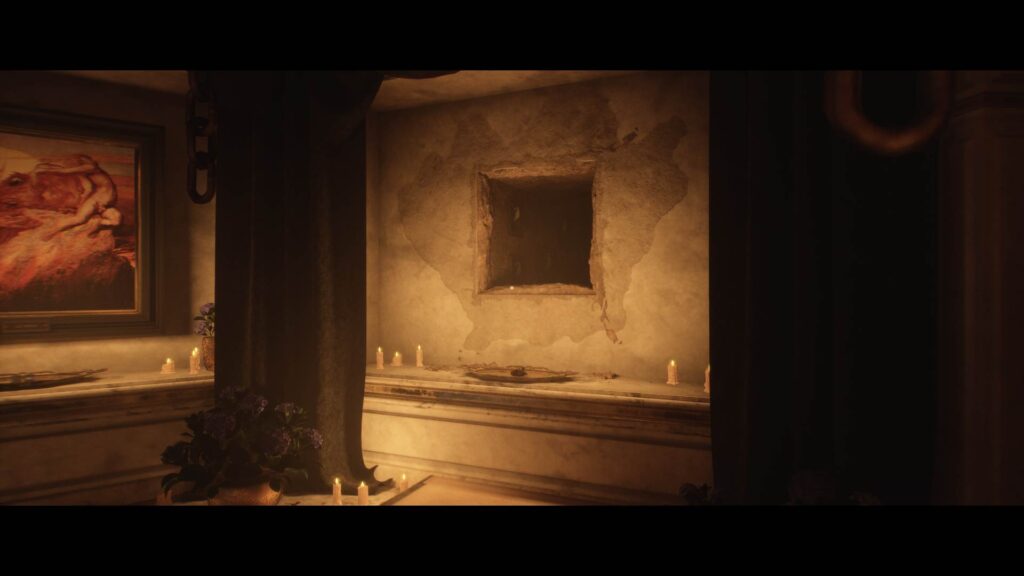
Once you regain control of your character, start heading up the stairs. But you’ll hear a thud behind you. Turn around to see that a painting fell off the wall, revealing a tunnel behind it.
Go inside the tunnel.
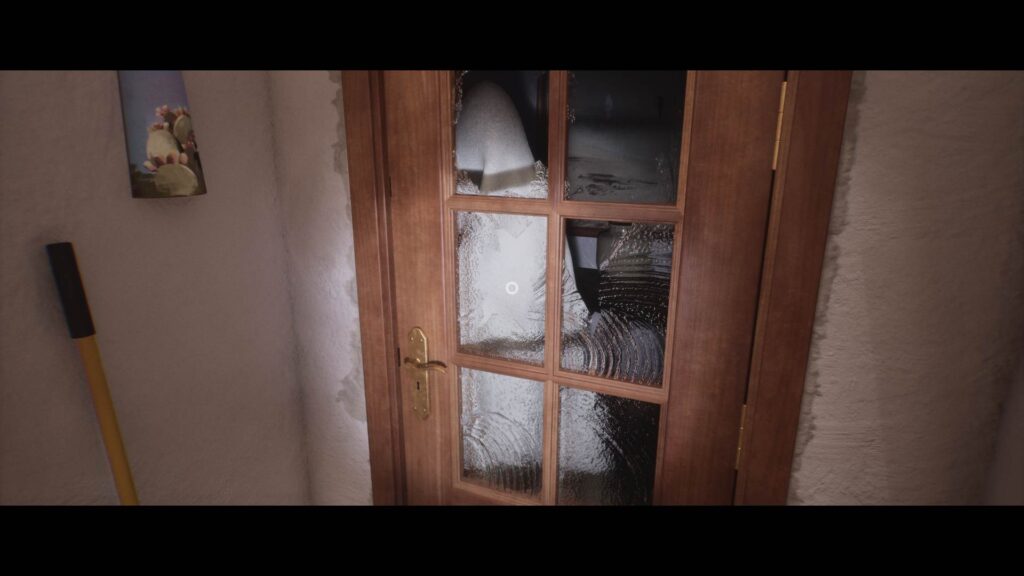
Turn on your flashlight and keep moving forward through the tunnel until you come out through the broken mirror in your house.
Go outside and head down the passage, and suddenly things will change and a ghost will appear in front of you.
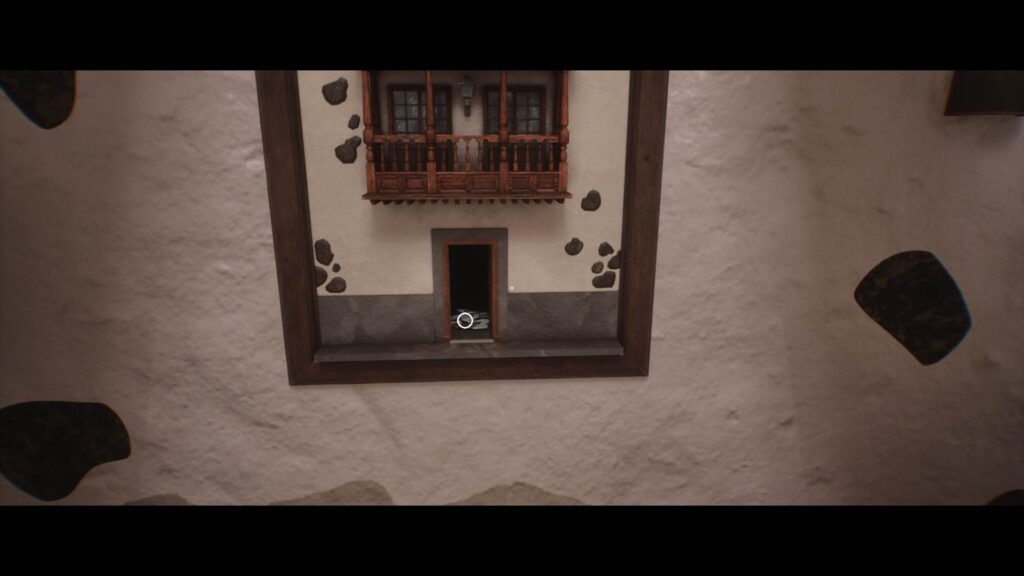
Head towards the ghost, and it will fall into the painting underneath.
Turn around and head towards the bathroom. You’ll see that it has disappeared and there’s a door leading down a flight of stairs with a blue exit sign at the end.
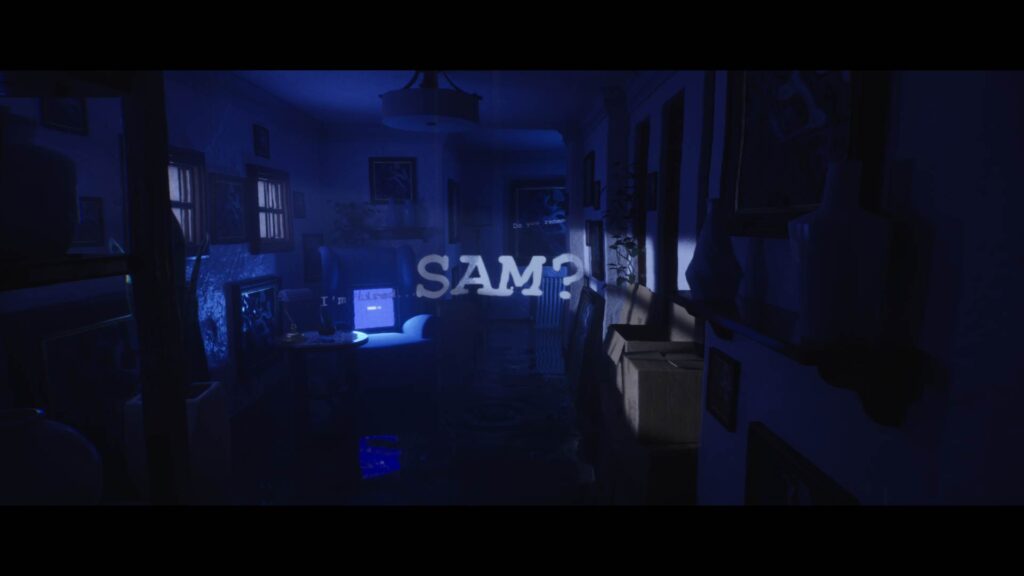
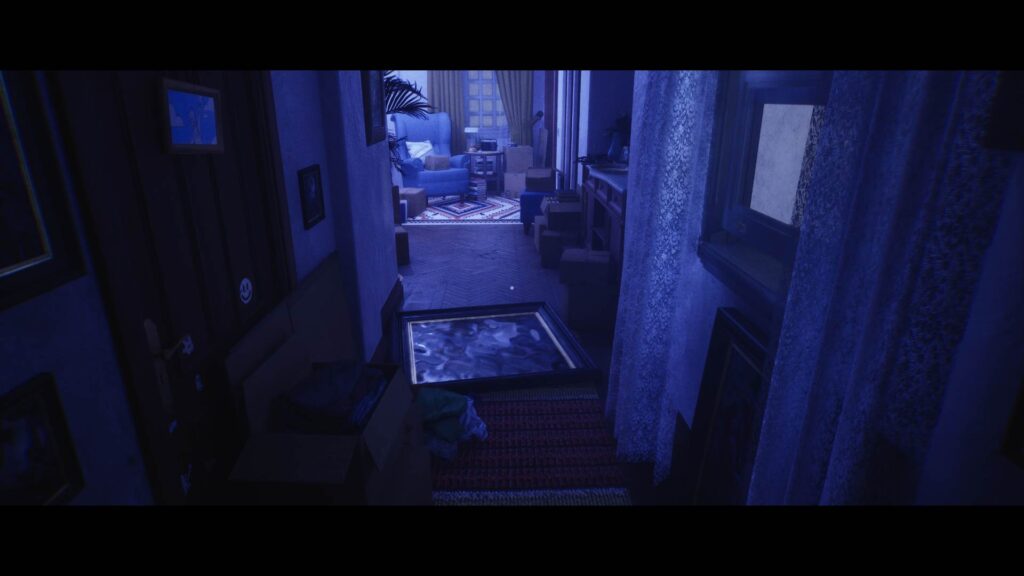
Go through the door and you’ll arrive at a flooded apartment with words floating in the air creating a trance-like atmosphere.
Keep moving and you’ll arrive at a fork. Choose the left path.
You’ll find a door on your left. Go through it.
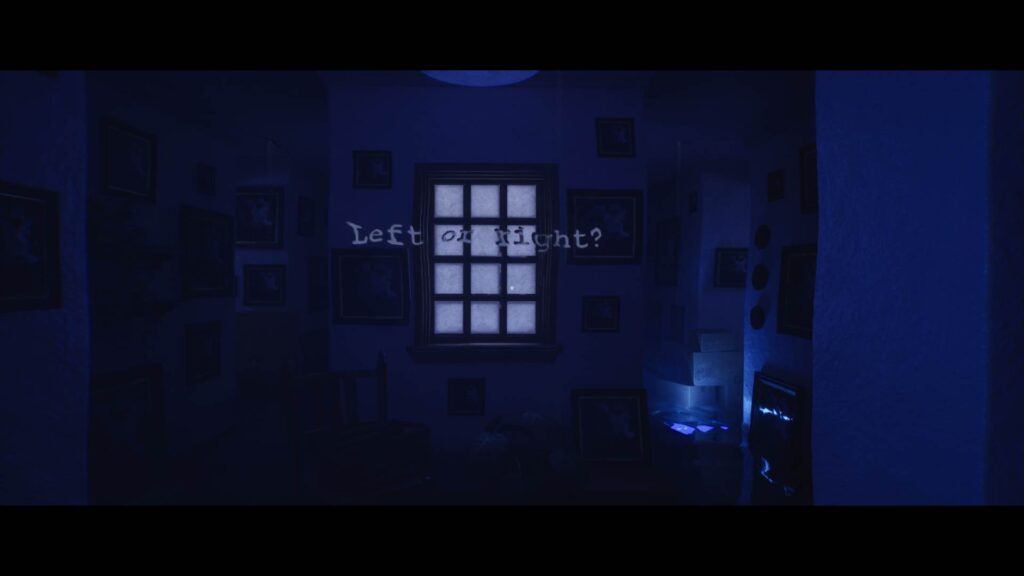
Keep moving forward and you’ll reach another point where you’ll have to choose the left or the right door. Take the left door again. Continue forward and you’ll have to head to the left side two more times. When you go through the last door, everything will go dark.

Keep walking through the darkness. When the moon comes up, keep walking towards it.
You’ll eventually find yourself back at the tunnel behind the painting once again. Continue onward and you’ll find yourself climbing out of the broken mirror.
Pick up the note on the door and go outside to get attacked by the ghost again.
Run through the dialogue options. You’ll see the “=” symbol appear once again, and everything will turn black.
You will wake up in the desert area inside the Cave. Ignore the ghosts up ahead and continue moving.
Once you end up out in the desert, start moving towards the shadowy figure in the distance. When you get close to it, it’ll disappear, but you’ll see another one a bit further off. Once you reach the second one, the screen will shrink after it disappears.
After waking up back in a bathroom, turn around. You’ll see a Gold Coin on the ground up ahead. Pick it up.
Take a few steps back and turn left. Turn the flashlight on to see a dark tunnel. Go through it.
This concludes Chapter 4 of Luto. For walkthroughs of the other chapters, be sure to check out our walkthrough hub for the game.
If you’re interested in more indie titles, check out the articles below.