Welcome to the Into Indie Games walkthrough for One-Eyed Likho.
For more information on One-Eyed Likho beyond this guide, check out the official website here.
The Mysterious Forest
This is a straightforward section, in which you follow the prompts for the most part. When you find yourself on a town street, go forwards until you meet the tailor.
In the forest, continue following Tailor until you get to a gate. Here you’ll find your first birch bark manuscript (“A Manuscript”) to the left, which you can read.
Interact with the gate to open it and continue onwards.
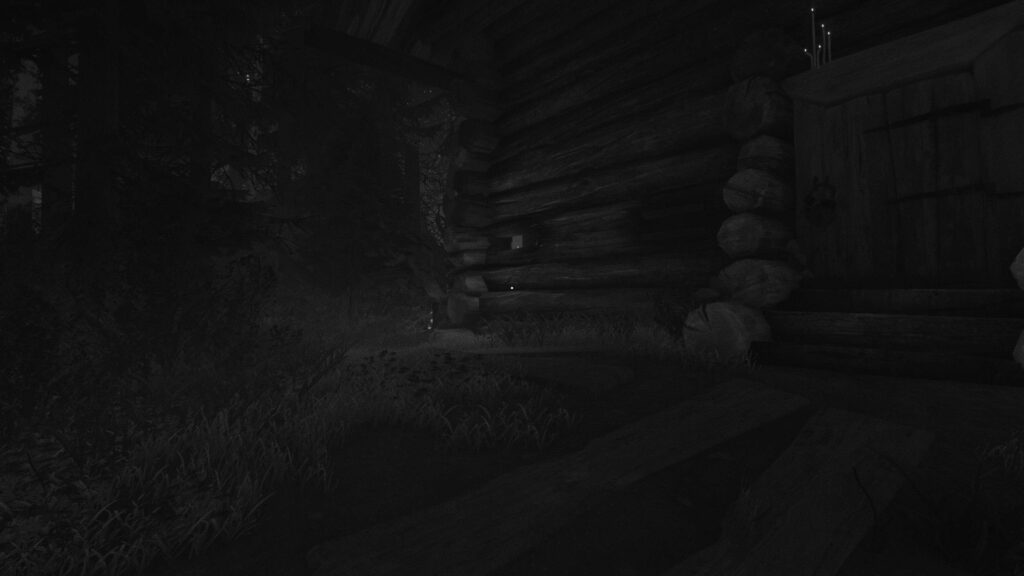
Eventually, you’ll reach a big cottage, an ‘Izma’. The door is locked, so go left from the door and you’ll find some totem idols. Look opposite the idols to find a tree stump.
Pick up the key to the izba. Return to the izba front door and use the key on it to get inside.
The Izba
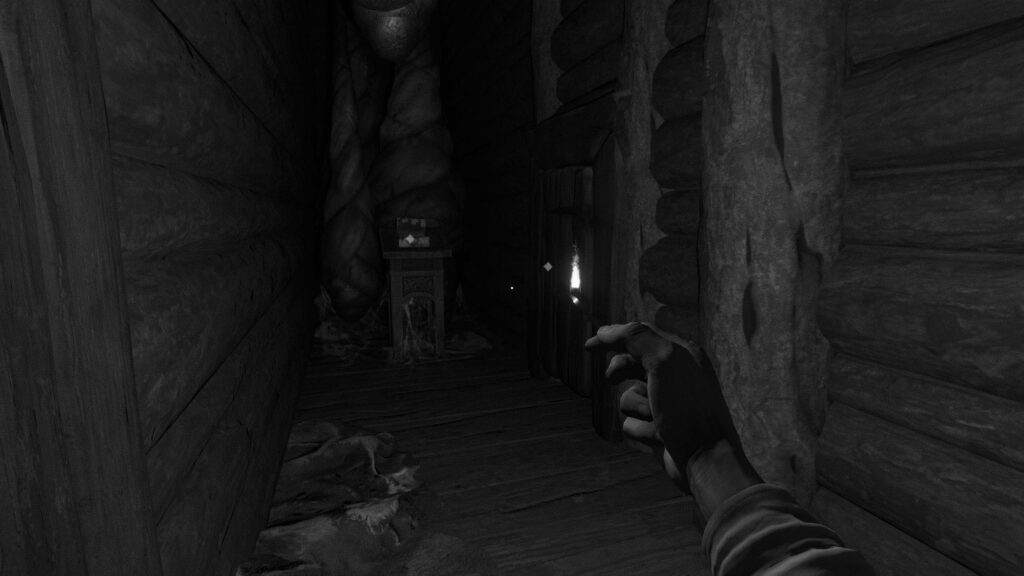
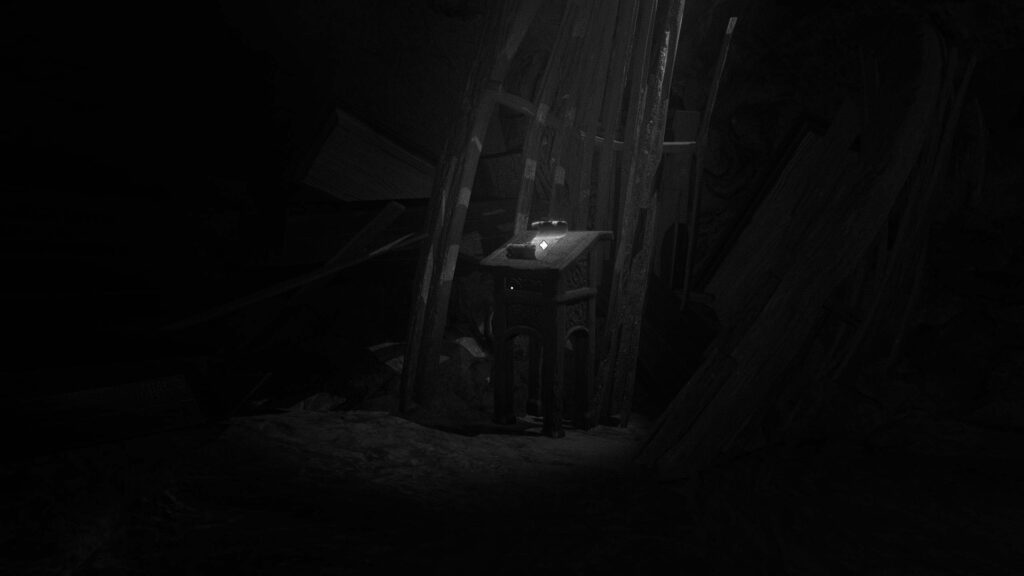
Enter the first room and pick up the box of matches on the pulpit. Light a match and toss it into the dried grass and idols to burn them away and reveal a path beyond.
From this point on, you should light matches liberally as you’ll never run out of them. If you toss them at something flammable, that thing will burn. This includes birch bark manuscripts, so make sure you read the given manuscript before setting it on fire. (There is, however, an achievement for setting a manuscript on fire before reading it).
Continue down the corridor, burning obstacles as you go. You’ll reach a fork, to the left of which is a birch bark manuscript (“The Mysterious Forest”).
Once you’re done with it, take the opposite route and enter the room through the open door.
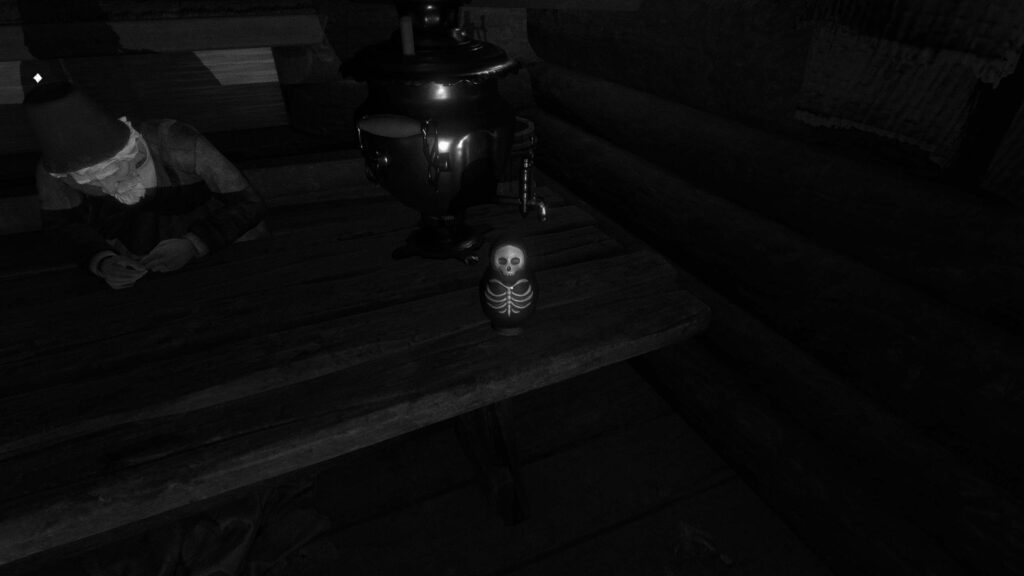
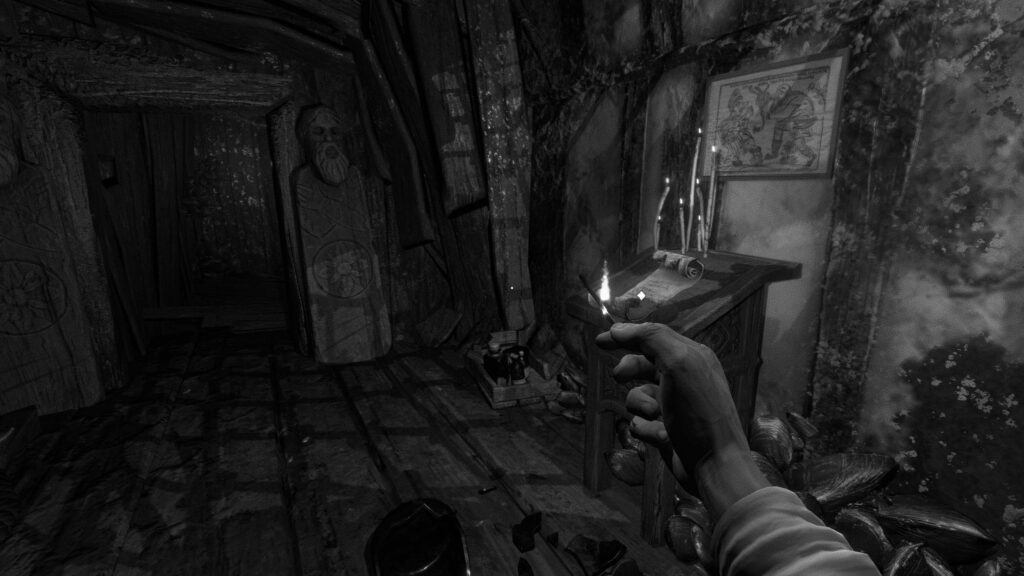
There’s another manuscript (“Apples”) on the table next to the chair.
There’s also a Morteshka doll on the table, which you can set on fire. You will get an achievement for setting all the Morteshka dolls in the game on fire.
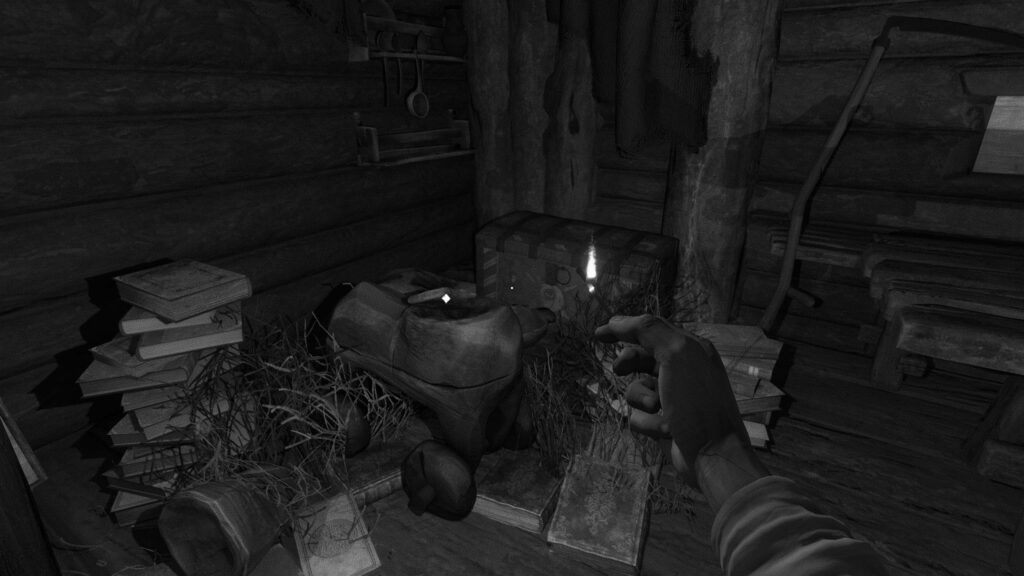
To the left of the table, you’ll find a wooden horse toy. Interact with it to get a metal plate titled ‘Odysseus’. Then, set fire to the grass around the horse, so that you burn away all the items in that area.
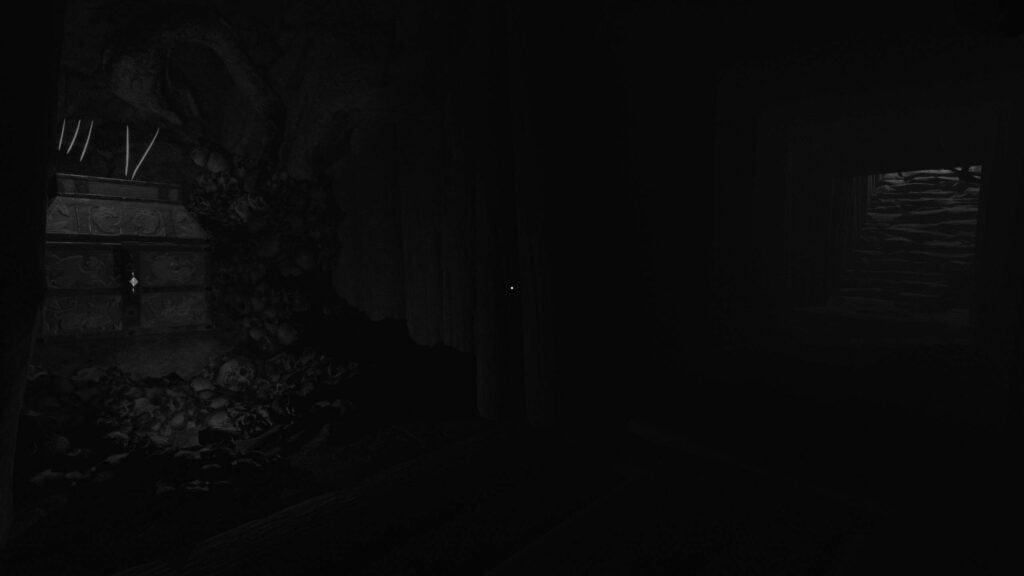
Interact with the chest beyond to find another manuscript (“An Izba in the Forest”).
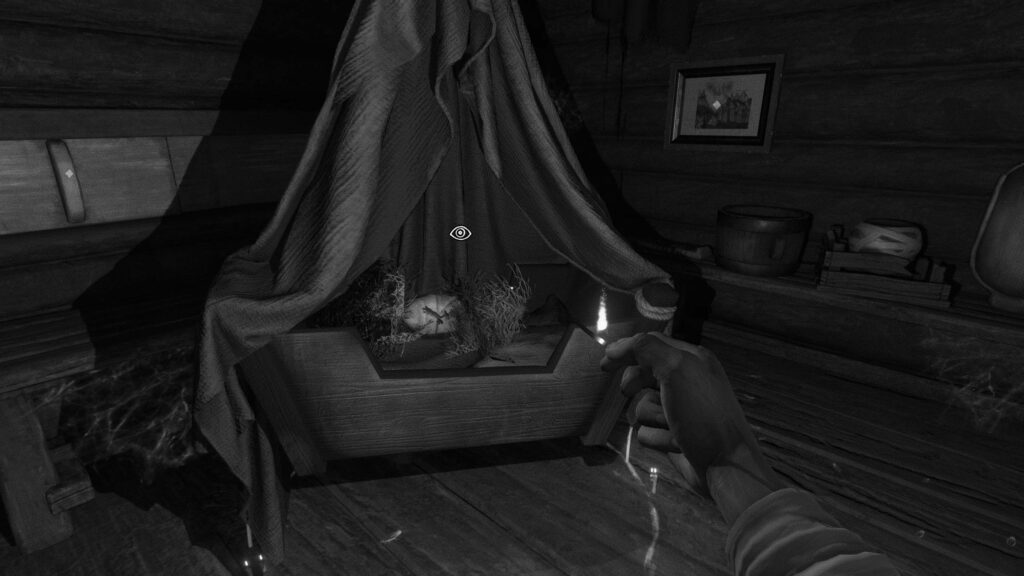
Opposite the table, you’ll find a crib hanging from the roof. Toss a match into it to claim another plate, titled “Awl”.
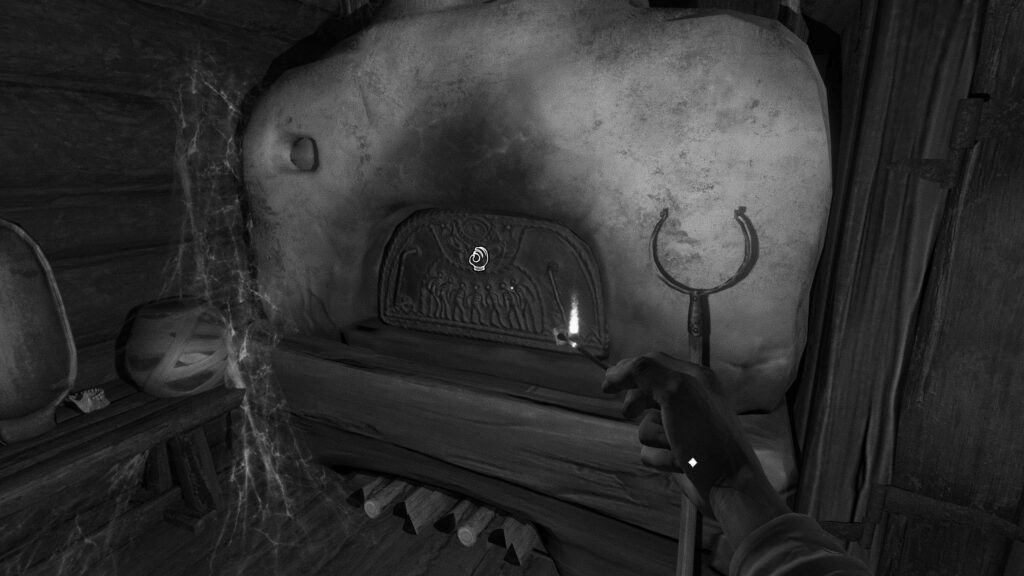
Nearby, there’s an oven – interact with it and then toss a match inside. Pick up the oven fork and use it on the oven to acquire the final plate, “Polyphemus”.
When you’re ready to move on, interact with the door next to the oven and put all three plates on it.
Proceed through the tunnel beyond and keep going deeper. Your match will go out when you step into cobwebs – this is unavoidable throughout the game. Simply light another match when it goes out.
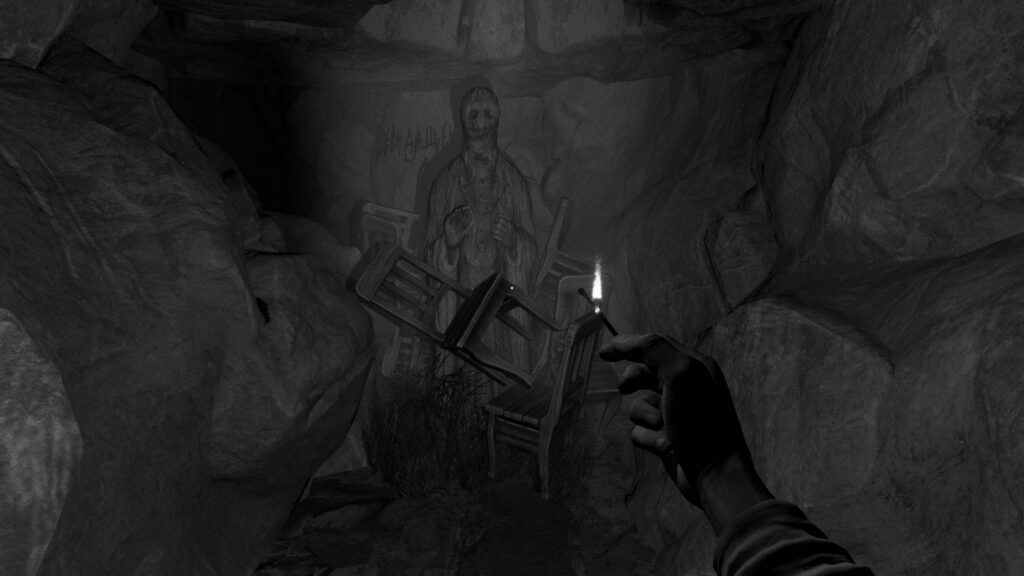
Light the chairs and figures in front of you on fire, and continue into the next chapter.
The Ferry
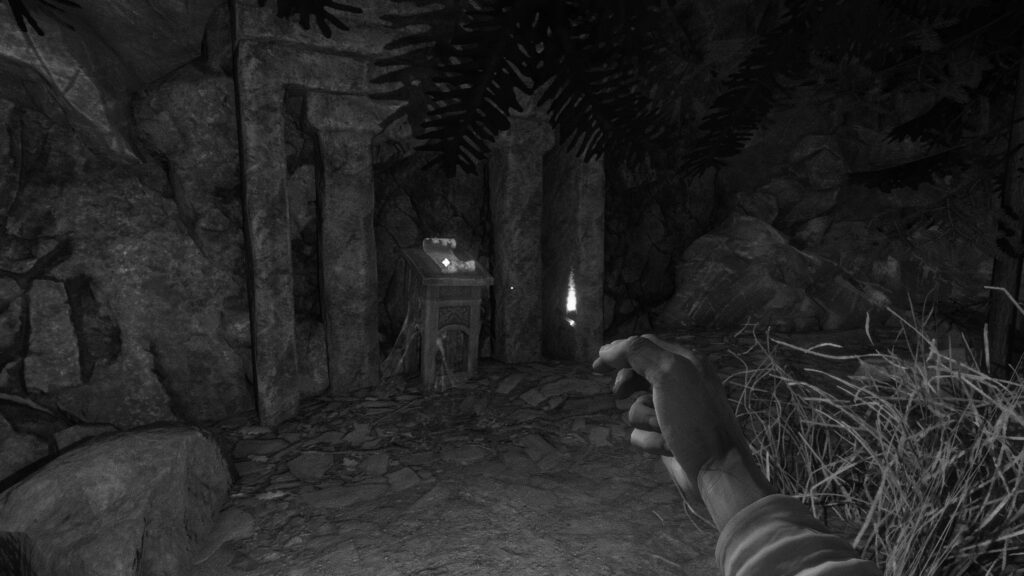
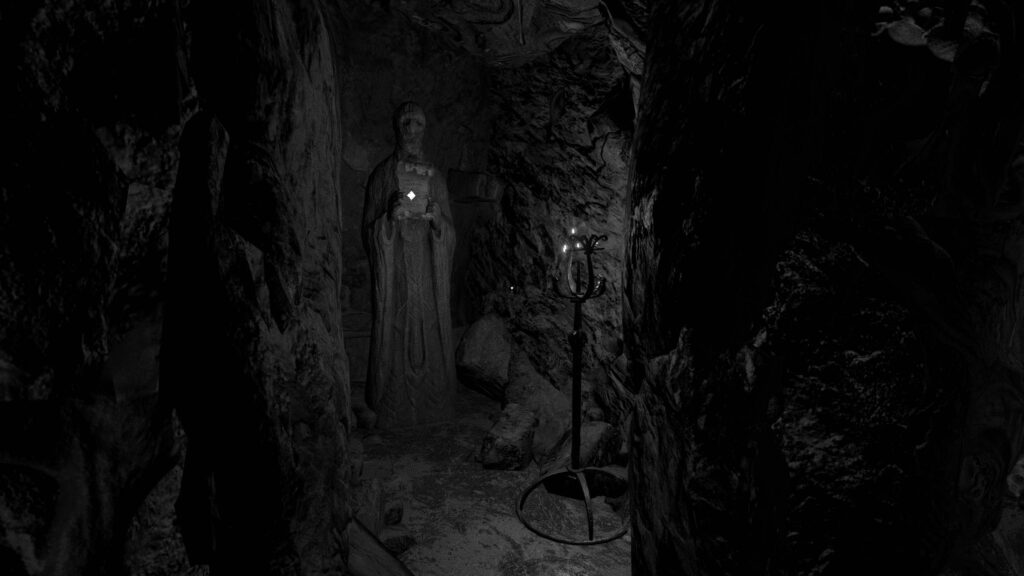
You’ll reach an altar. Interact with the book in the middle and pick it up.
Pick it up to read a tale from The Odyssey. You’ll find many pages of The Book of the Worlds throughout the game, which will be assembled into the book as you go.
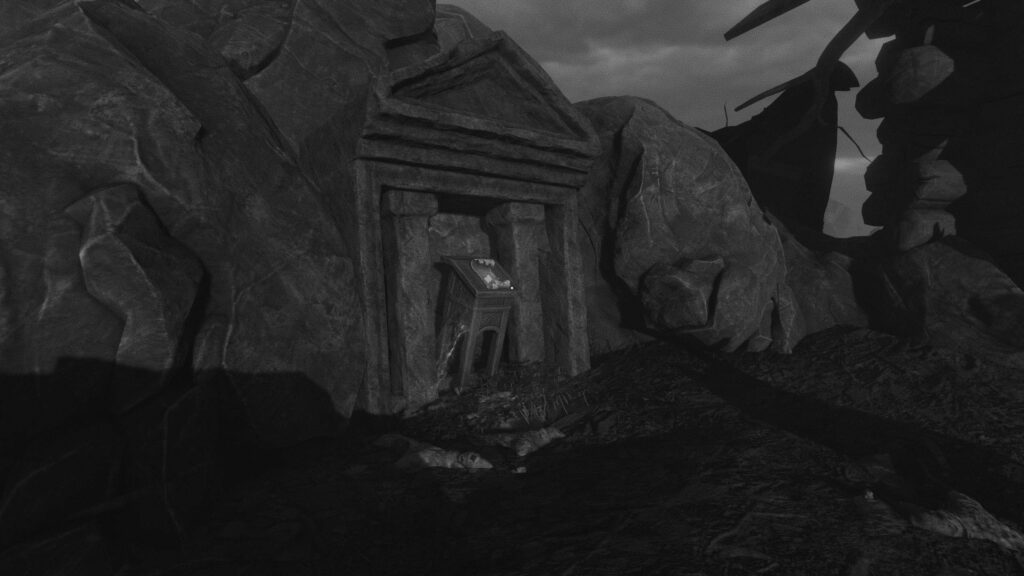
Keep going straight through the tunnel and then the path outdoors, until you reach a ferry tied to a dock. You need to find a disc and a ring to complete the lock before you can take the ferry, though.
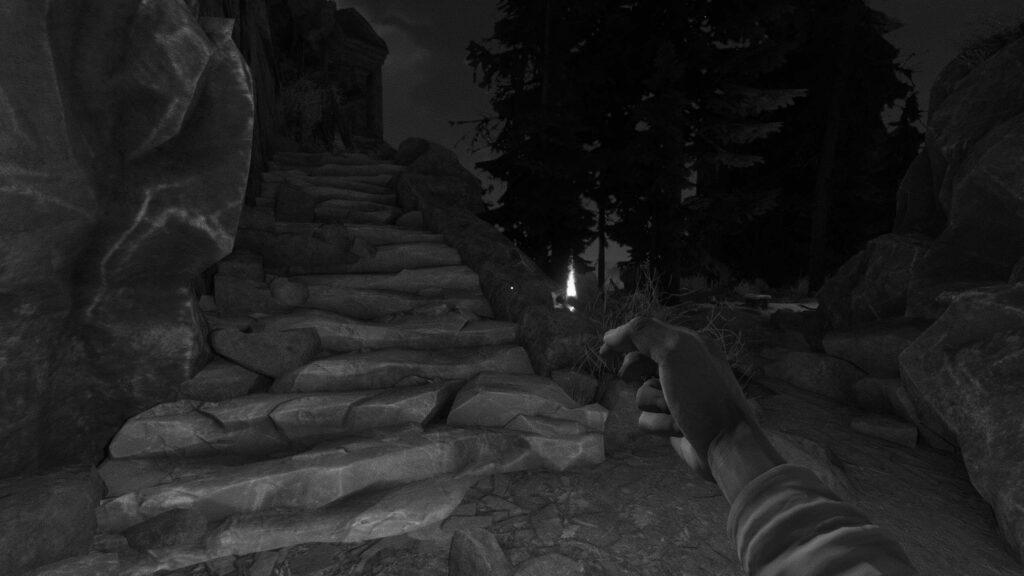
Go right from the dock to find a birch bark manuscript (“The Passage”) near some stairs. Go up the stairs to a ruined house. Burn the idols in front of the house front door and pick up the Mechanism Ring inside the house.
Exit to the right of where you found the ring, and go down into the tunnel there.
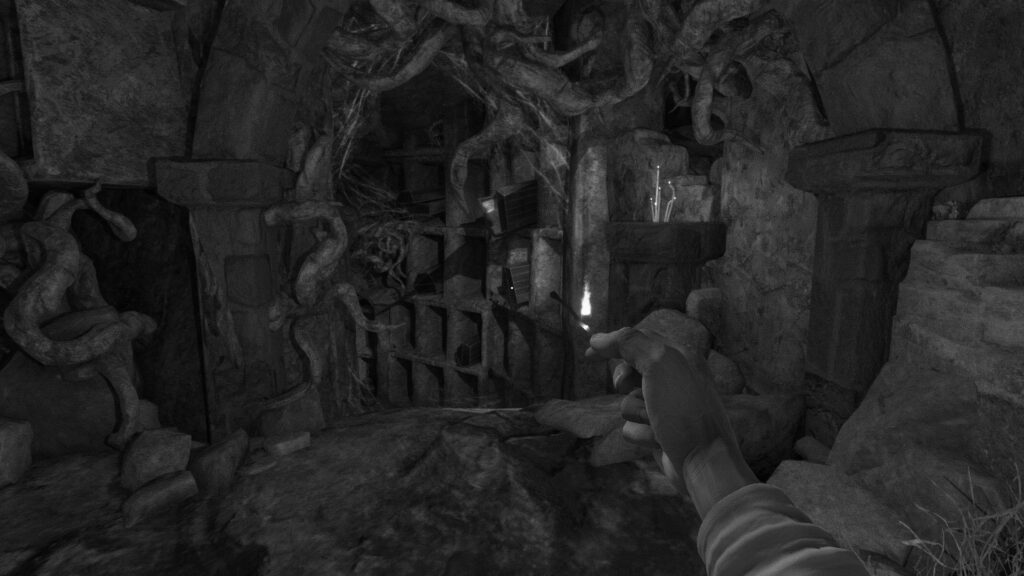
Keep going through the tunnel until the exit is in sight, but just then, turn left for your first Locked Chest puzzle.
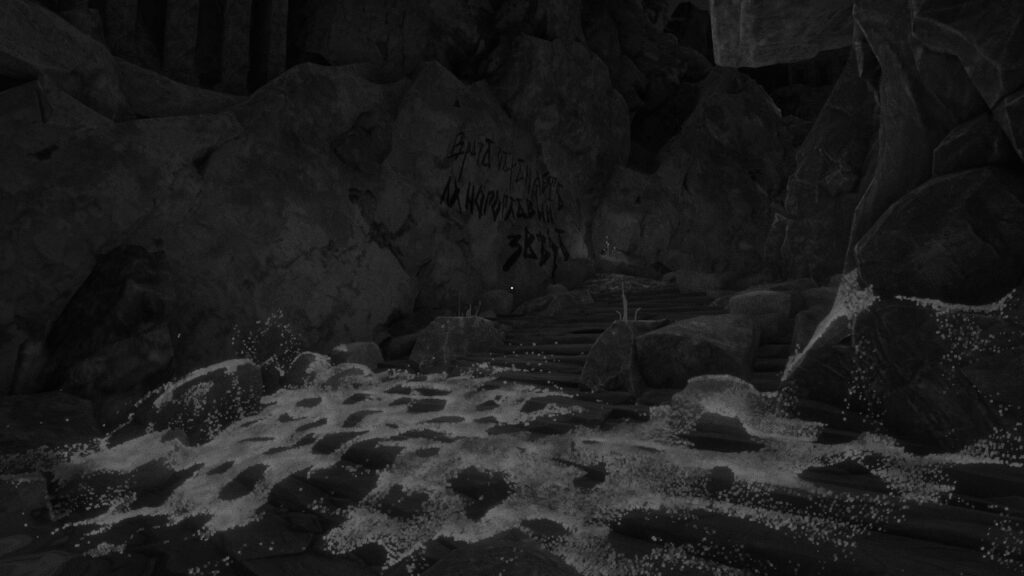
Each of these puzzles have a hint located somewhere around the chest. In this case, the hint is very easy, and can be found on the wall behind the chest.
The solution to the chest is, from top to bottom, 4532.
Now exit the tunnel from the nearby exit to be back out in the open.
You’ll find a birch bark manuscript here (“Mistress of the Animals”), and another house with a blocked entrance. Light the idols on fire to proceed inside.
Head into the house to find the disk-shaped Mechanism Part. Pick it up and return to the Ferry.
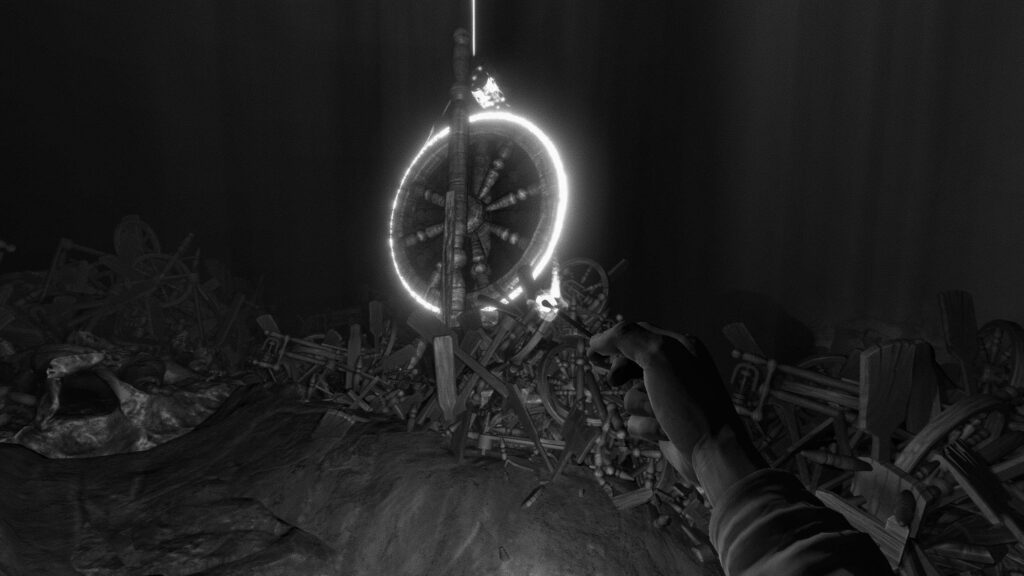
Place both the Mechanism Part and Mechanism Ring onto the lock mechanism, and interact with it to solve a rotation puzzle.
Rotate the puzzle so that it resembles the screenshot below (eye on top, throne in the middle, three people at the bottom).
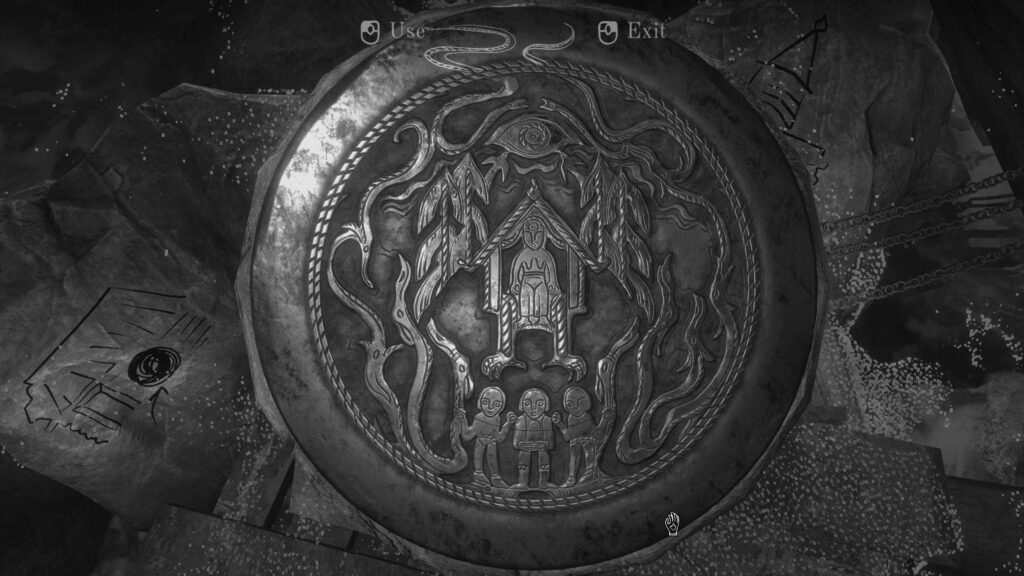
Hop onto the boat to get going.
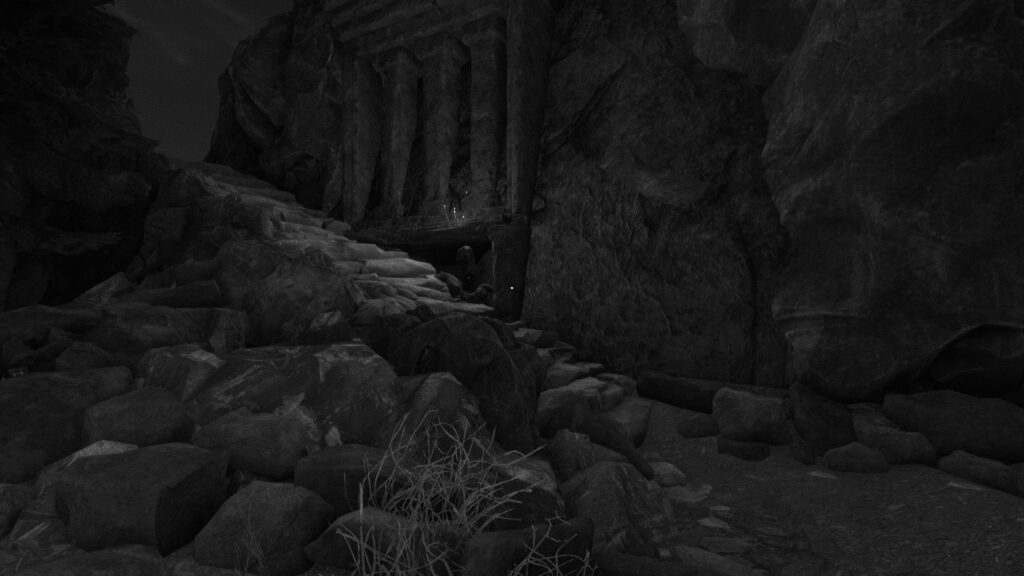
The Island of the Dead
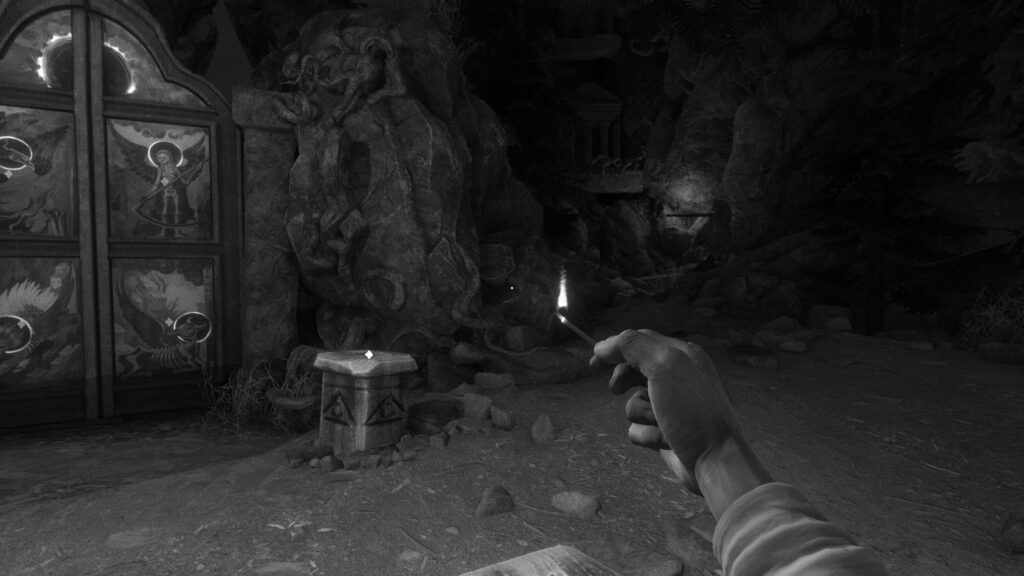
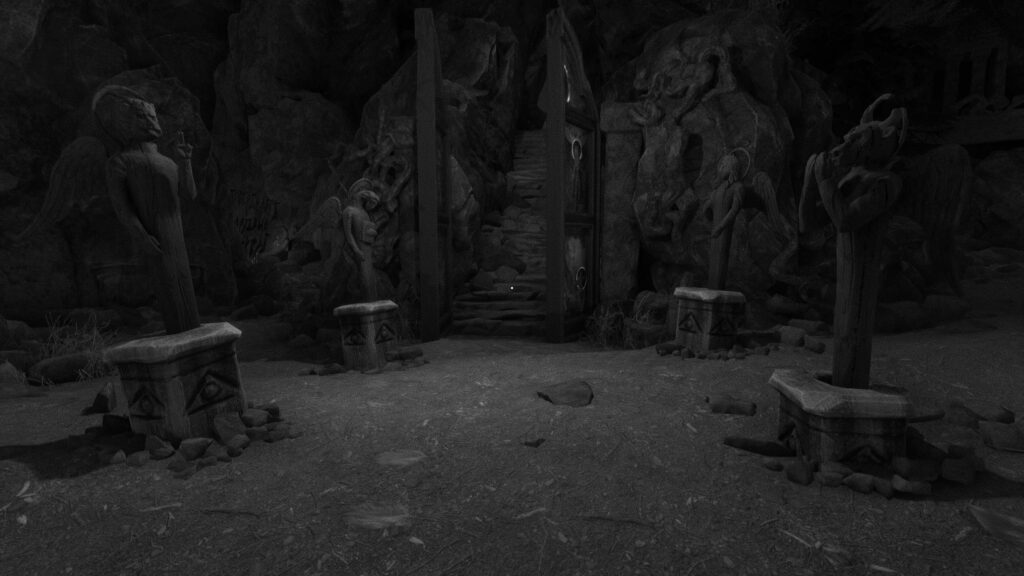
Upon arriving at the Island of the Dead, head forward to find the main gate and four pedestals. Just before them, turn left to find a birch bark manuscript (“The Island of the Dead”) located between two pillars.
Then, head to the four-paneled gate. We need to find four items that correspond to the panels on the gate and place them on the pedestals.
There are two routes to take here, we’ll start with the left one first.
Look left from the gate and go up the stairs next to the three pillars.
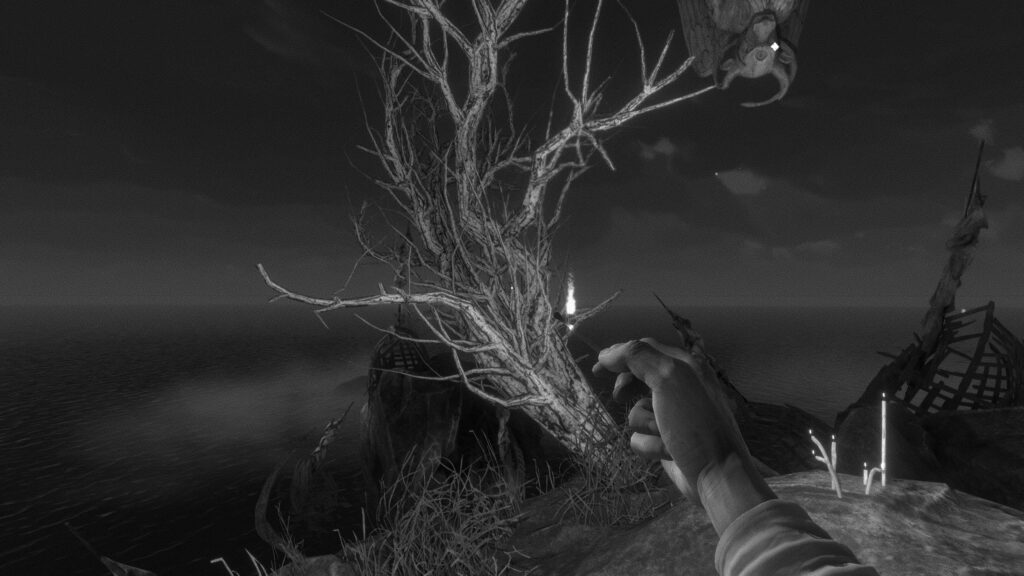
You will reach a cliff. Approach the dead tree on the cliff and toss a match on it to burn it away. Pick up the Ox staff and turn around.
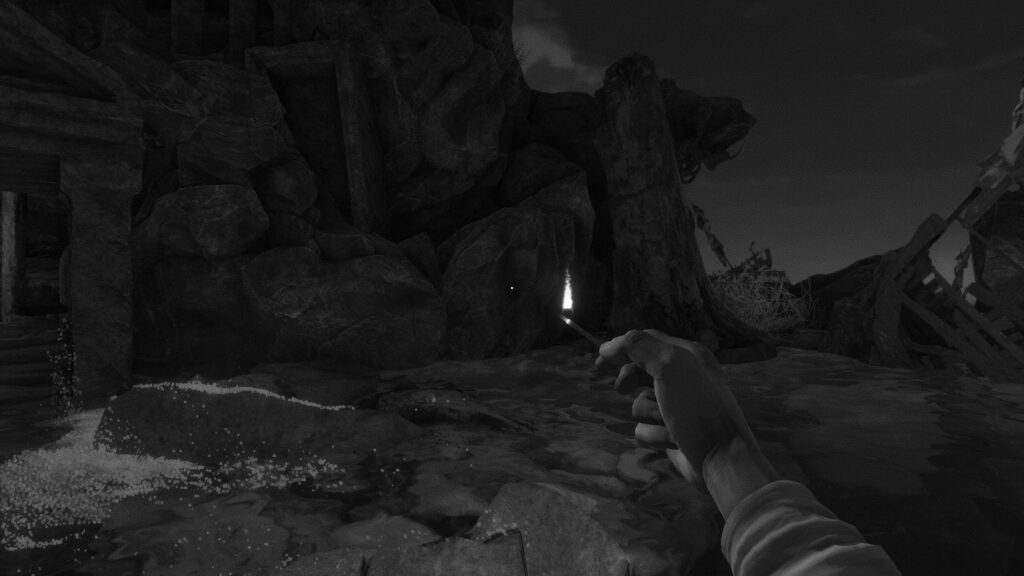
Next to where you came up from the stairs, you’ll find a tunnel going down. Go down this tunnel and straight to find a locked gate that you can’t open yet.
Head right from this gate to find another staff a little farther into the sea. Pick up the Eagle staff.
Turn around now, but before leaving this area, look to the right for a tree trunk next to some dried grass.
Toss a match into the dried grass to drop the trunk and cross it. This might take several tries as you need to toss the match at a distance.
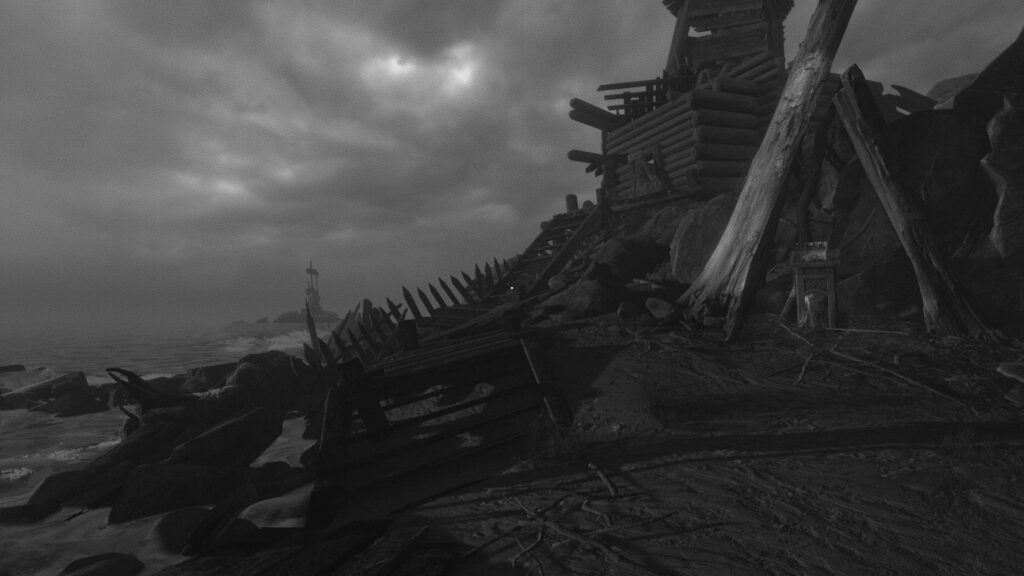
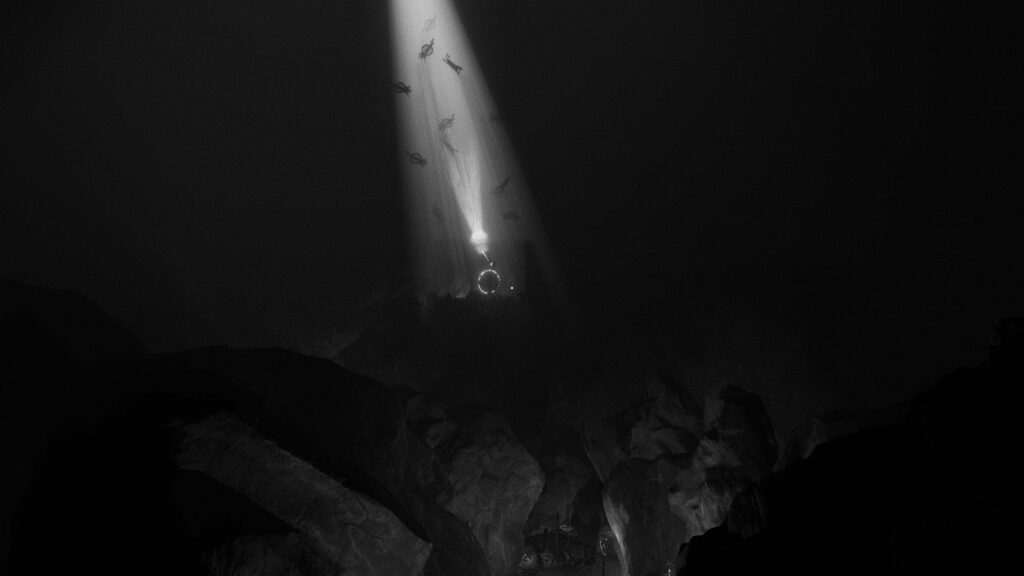
On crossing the trunk, you’ll find another locked chest. The clue here is the sail of a boat.
Simply look up and you’ll find several crashed boats with their sails sticking out. Count each cluster of boats for the solution.
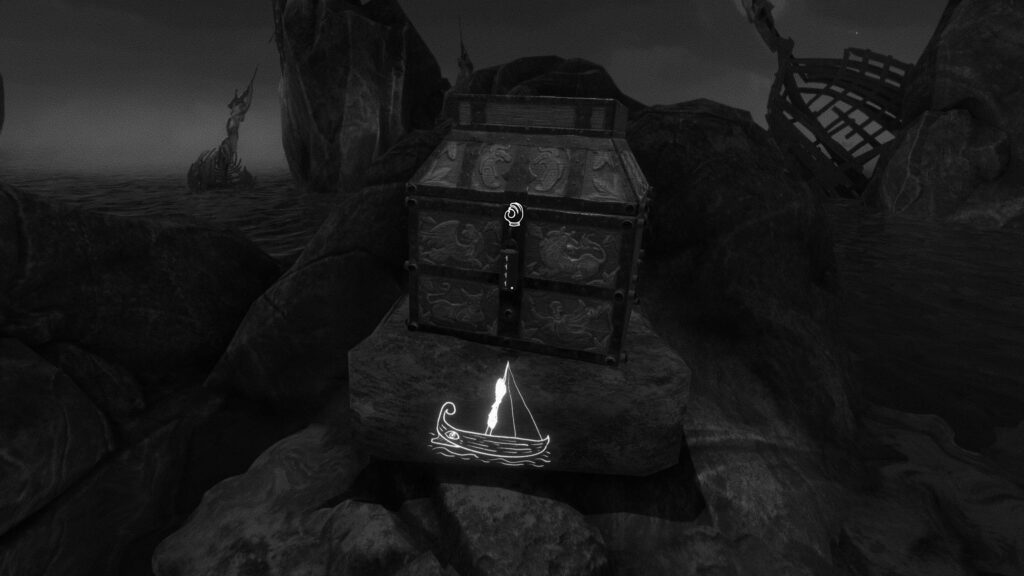
The solution to this locked chest puzzle is 1321.
Now turn around, pull the lever and re-enter the tunnel you came through before. Return to the place where you found the Eagle staff, and turn right to find a set of stairs going up.
This will return you to the gate. You can either set the staves here or proceed through the right path to get the remaining two staves.
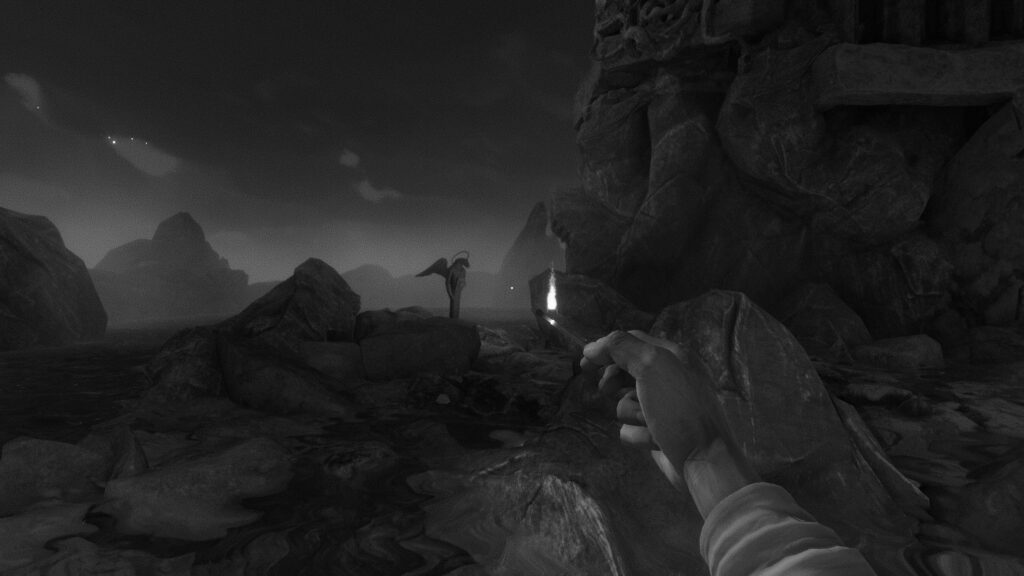
Proceed along the path to the right of the gate and proceed until you find the Angel staff.
Turn around and proceed to find a flight of stairs going up. Go up the stairs and burn the dry grass there.
Then, continue forward and take a left. Here you’ll find a birch bark manuscript (“Helpers”). Past it is the final staff we need, so grab it.
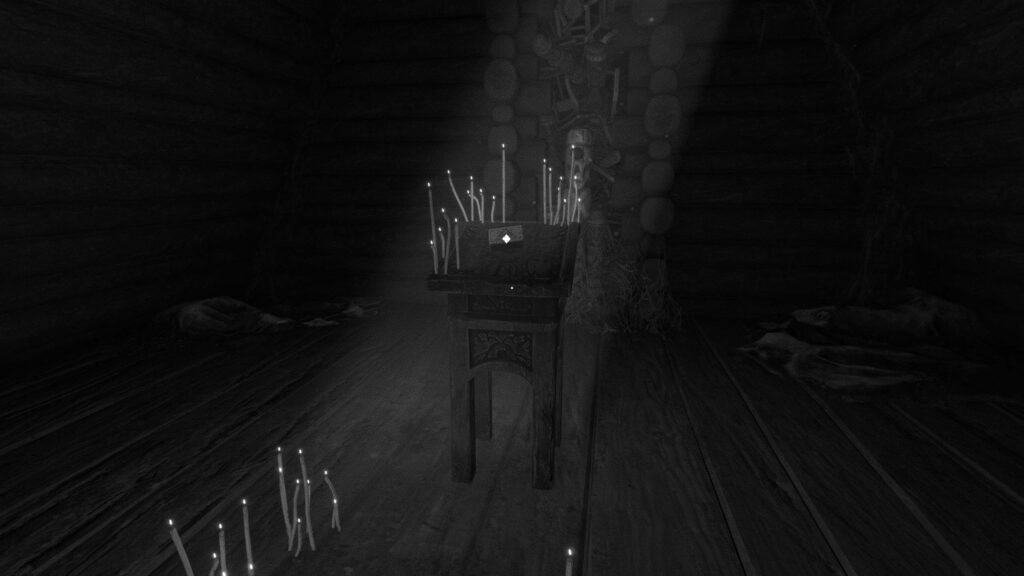
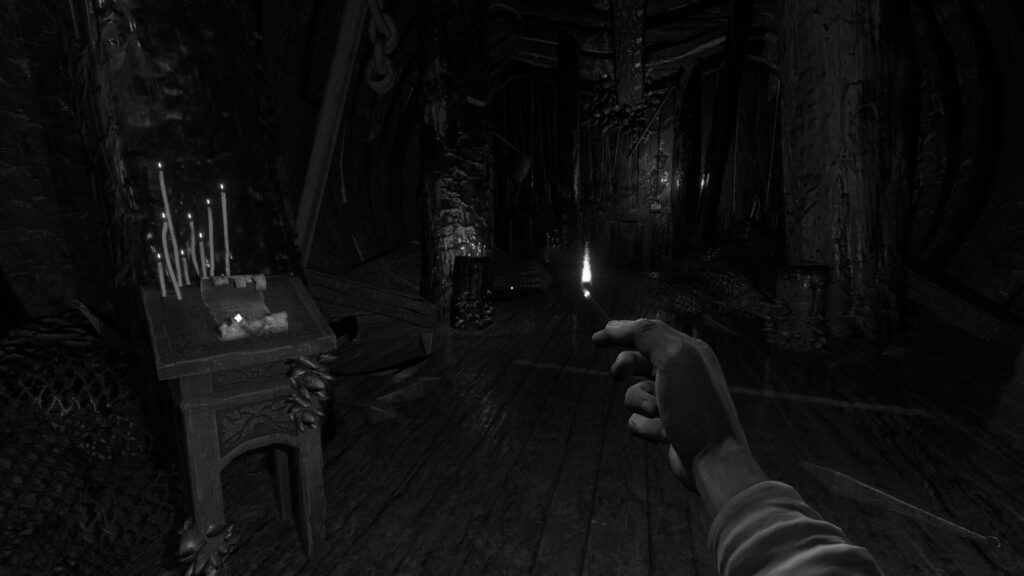
Turn left and go down the tunnel to find a locked chest on your right.
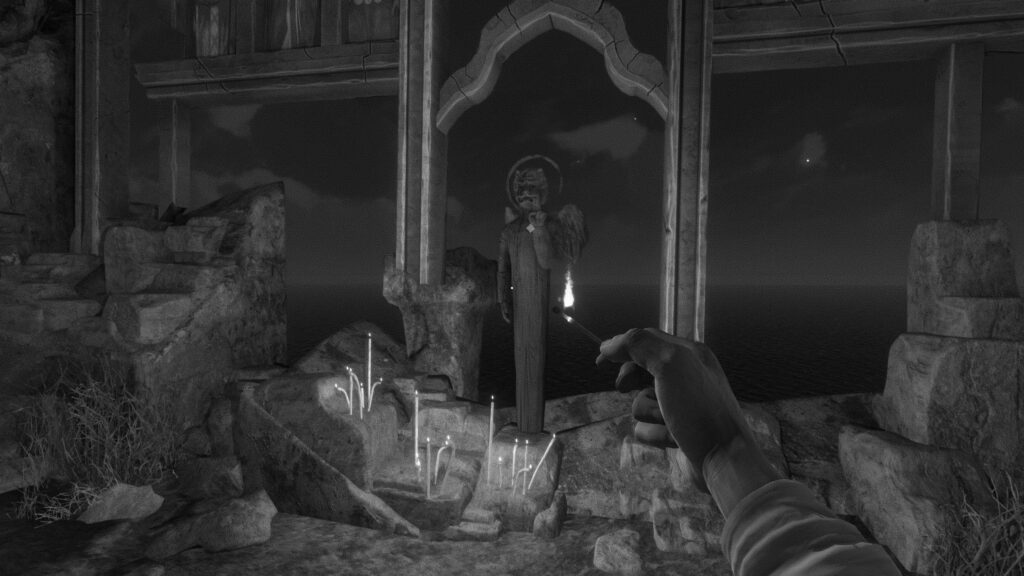
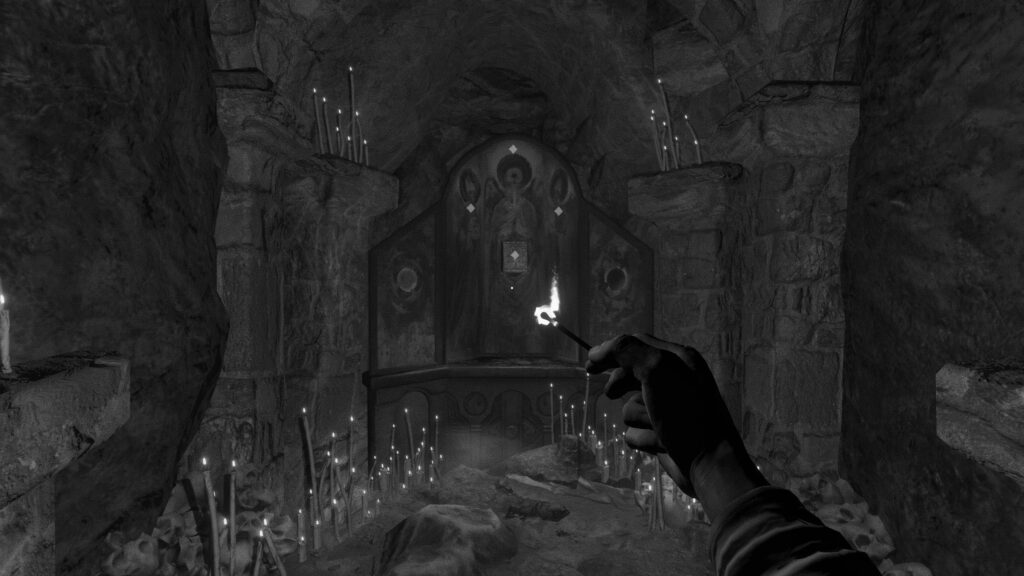
The clue for this one is ‘candles’. There are four clusters of candles around the chest – simply count the candles for your solution.
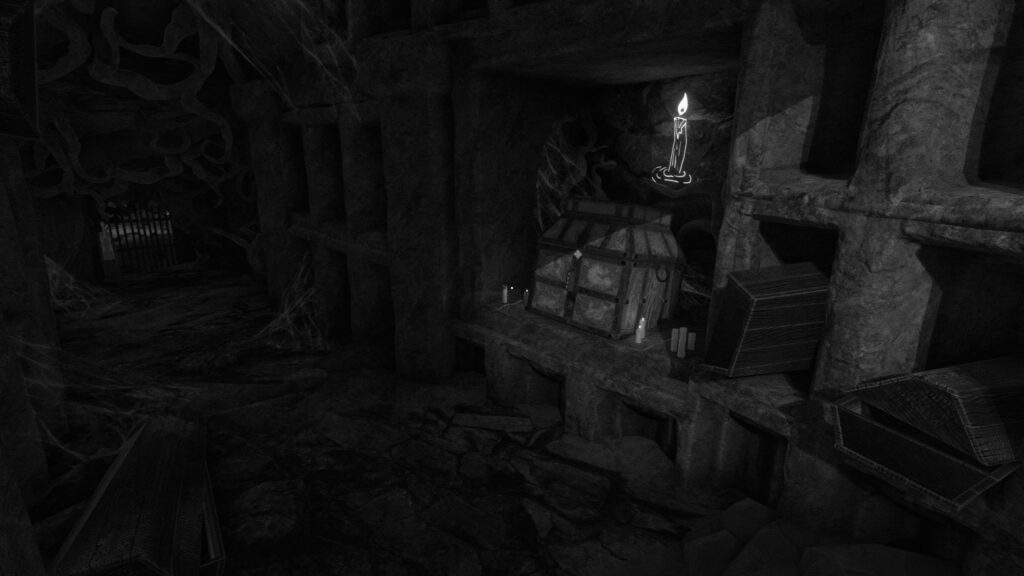
The solution to this locked chest puzzle is 1323. Inside is the page “Dolopathos”.
Continue down the tunnel to find a lever – pull it to open the gate in front of you and return to the main area of the island.
Now place the staves to correspond to the panels on the gate. Assuming the gate is ‘north’, you need to place the staves as:
- North-west: Eagle
- North-east: Angel
- South-west: Lion
- South-east: Ox
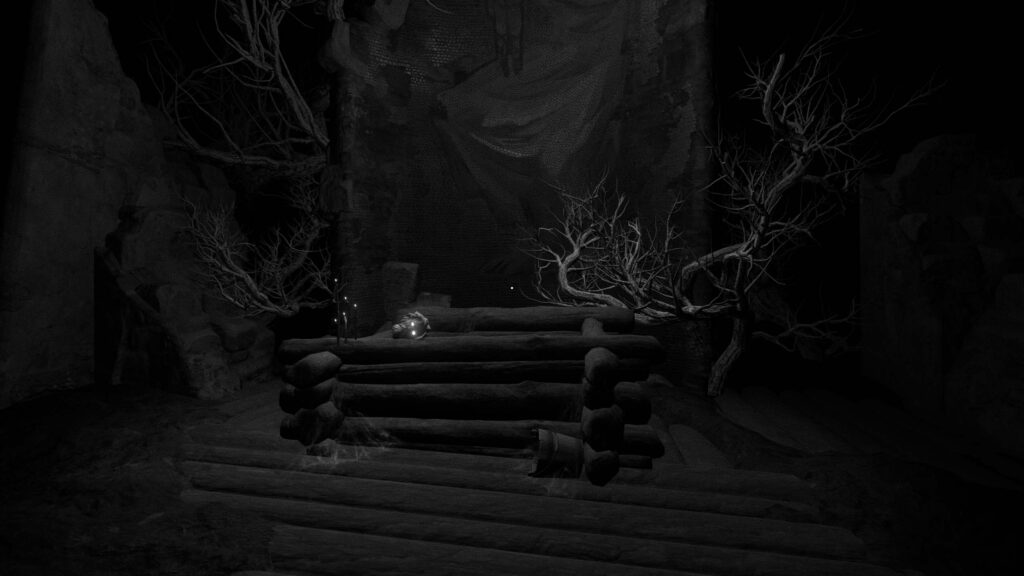
Once the gate is open, go up the stairs beyond and continue to a heap of flammable objects.
Toss a match to light them on fire. Once the fire has died out, hop onto the coffin and open it.
The Threads of Life
Inside the coffin, interact with the various prompts repeatedly. Don’t miss the one to your right with the crawling cockroach. The game will proceed when the Smith starts coughing.
Interact with the broken panel in front of you three times and step out of the coffin.
Immediately after exiting the coffin, turn right to find a birch bark manuscript (“The Golden Thread”).
To the left of the manuscript is a heap of coffins and dry grass. Burn it with a match to find the way forward.
After the title of this chapter, look left to find another manuscript (“Pugh! Pugh! Pugh!”).
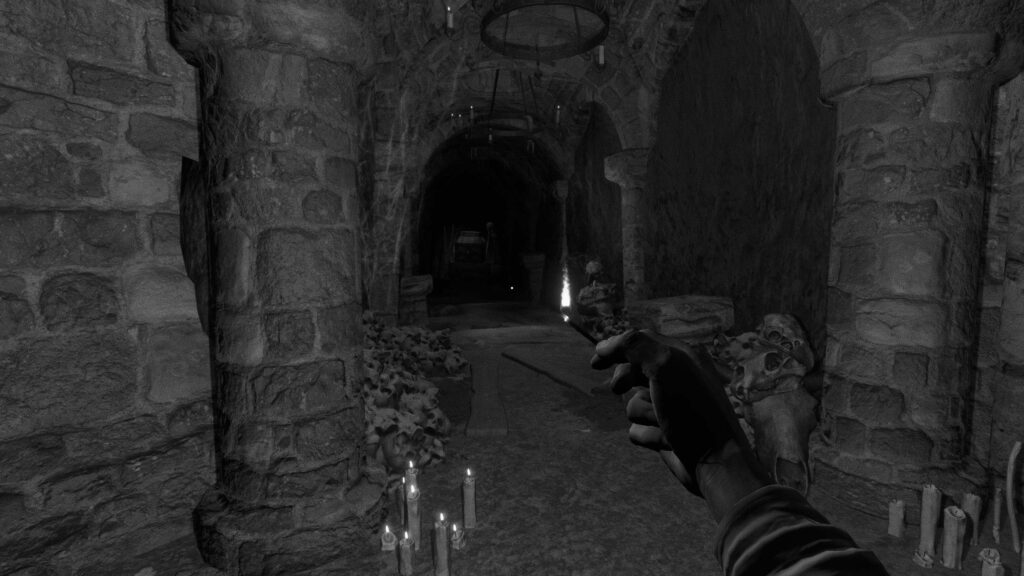
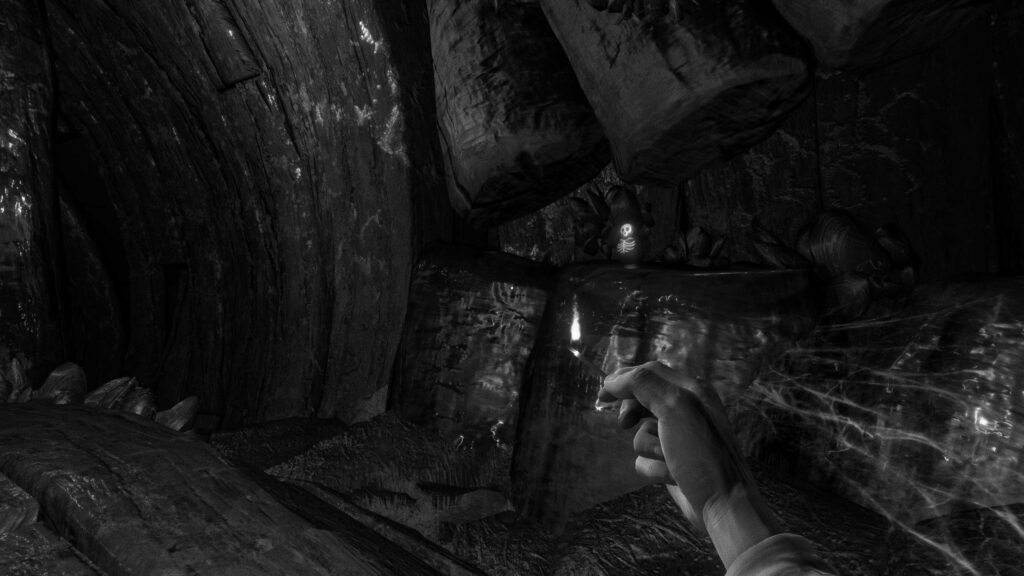
Then continue through the tunnel until you reach a room with a tower. Before doing anything, head down the tunnel to the left (the one with all the skulls) to find a locked chest.
The clue for this one is a skull. To find the solution, count the clusters of skulls around the locked chest.
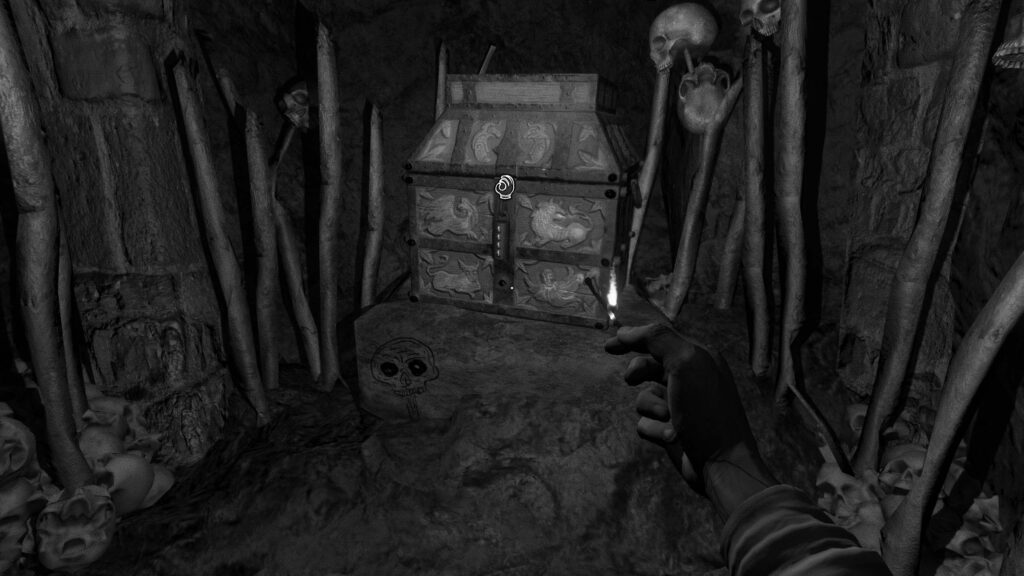
The solution to this locked chest is 1137.
Now return to the tower and this time, go past the tower to find another heap of coffins and dry grass. Burn it all.
Beyond this heap you’ll find another manuscript (“The Imprisoned Children”).

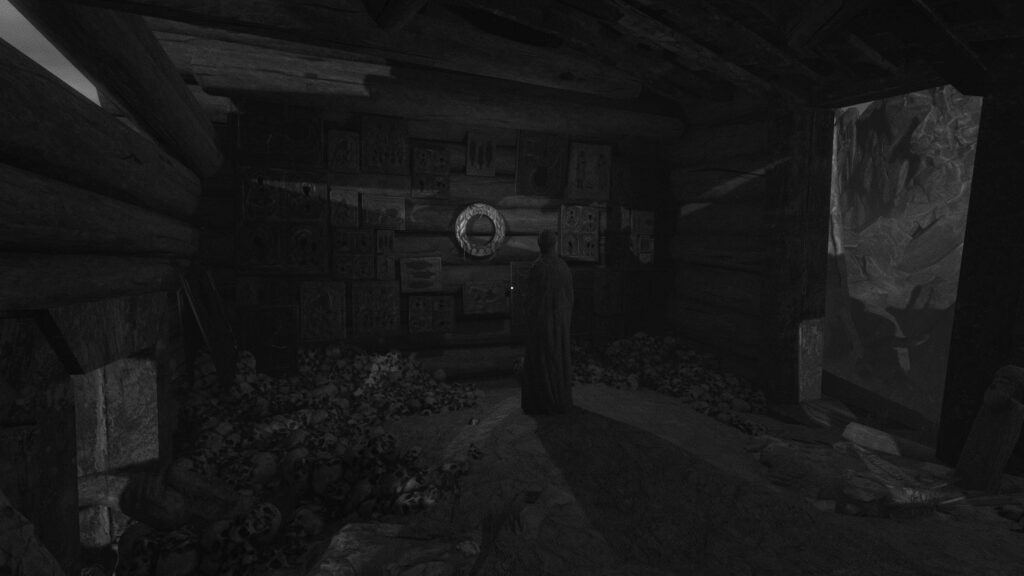
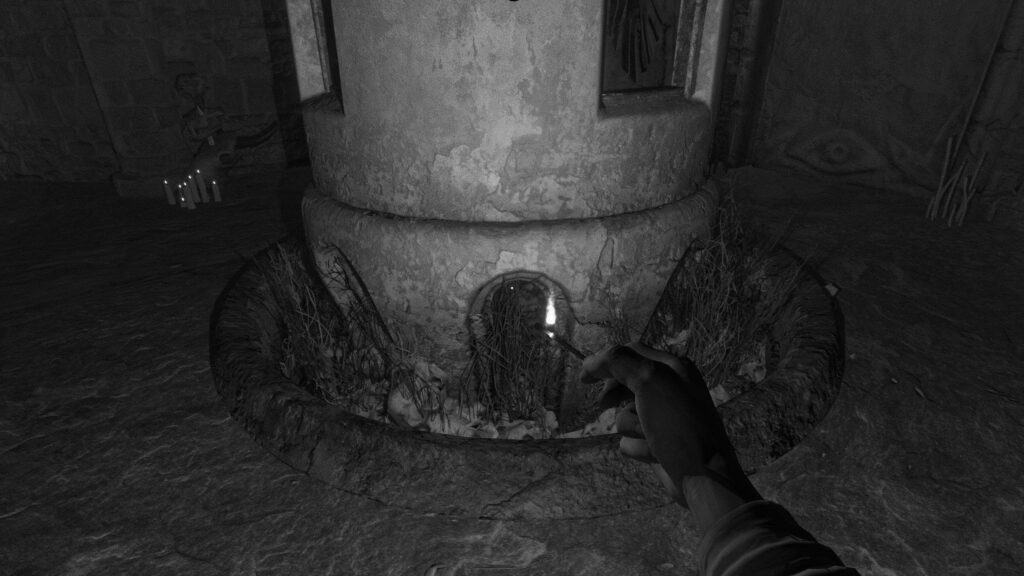
Return to the tower and toss a match at the dry grass at the base of the tower.
This lights up an image on a wall. Look to the right of this image for a hint: a mural showing an eagle on a lion on a bull.
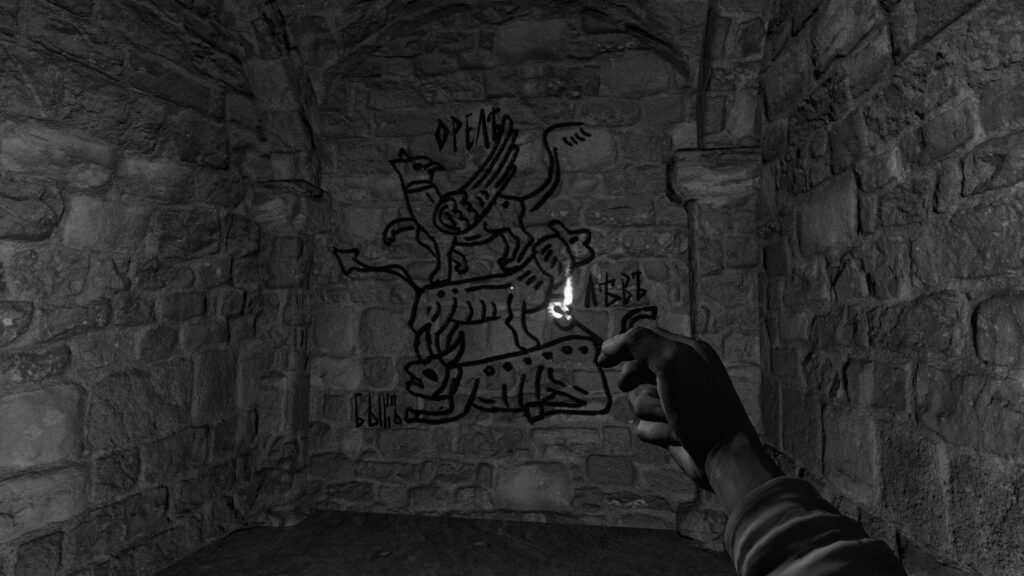
Now interact with the tower and rotate its three parts so that the image is of an eagle above, a lion in the middle, and a bull at the bottom.
Proceed through the cobwebbed tunnel and through the door at the end of it. Continue past the next door and down the sloping path.
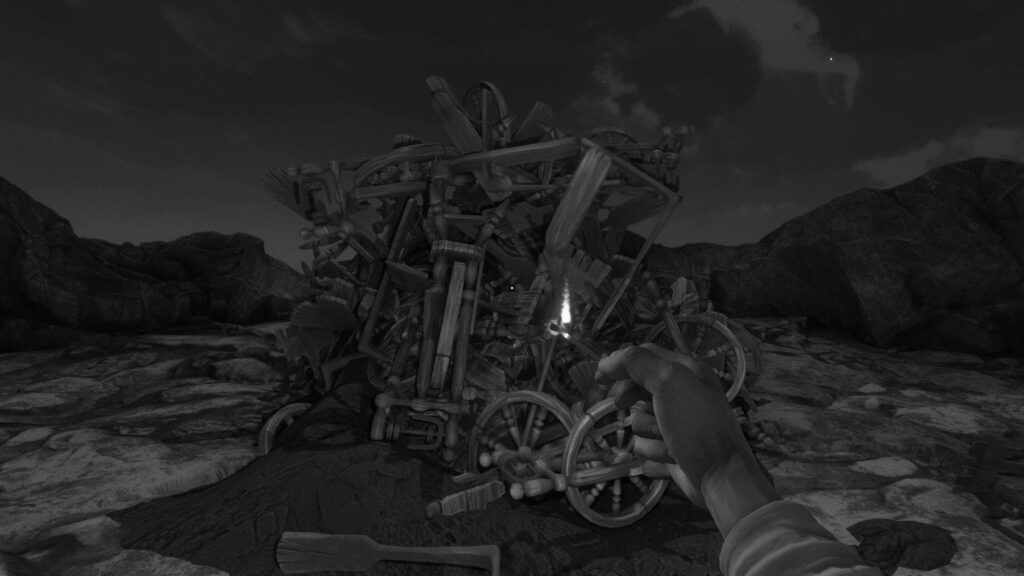
You’ll eventually find some stairs going up – follow these up to the top and burn the giant heap of wooden objects.
After the cutscenes, head up the stairs and turn right to find a locked gate. Open the gate with the lever and approach the tailor.
Proceed forward, following the tailor. Keep lighting your matches as you go, despite the cobwebs.
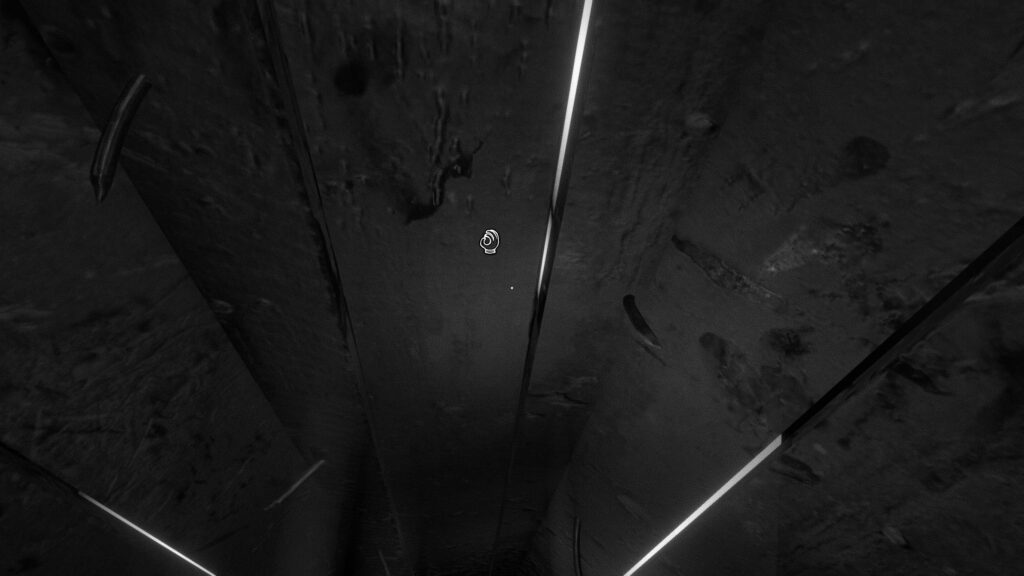
Eventually, you’ll reach a wooden well. Interact with the tailor and then hop into the well.
The Belly of the Dead Man
Walk and look around in random directions until you are reunited with Tailor.
Once you’re inside again, look right to find a Morteshka doll to burn. Then, continue down the tongue.
At the bottom of the tongue, you’ll find a manuscript on the left (“The Devouring”). Continue past it and open the door.
Proceed through what appears to be the esophagus, and take a right after seeing Likho’s shadow.
In this room, take a right through the closed door to find a locked chest puzzle.
The clue here is a wooden panel with round symbols on it. Look Look right from the locked chest to find a tall wooden panel with similar symbols depicting people.
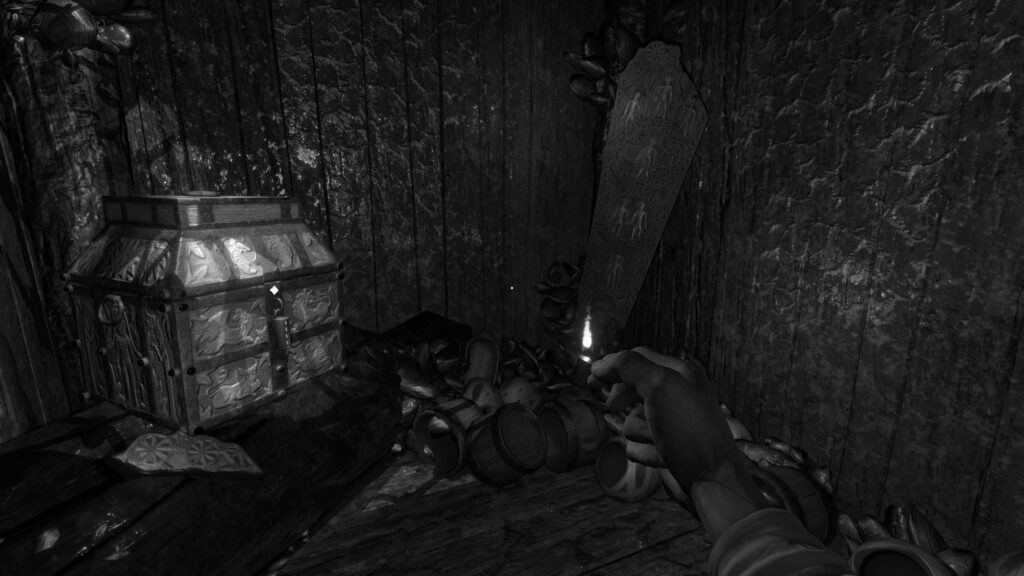
The solution to this locked chest is 3121.
Now return to the previous room and proceed further to find another manuscript (“The Guide”).
Then continue through the door and past the narrow corridor.
On the other side is a long staircase going up – follow this staircase all the way up and use the lever to open the door.
Do this for the next door as well to conclude the chapter.
Head to the next part of our walkthrough of One-Eyed Likho here! (Coming soon)
Thank you for reading this walkthrough for One-Eyed Likho! For more interesting articles on all things indie games, be sure to check out the links below.