This walkthrough for Heartworm will take you step by step through Sam’s haunting descent into a long-abandoned house said to connect the realms of the living and the dead. From exploring its chilling corridors to unraveling cryptic puzzles and facing echoes of the past, this guide is here to help you uncover every hidden secret, survive every haunting, and immerse yourself fully in the game’s unsettling story. Let’s get started.
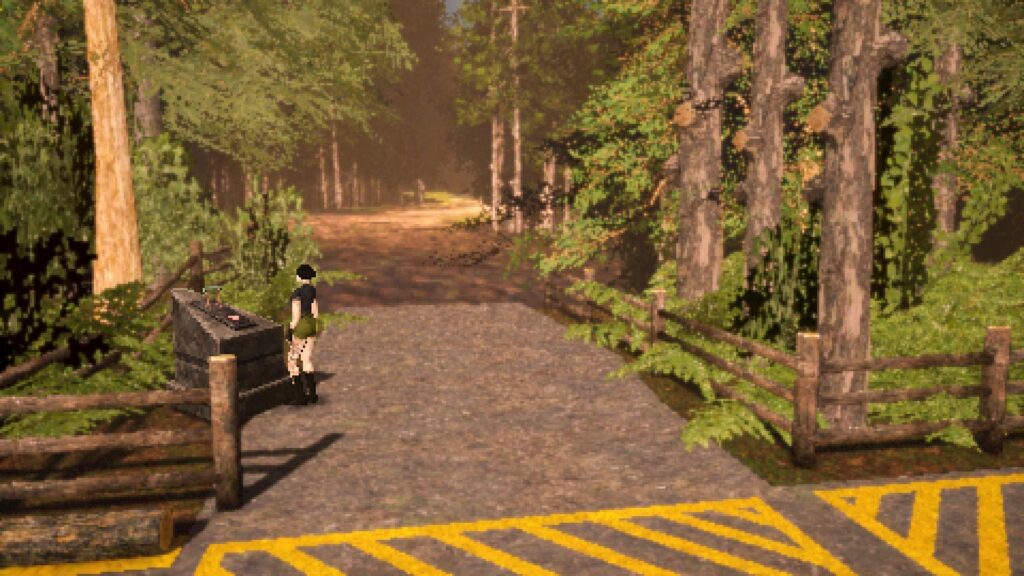
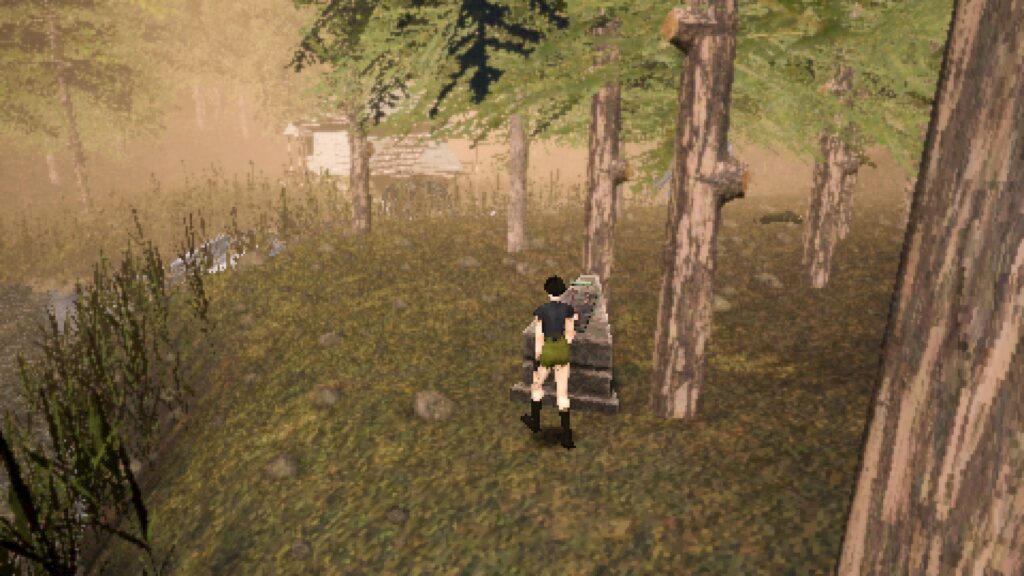
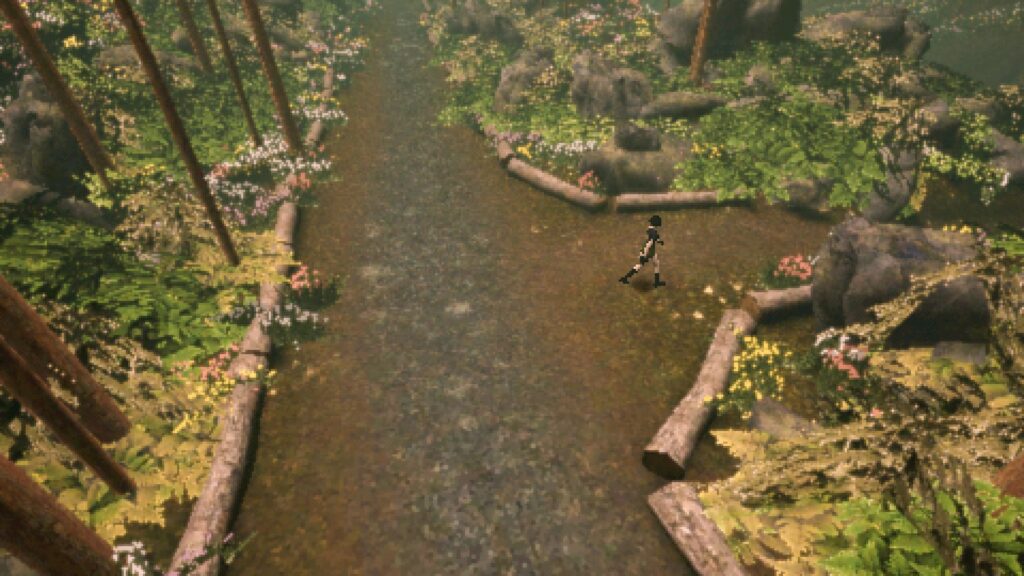
In this part of the walkthrough, we navigate through a lush and dangerous wilderness where we ultimately fight a Deer god.
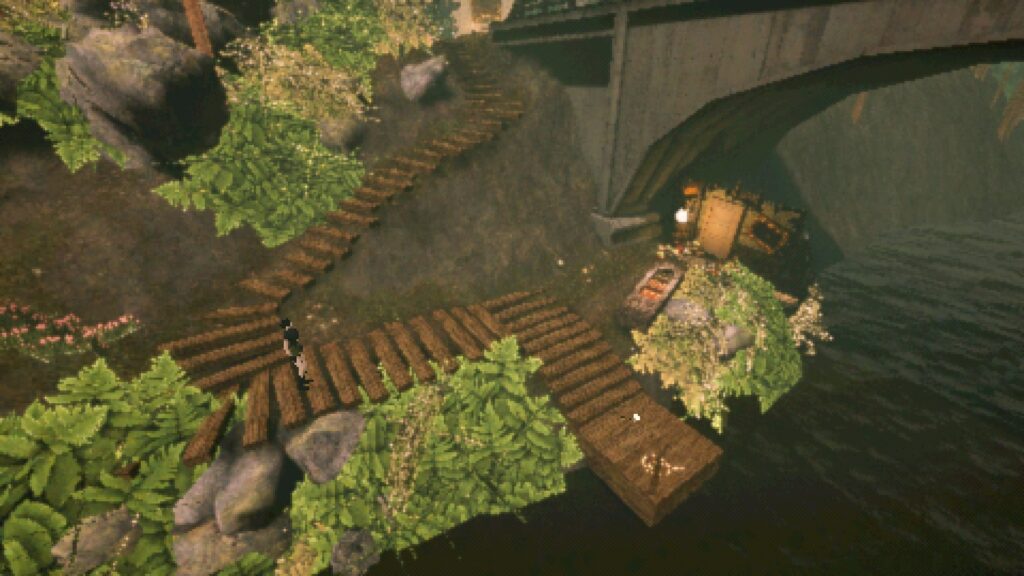
Where is the Watermill Key?
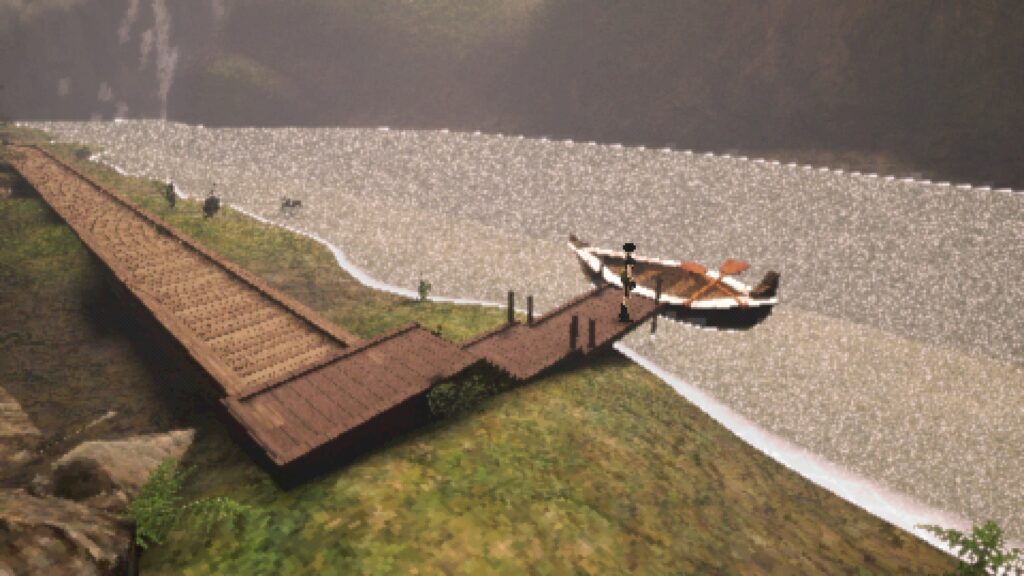
After the cutscene, make your way to the bridge. Once there, head down to the docks to pick up the Watermill Key. Use the Safe Room as well.
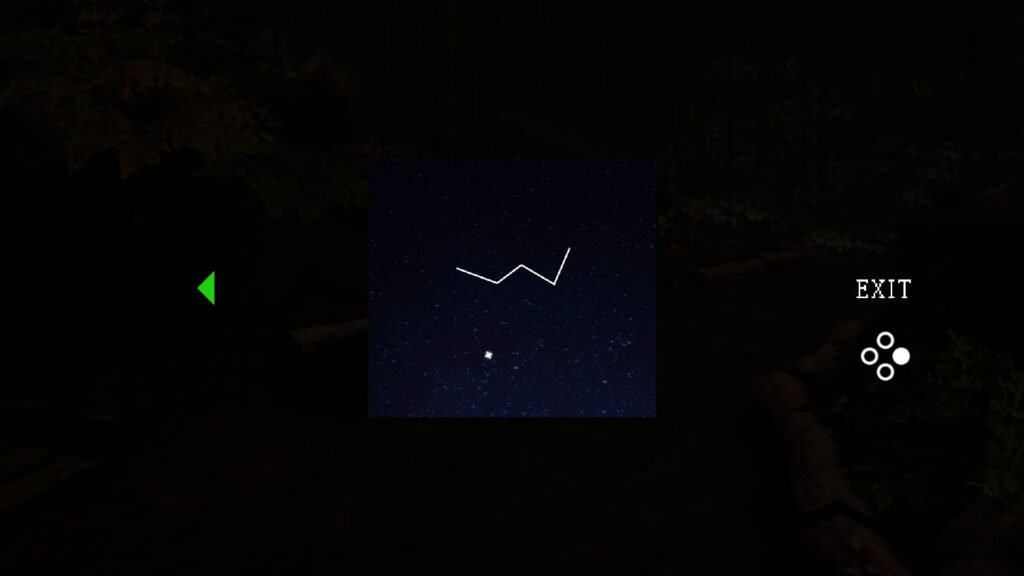
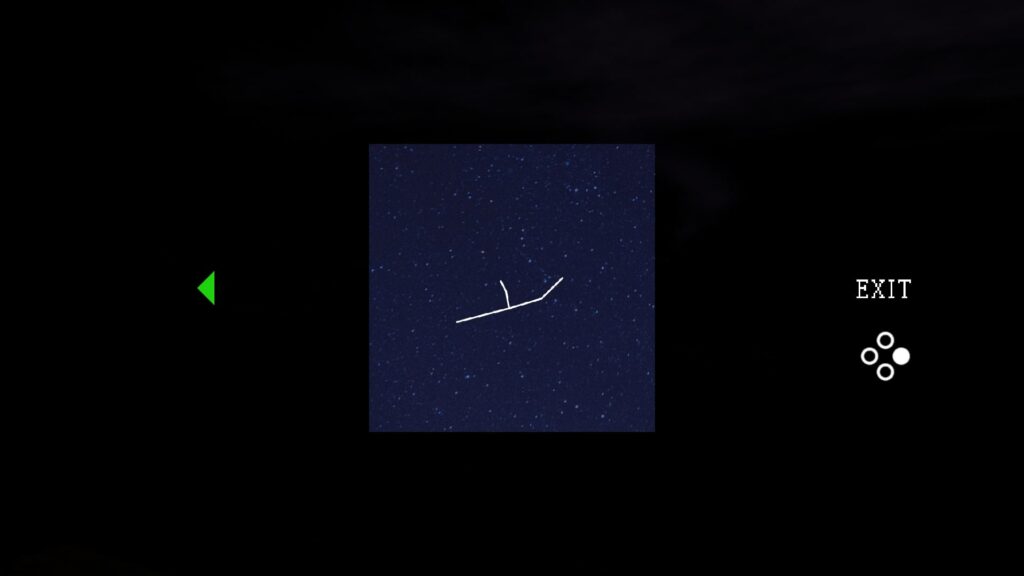
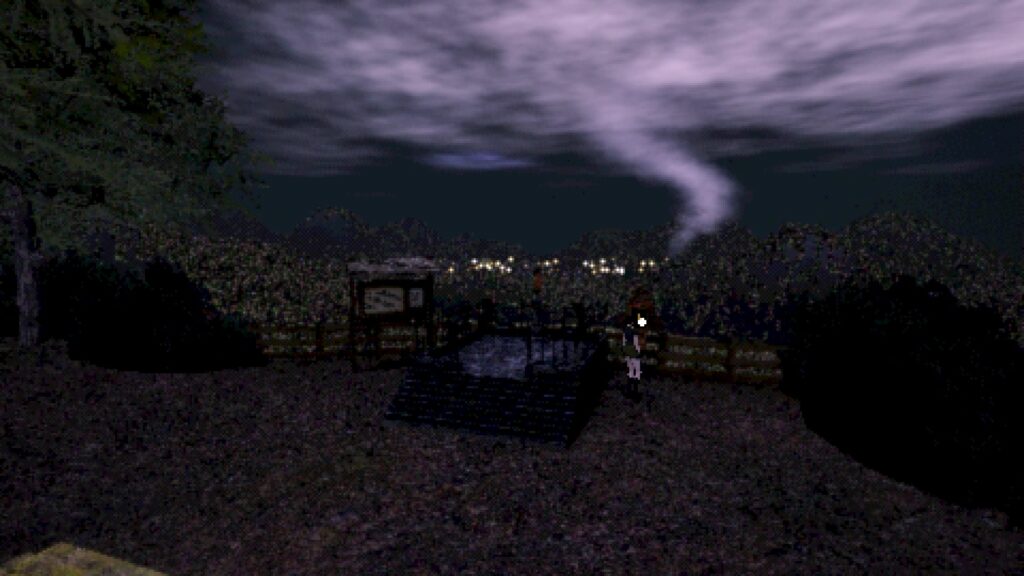
Around the wilderness are three signs describing constellations you can see in the sky, as well as the meaning behind them – note these.
Where are the constellations clues?
One can be found in the center of the wilderness, near the two paths leading up the hill.
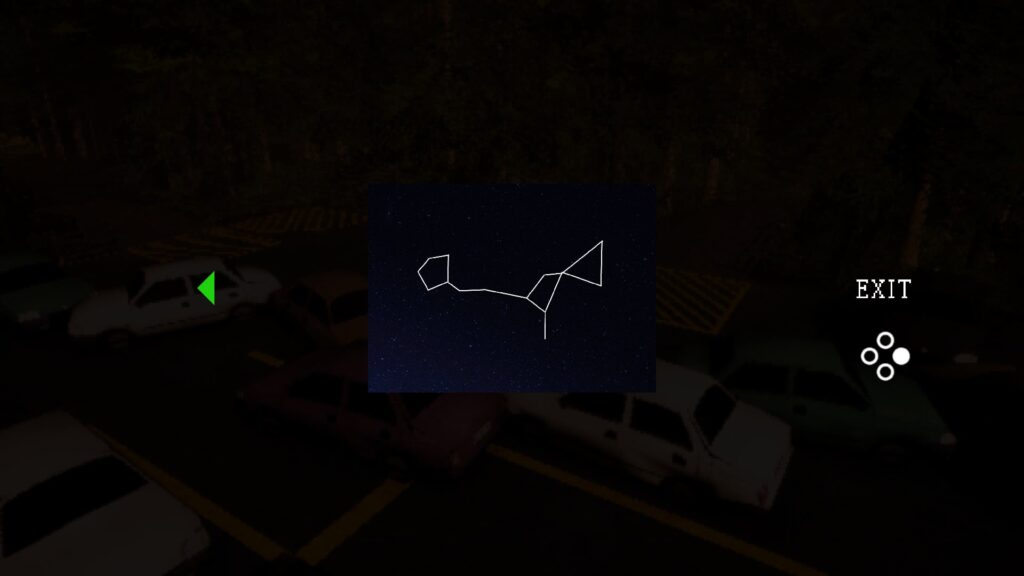
The second one is in the parking lot.
The third is one is up the left path heading up the hill.
Where is the First Marker Switch?
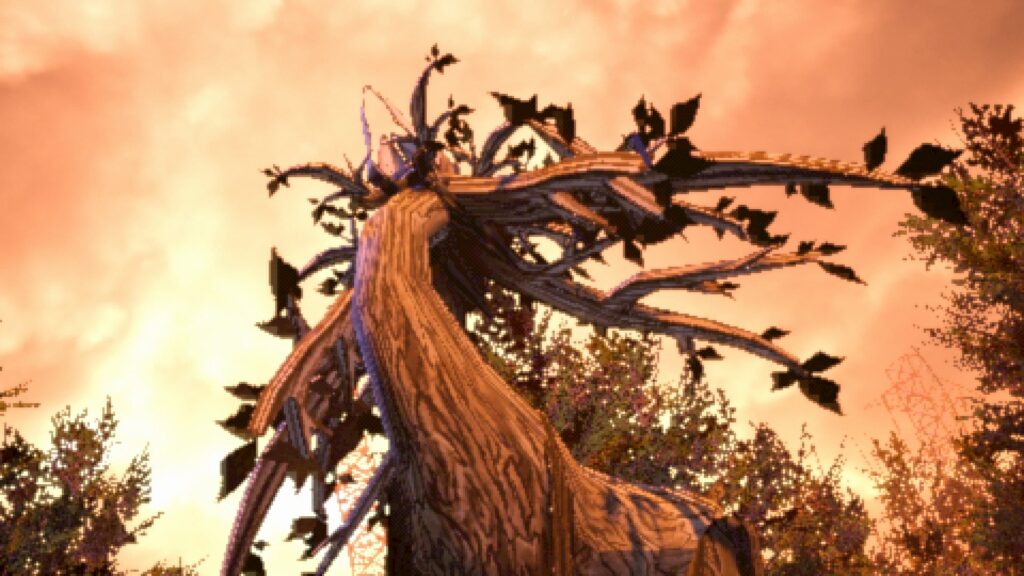
For now, cross the bridge and follow the trail to the end to reach a tree with a giant heart growing out of it. It’s tendrils are leading out to the side and they need to be activated. There is a Marker Switch (1) next to it.
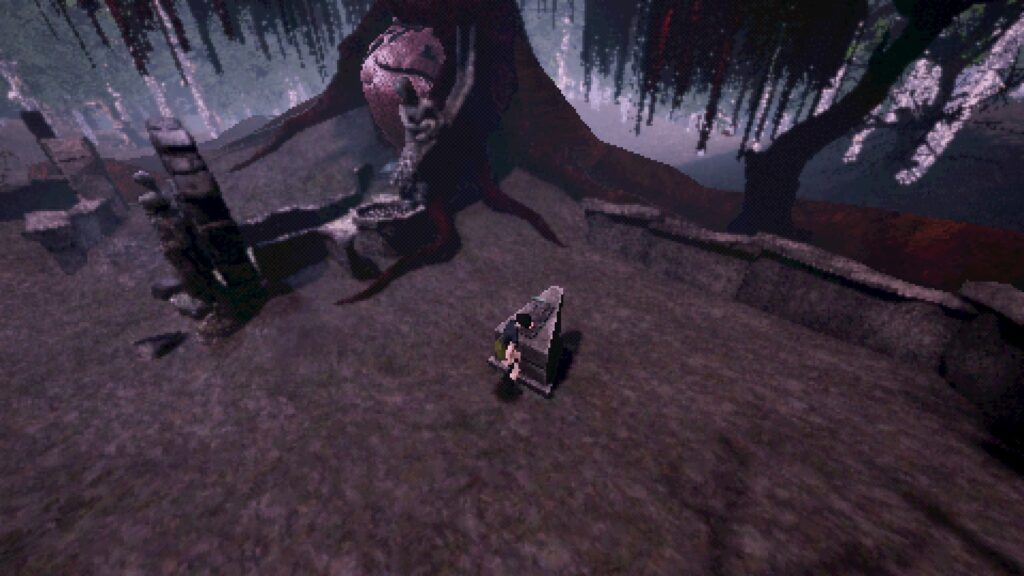
Activate it. There are seven of these around the wilderness, and each one must be turned on (green light) for a later puzzle. This area will also introduce the new Statue enemies. They will stand in one spot until you get close, at which point they’ll create an arena around you, forcing you to fight them until defeated. They also have a ranged attack where they can shoot spiky rocks along the ground. Go back into the Wilderness and cross back over the bridge.
Where is the Second Marker Switch?
Head through the door with the sign “Welcome to Devil’s Den” and enter the parking lot.
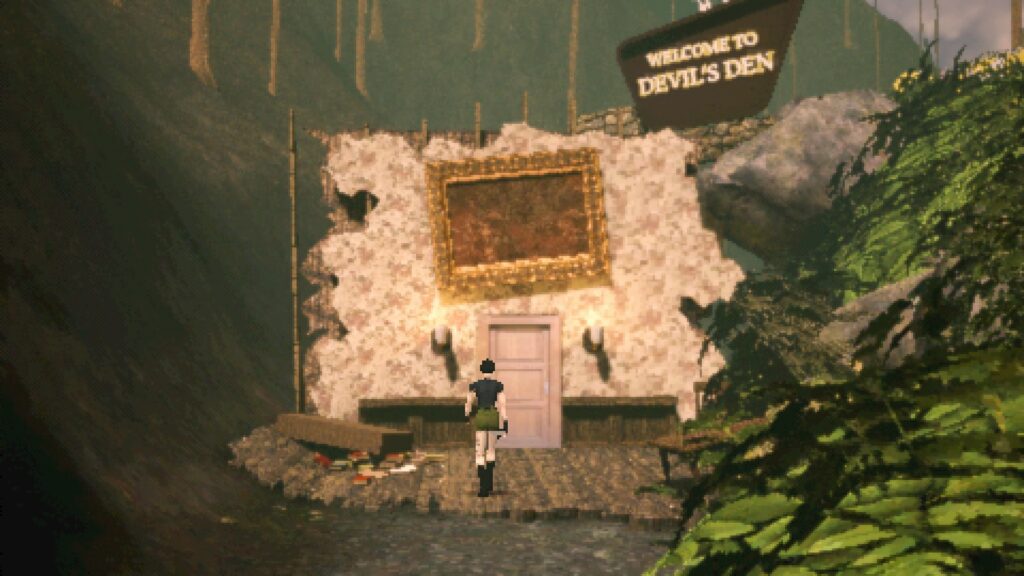
At the end of the path in the Parking Lot you can activate the Marker Switch (2).
Head down the exit next to the switch to get to the Watermill. Be careful as there are dogs here. They will lunge at Sam if she gets close, knocking her down if they hit her.
Unlike other enemies in the game, if you start an encounter with a Dog, they will continue to pursue Sam until you change scenes or defeat them.
Where is the Third Marker Switch?
There is an antiseptic near the tall grass on the right of the watermill. Outside the watermill, on the opposite side of the stream along the shore there is another Marker Switch (3) – activate it. You need to cross the waterfall to find it. Careful, there is another dog here.
Go back to the watermill and use the key. Go inside and check the piano.
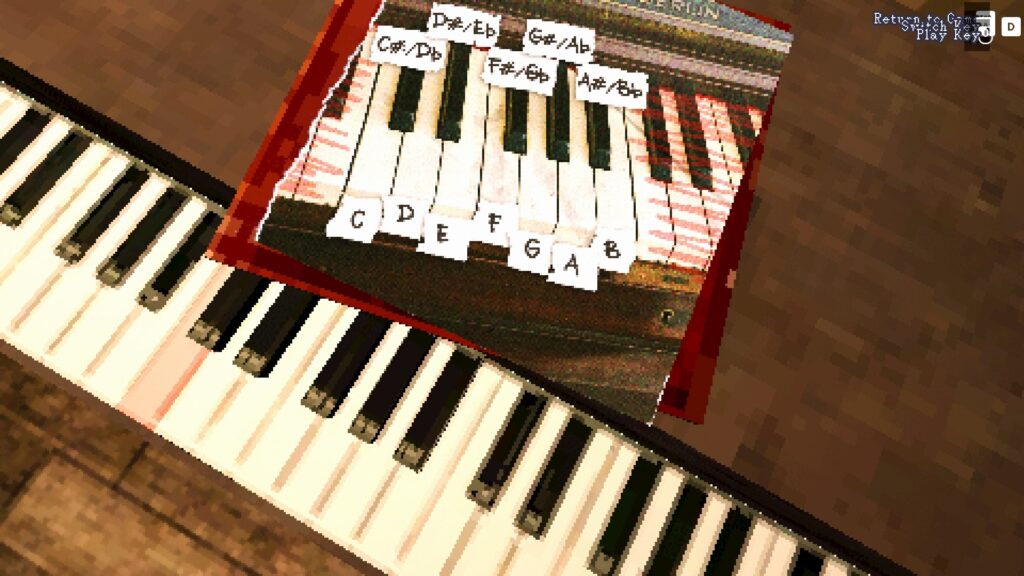
How do I solve the piano puzzle?
Read the poem for mnemonic clue – the beginning of each line is a note on the piano. “Eb” is also known as “D#”, so the solution is C-D-D#-G-F-D-D#-F – play that on the piano in that order.
Where is the Fourth marker switch?
The waterfall now opens and reveals a cave. Head into that cave and in the back you’ll find the marker switch (4) next to the ladder.
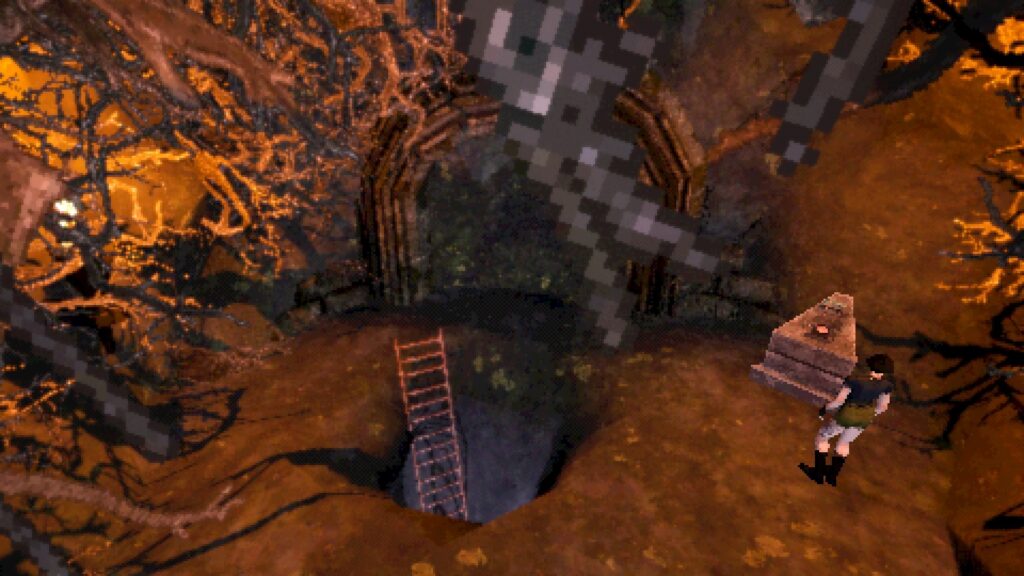
Go down the ladder and look around. There are statues here so take them out or avoid them.
Where is the Bolt Cutters?
Pick up the Bolt Cutters next to the locked gate.
Where can I find the Blood Collection Kit?
Go back up and then up the path next to the waterfall and then go past the two statues over the wooden walkway to get to the Overlook. Use the telescope and select the three following constellations: Cetus (top right), Cassiopeia (top left), and Andromeda (bottom left), then take the Blood Collection Kit from the locked box.
Head right past the electric light pole scene and unlock the gate on the Power Station using the Bolt Cutters.
Where is the Fifth Marker Switch?
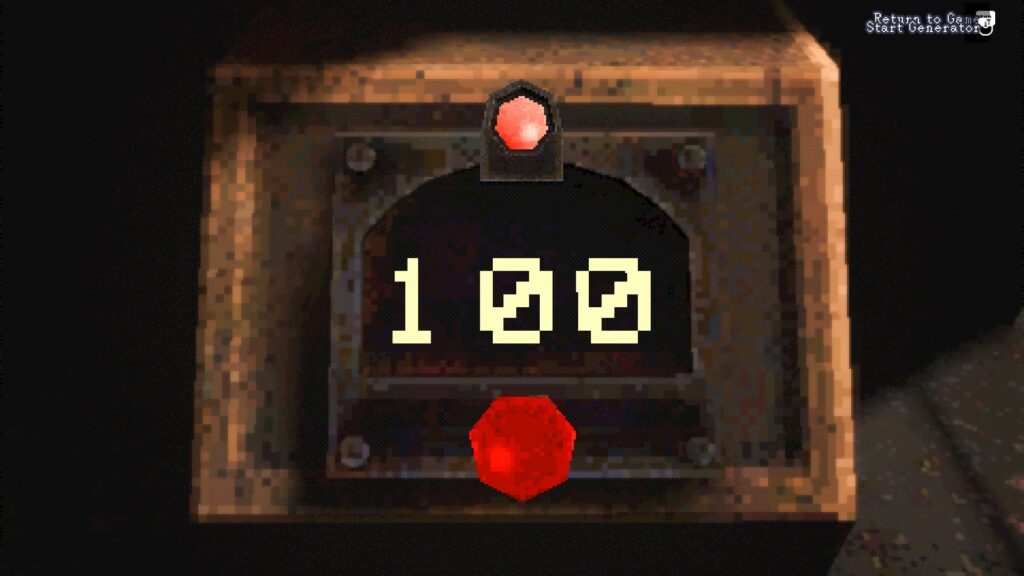
There is marker switch (5) next to this machine which needs to be activated.
The electric panel will read “100” when all the switch markers are activated, and then you will be able to turn it on using the button, so the light at the top turns green.
Across the power station there is a path leading down to a boat. Take it back to the safe room and save. Then come back here.
Where is the Sixth Marker Switch?
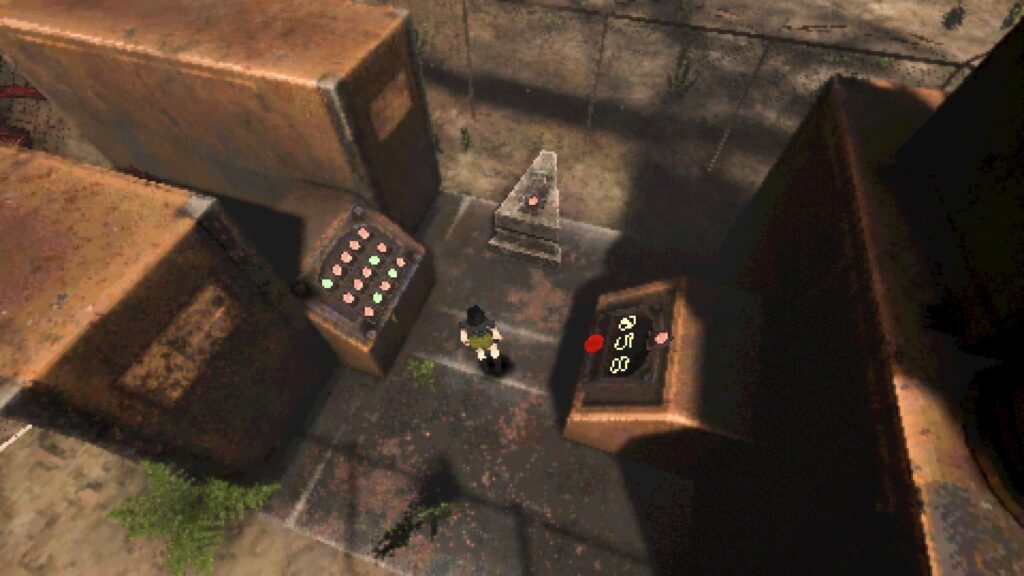
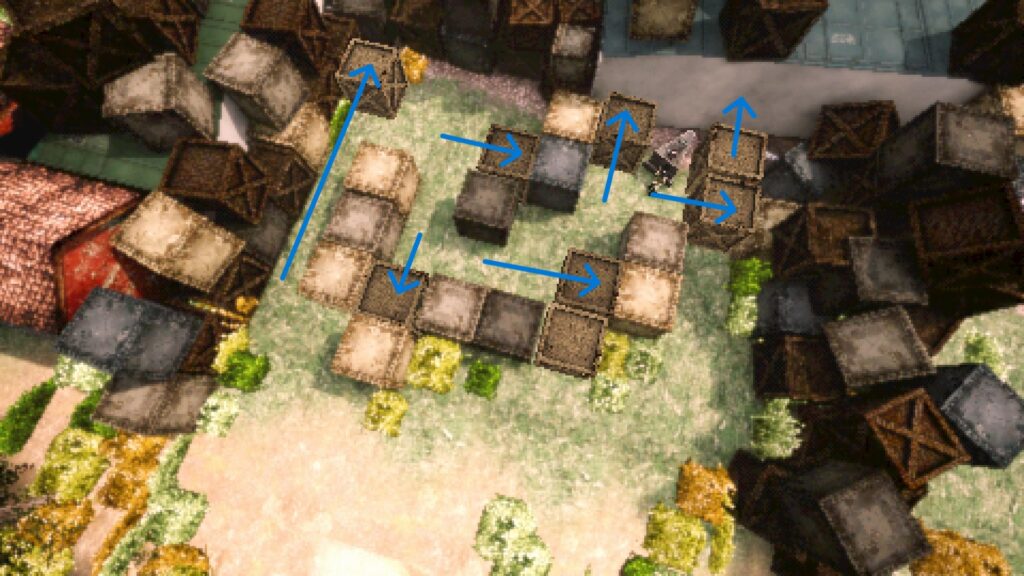
Opposite the entrance side, take the left path to the train scene and solve the push puzzle by pushing the top rightmost box up, then going back to the other side of the puzzle and pushing the leftmost block up. From here push the block closest to you to the right, then the new block you can access down. Then push the block to the right further right so you can get to the blocks near the switch. Push the one on the left up, then push the center one so you can access the switch. Activate the marker switch (6) there, then head back towards the Power Station.
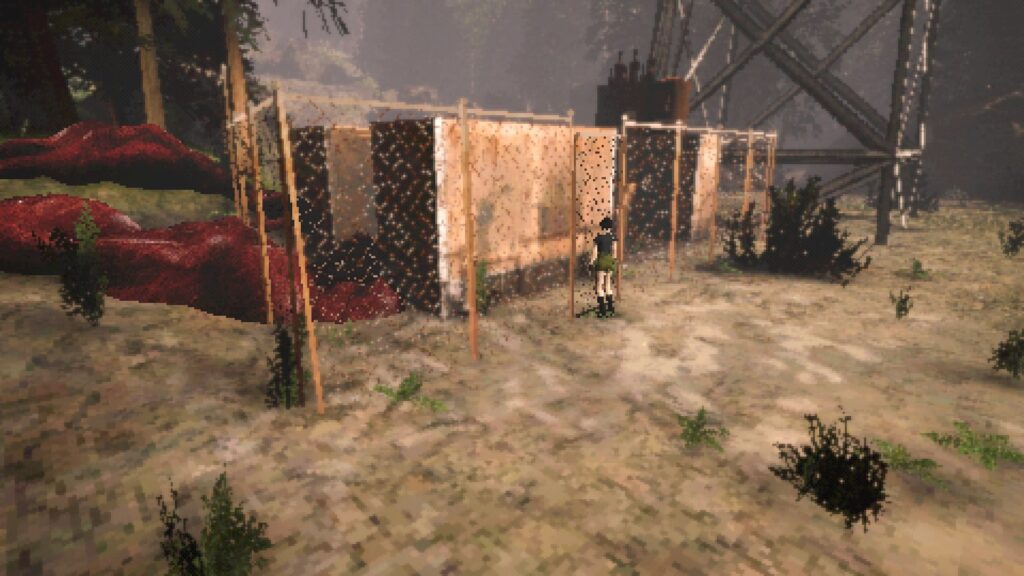
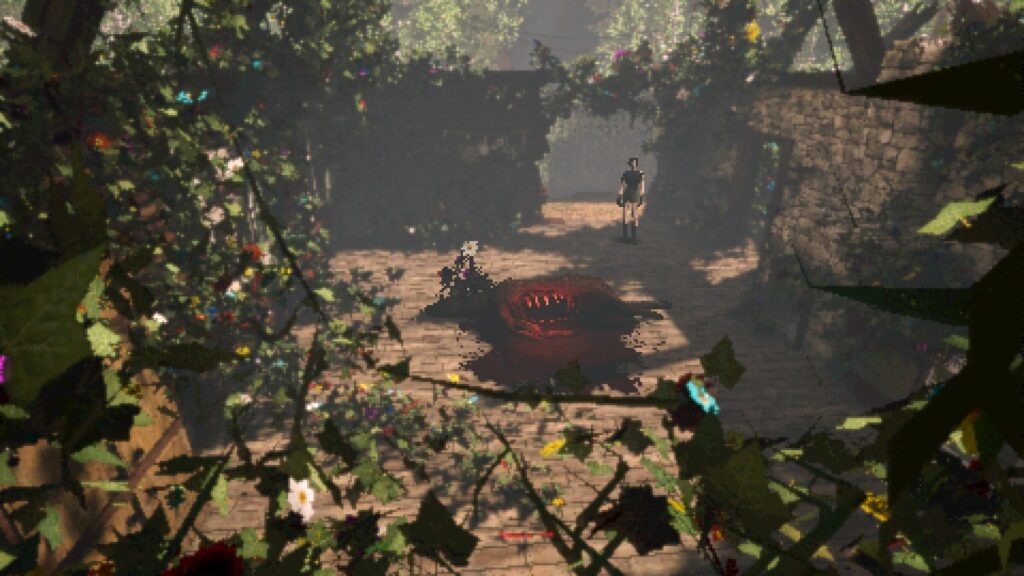
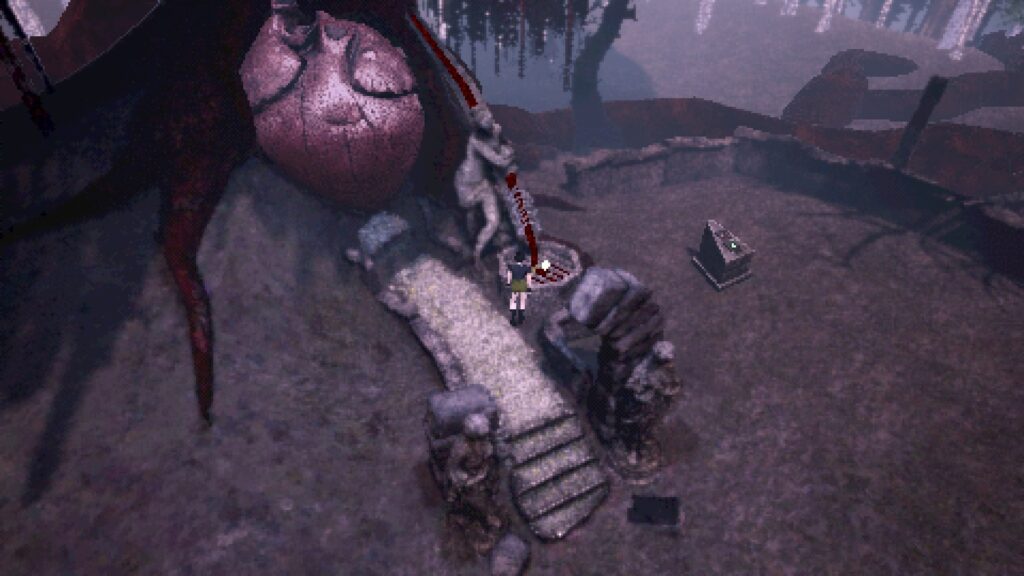
Take the right path up now. Take out the dog that immediately shows up in the Clearing. Go past the corn maze and in the center use the Blood Collection Kit on the deer corpse.
Where is the Seventh Marker Switch?
After leaving the house with the blood sample, go left into the corn maze – there is a dog on the right – to find marker switch (7) that needs to be activated.
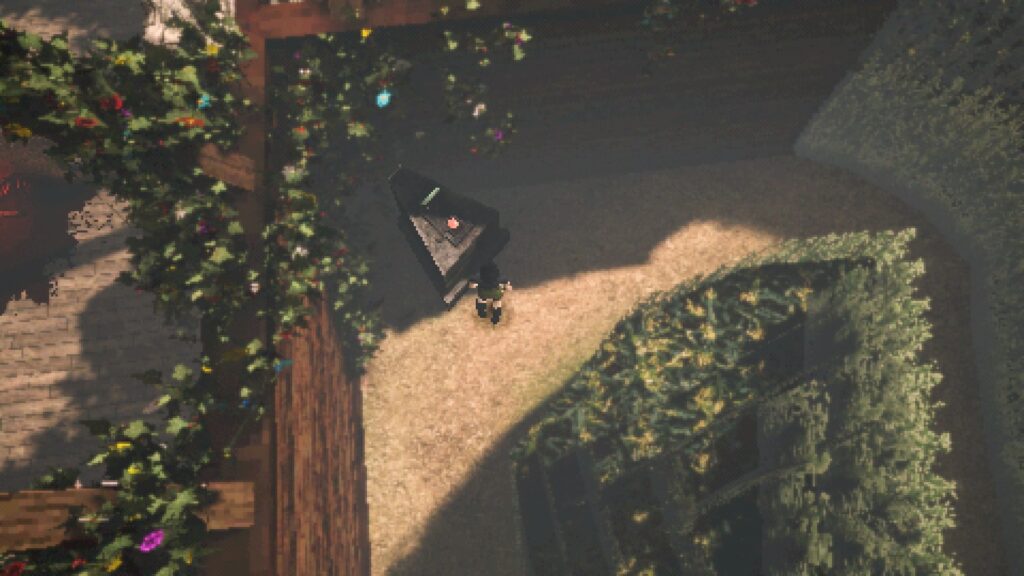
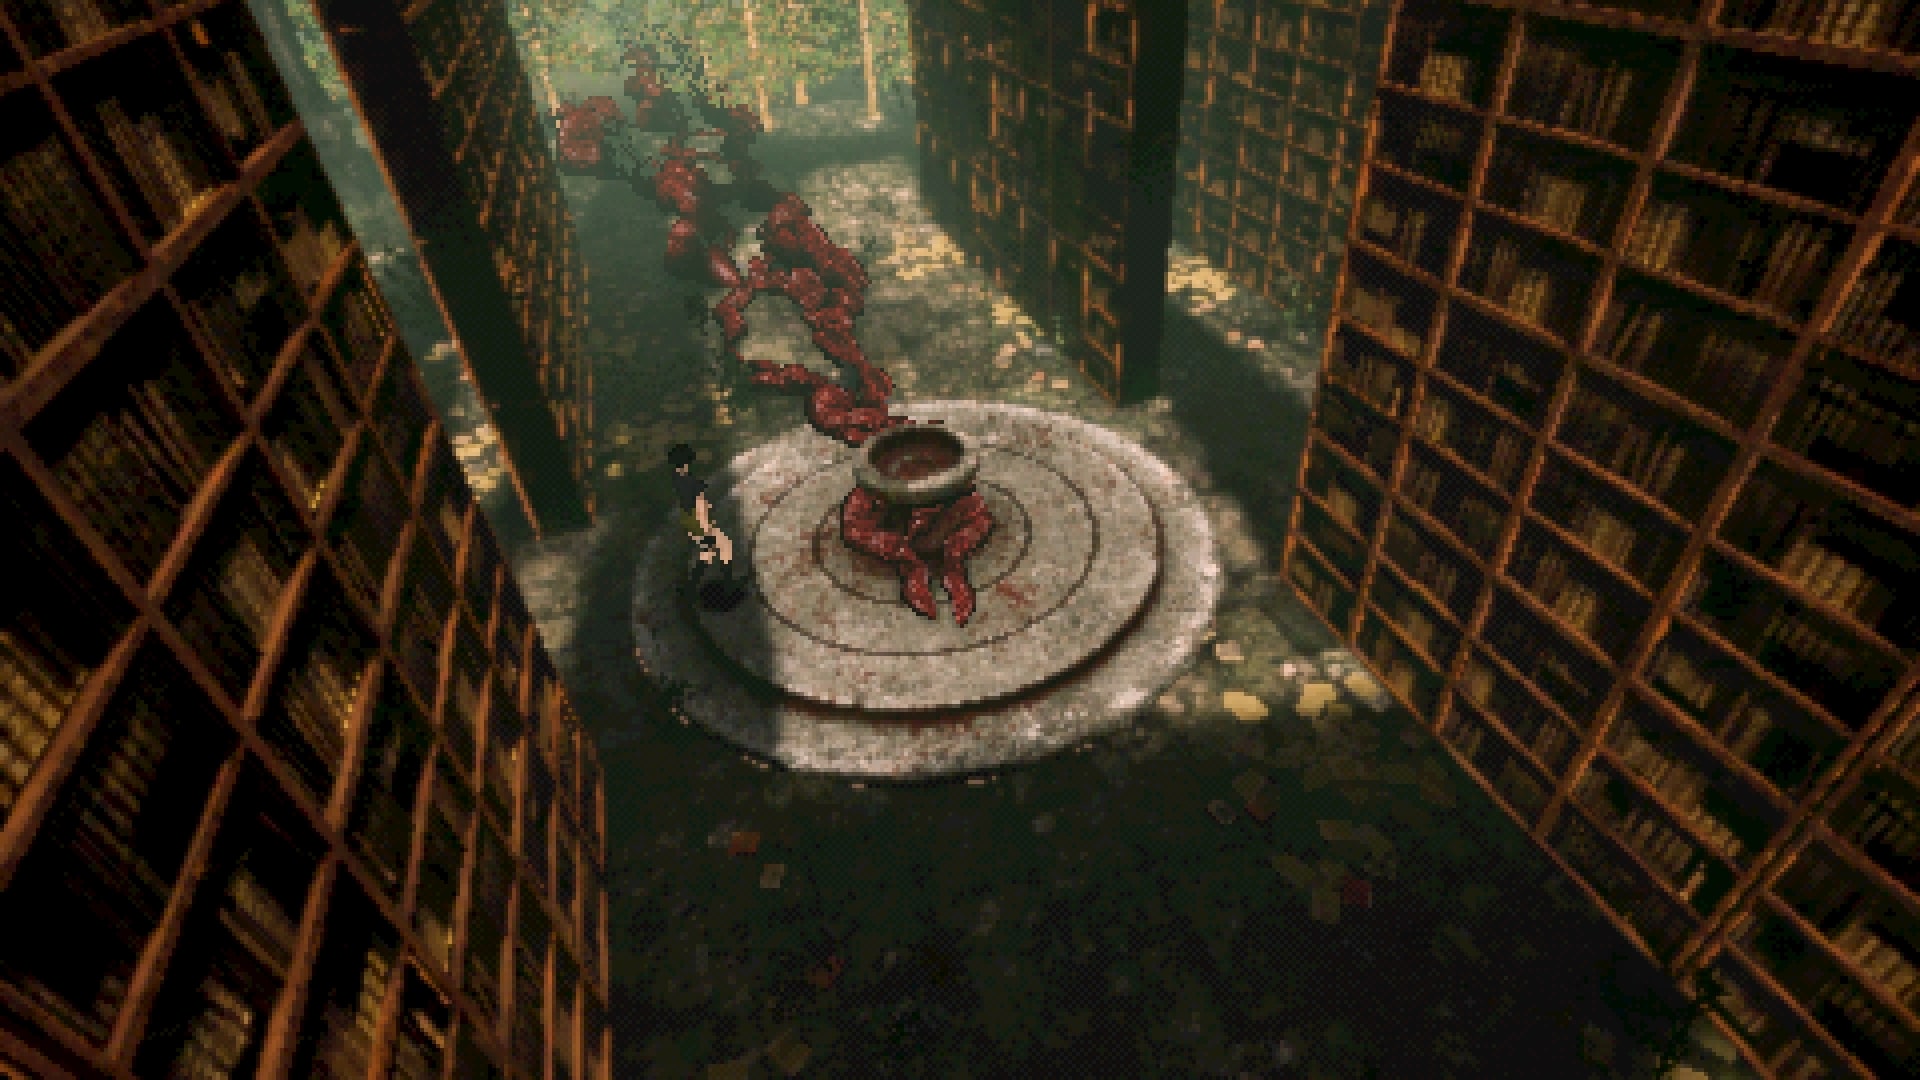
Once done, exit through the middle path to head into the outdoor library, and use the Blood Kit in the center altar. Numerous statues here, avoid or fight them – its up to you.

Go back to the power station and it should be at 100% so activate it using the button.
The pattern of green/red lights on the other side for an optional puzzle later in this chapter
Where Can I find the Hexagon Crank?
Now, make your way back to the Heart of the Wilderness – where the heart tree is. Pick up the Hexagonal Crank.
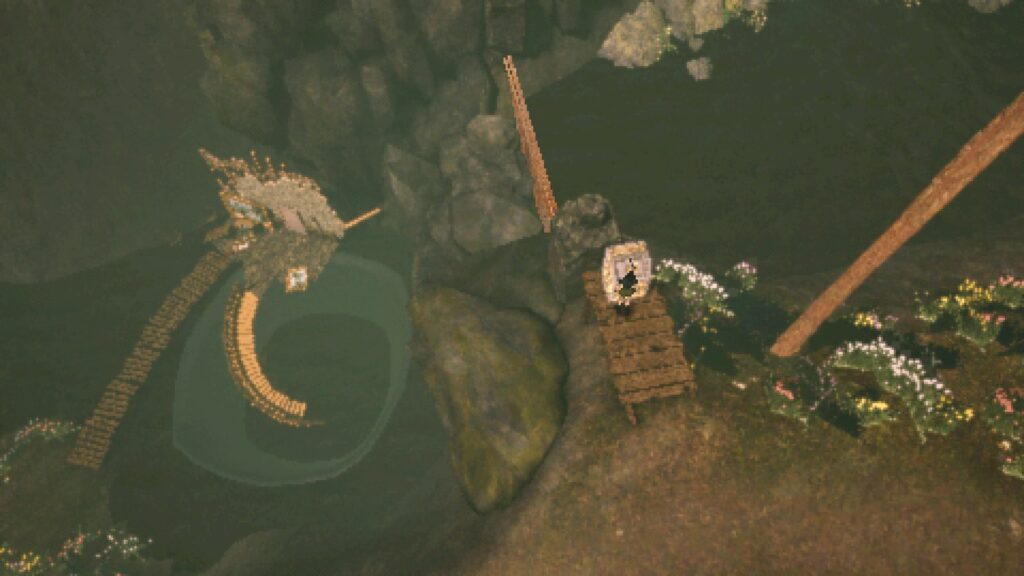
Go back out and down the path overlooking the waterfall.
Use the crank and lower the water level and descend the stairs and into the cave.
Once inside the cave, head to the gate with the sun on it.
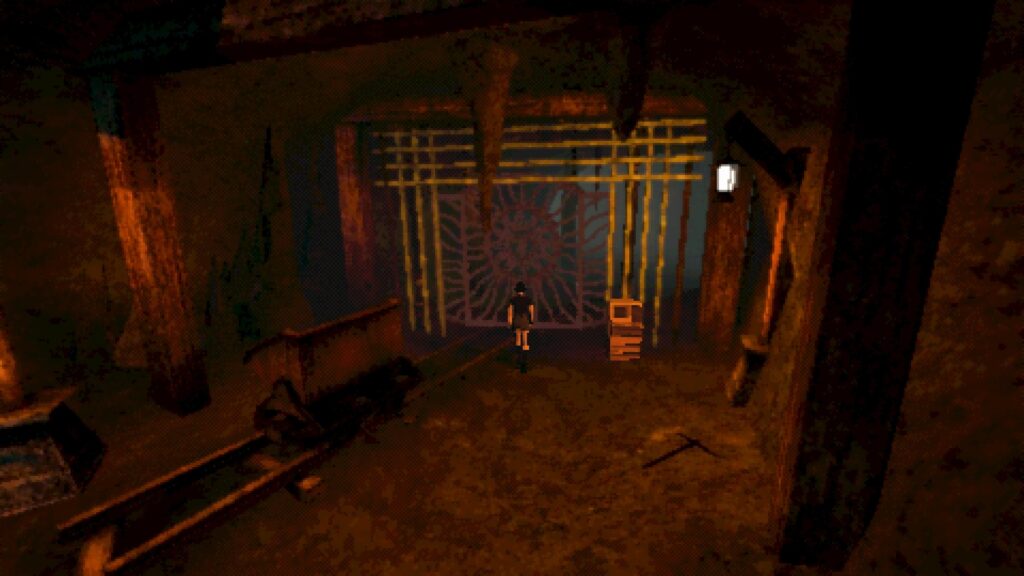
Where is the Cave Photo?
Interact with the computer outside of it and insert this sequence to open it:
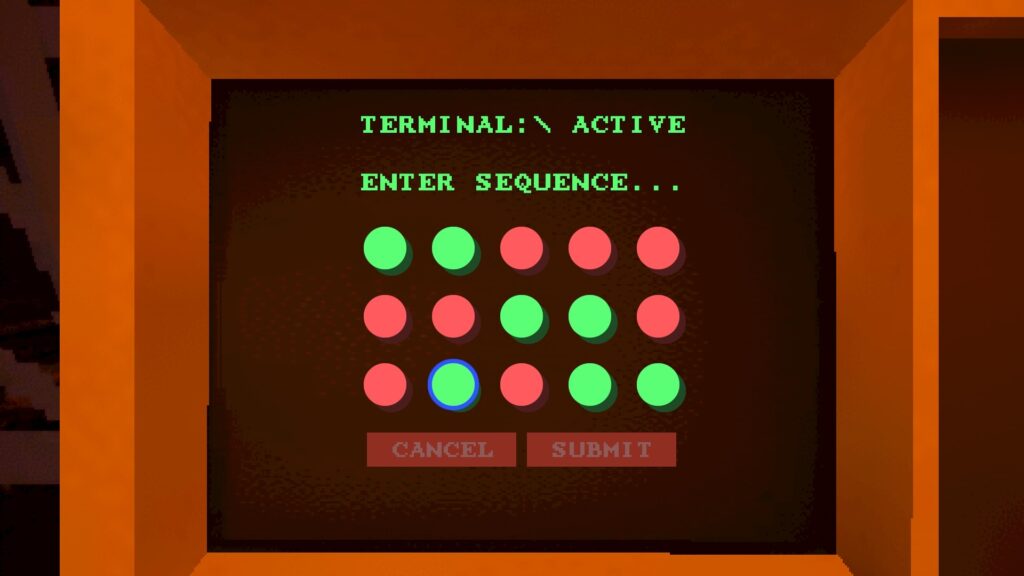
Go inside the gate and use the camera to destroy the static barrier. You can then pick up the Cave Photo. Exit the gated area and head to the computer in the north to save, and also put the Cave Photo in the item crate if you want. This is your last chance to explore The Wilderness. When ready, keep going through the cave.
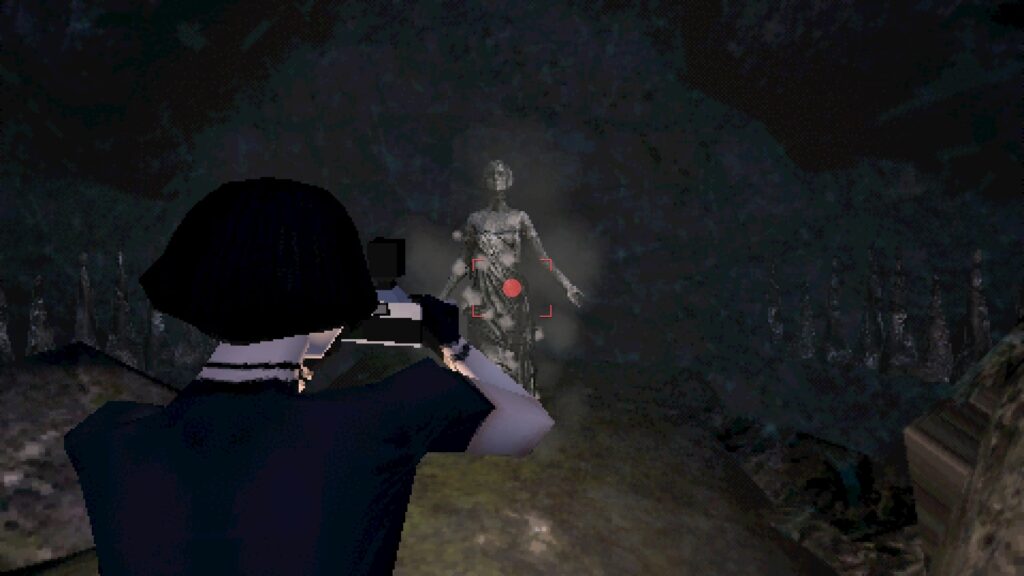
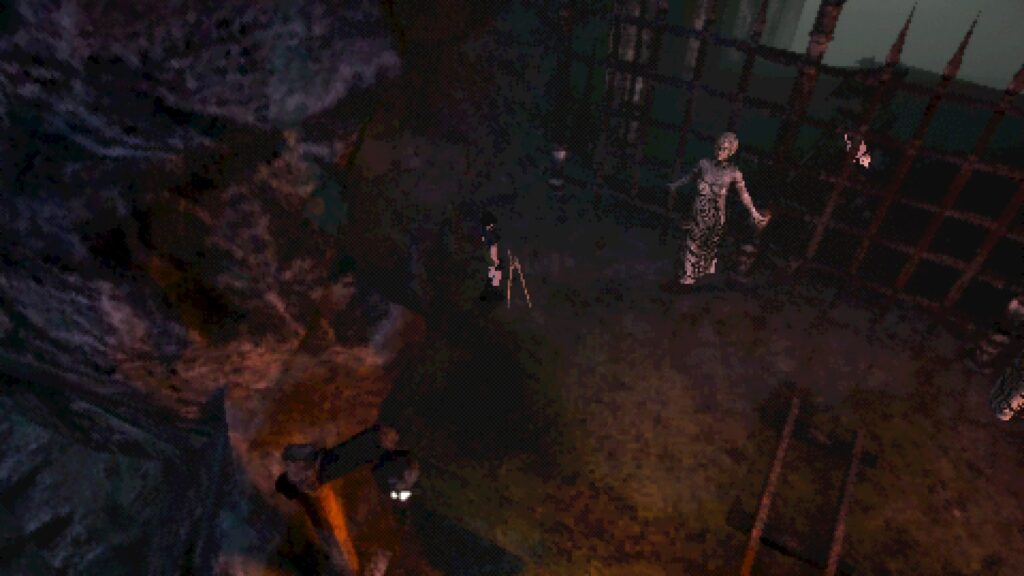
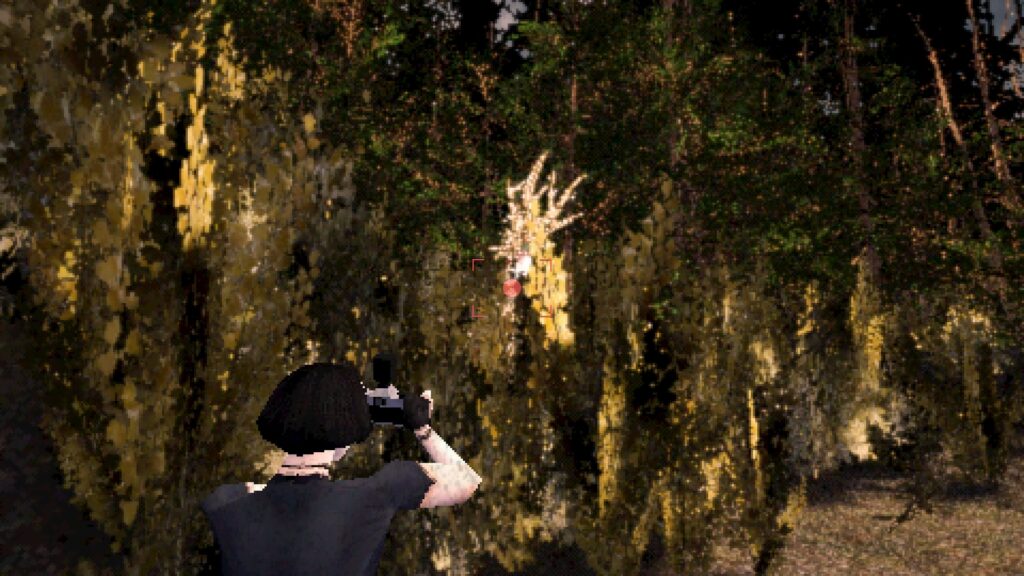
Deer Boss
The Deer boss can be defeated by taking pictures of it. It’ll take about 30 pictures, and there will be more static around it the more it is hurt.
Unlike the Spider, which fought you directly, the Deer uses hit-and-run tactics. It will hide in the woods and force you to chase after it, jumping out of cover to attack you.
If you dodge its ambushes, the Deer is left open for attack, and it will get stunned by attacks. Once it’s in the open, its only attack is to just hit you, so long as you can keep distance, you can hurt it easily.
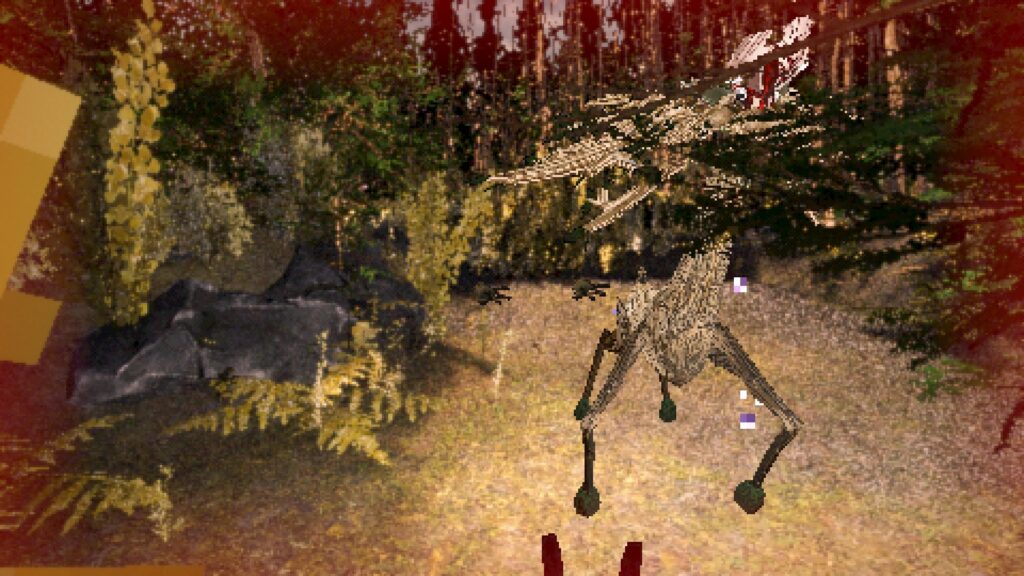
Once you’ve hurt it enough, it will yell, stunning Sam, and find a new hiding spot. Like the Spider: pay attention to the music. The track changes if the Deer is hiding or attacking.
The arena is also full of Dog enemies. You can defeat them, but you can also ignore them. However, once a Dog starts attacking you, they won’t stop until you’ve defeated it. Since the Dogs can hurt you when the Deer stuns you, watch out!
Back at the Archive
After defeating the Deer, you receive the Wilderness Page and will be brought back to the Archive. If you got the Cave Photo, make sure you use it at the machine to advance the good ending. Use the Wilderness Page at the tome in the middle of the room to unlock the gate to the right. Go through the gate and head to the end of the hallway, then up the stairs. Use the ladder to start a cutscene. After the cutscene, head to the right, then across the big stone bridge to enter the Clock Tower.
This concludes this part of the walkthrough for Heartworm.
For more interesting articles related to indie games, check out the links below.